¶ Setup Database Connection and Compile Scripts
You can authenticate users with your customized database. For that, you need to setup database connection, prepare database operation script and setup environment variable (optional).
Please make sure that your database has following fields like
id,photo,nickname,username,phonewhich are required by Authing identity profile. You can learn more about schemas of Authing user profile in the document of Authing user profile fields and explanations.
Authing now support direct connection with these common databases and self-designed Web Service:
- MySQL
- PostgresQL
- MongoDB
- Web Services: You can package up your database as a service and prevent exploring database connection from public. For example, you can package up the authentication operation into an API:
https://mydomain.com/auth.
If the server that your script tries to access has a firewall, please add these IP addresses to its whitelist: 140.179.19.50 and 52.80.250.250. You can also get Authing external IP address from this API:https://core.authing.cn/api/v2/system/public-ips (opens new window)。
¶ Enable Customized Database Connection
The configuration will be active immediately once you enable the customized database. Before you write customized script, the error Please implement the Login script for this database connection will show up when users try to login. This error will appear when using the default script. You need to modify the script or temporarily disable the customized database connection.
You need to login to the Authing Console (opens new window) and then go to Connect IdP - Customized Database to enable this service on the top right corner

¶ Choose User Scenarios
There are two different modes for customized databases and you can choose suitable mode according to diffferent user scenarios:
- Migrate user information to Authing with lazy migration: In lazy migration mode, all user information will be stored in your database at the beginning. When a user try to login through Authing, the Authing will search and authenticate the user in the customized database with customized script and will migrate this user to Authing if authenticate succeed. When this user login Authing at the second time, he/she will be authenticated with Authing's database. After all users in your database at least login to Authing one time, the migration is completed. More details can be found in document of achieving lazy migration with customized database.
- Only use customized databases to store user information: You can use your own database to store user information. In this mode, Authing won't store any user information. However you need to compile scripts for user management to make the system work normally.
¶ Setup Database Connection Configuration
Now you need to setup database connection configuration, you can use Connection URL or Programmatic.
¶ Connection URL

The Connection URL usually is the URL with following format: protocol://username:password@host:port/database such as: postgres://postgres:postgres@localhost:5432/database-name. You can import these URLs in script by using global vriable env.DB_CONNECTION_URI as the code shows below:
const { Client } = require("pg");

const client = new Client({
  connectionString: env.DB_CONNECTION_URI
});
await client.connect();
¶ Programmatic

In this mode, you need to declare the Host, port, username, password, and database name of your customized database. You can import these parameters with the following global variables: env.DB_HOST, env.DB_PORT, env.DB_USERNAME, env.DB_PASSWORD and env.DB_DATABASE as the code shows below:
const { Client } = require("pg");
const client = new Client({
  host: env.DB_HOST,
  port: env.DB_PORT,
  user: env.DB_USERNAME,
  password: env.DB_PASSWORD,
  database: env.DB_DATABASE
});
await client.connect();
¶ Compile Database Operation Script
Authing now provide four different kinds of templates for MySQL, PostgresQL, MongoDB and Customized Service. You can choose different templates according to your user cases.
When using LAZY_MIGRATION mode, you need to compile two functions:
- Login: This script will be called when users try to login. If the user has not been migrated to Authing database, his/her account password will be validated by this script.
- Search user: This script will be called when users try to register. If user's profile is returned by this script, he/she will be noticed "user already exists" and the registration failed.
When using CUSTOM_USER_STORE mode, you need to compile following functions:
- Login: This script will be called when users try to login. If the user has not been migrated to Authing database, his/her account password will be validated by this script.
- Precise search: This script will be called when users try to register. If user's profile is returned by this script, he/she will be noticed "user already exists" and the registration failed.
- Fuzzy search: This script will be called when admin use console or API to search user vaguely.
- Create: This script will be called when the user registers an account or someone uses console or API to create an user account. You need to store user information in your own database.。
- Modify: This script will be called when the admin modifies user information or users want to modify their information by themselves.
- Delete: This script will be called when the admin uses console or API to delete user account.
- Get user list; This script will be called when the amdin uses console or API to get user list. This interface will require the number of total users and the list of users in the current page.
- Password validation: This script will be called when users try to reset the password and validate the original password.
¶ Test Database Scripts
We provide an online database for developers to test their scripts quickly. You can access this database from here (opens new window).
This database is open-source for all user freely, the connection information of this database is postgres://postgres:postgres_root_local@47.74.20.164:31000/custom-db-connection. You can create your own users or use template users in the list.
After setup configuration URI, click Save and then Test button at the bottom.


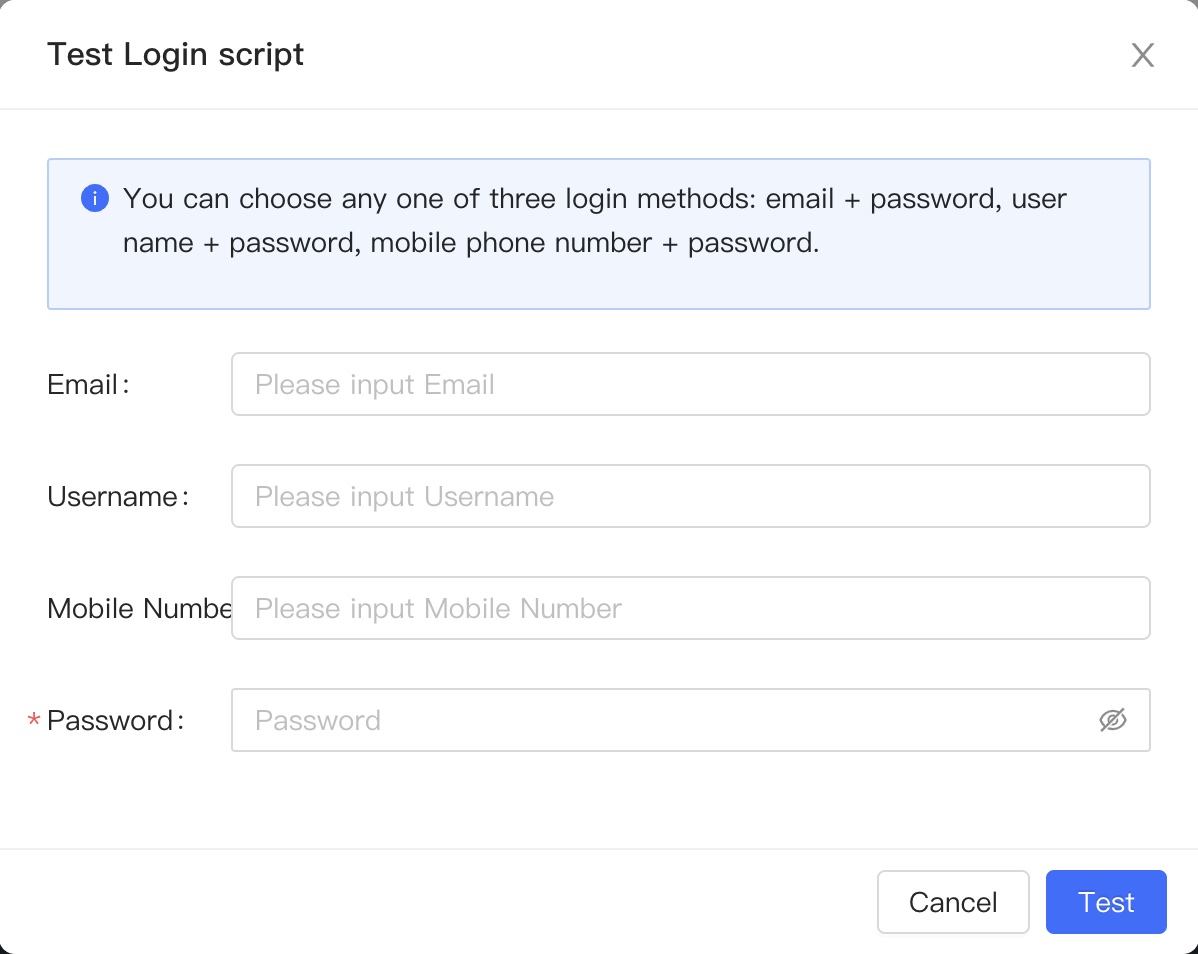
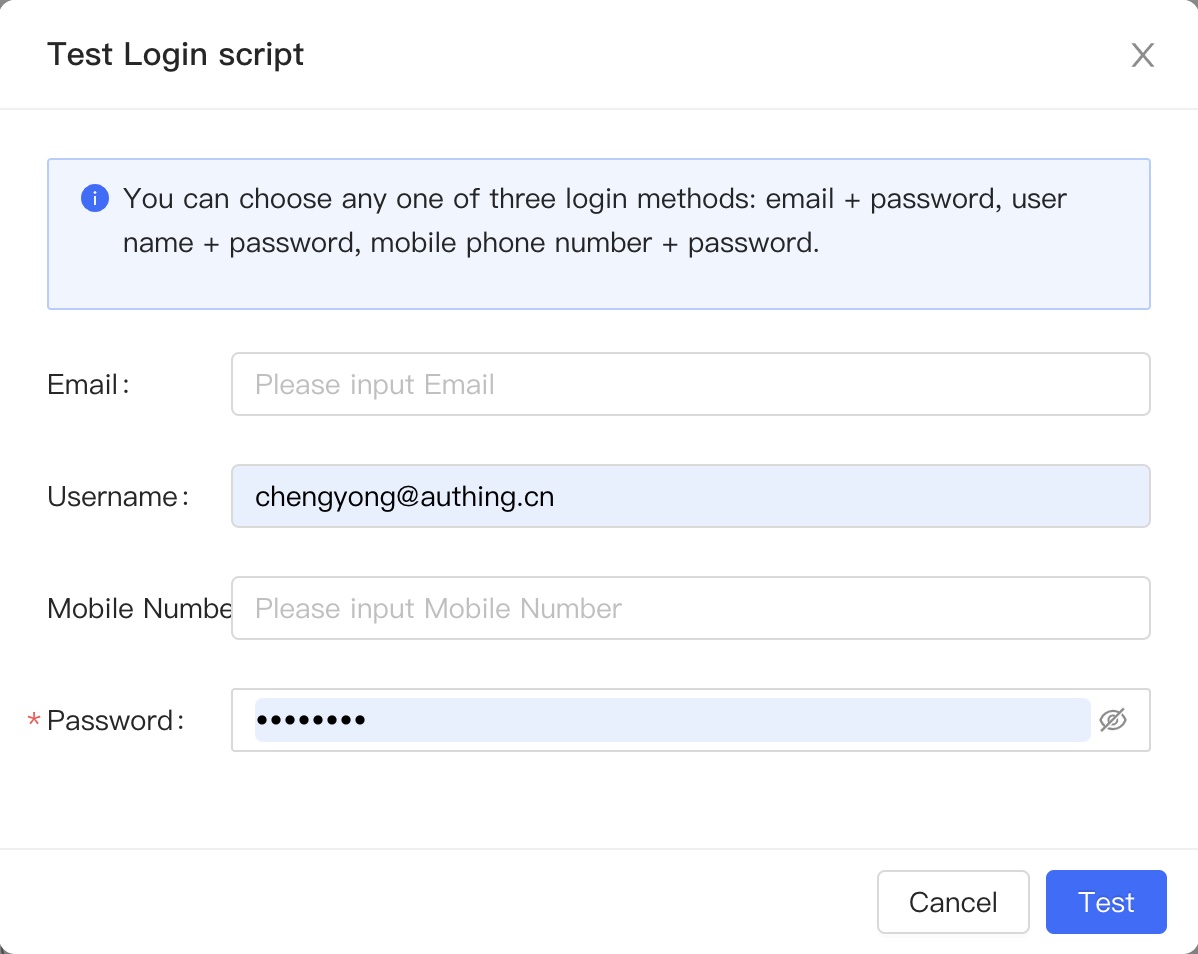
In the jump out window, you need to fill in a user in the user list of the template userpool


Click Test button and you will see notification about successful result.
