¶ SDK for React Native
¶ 🏠 Homepage (opens new window)
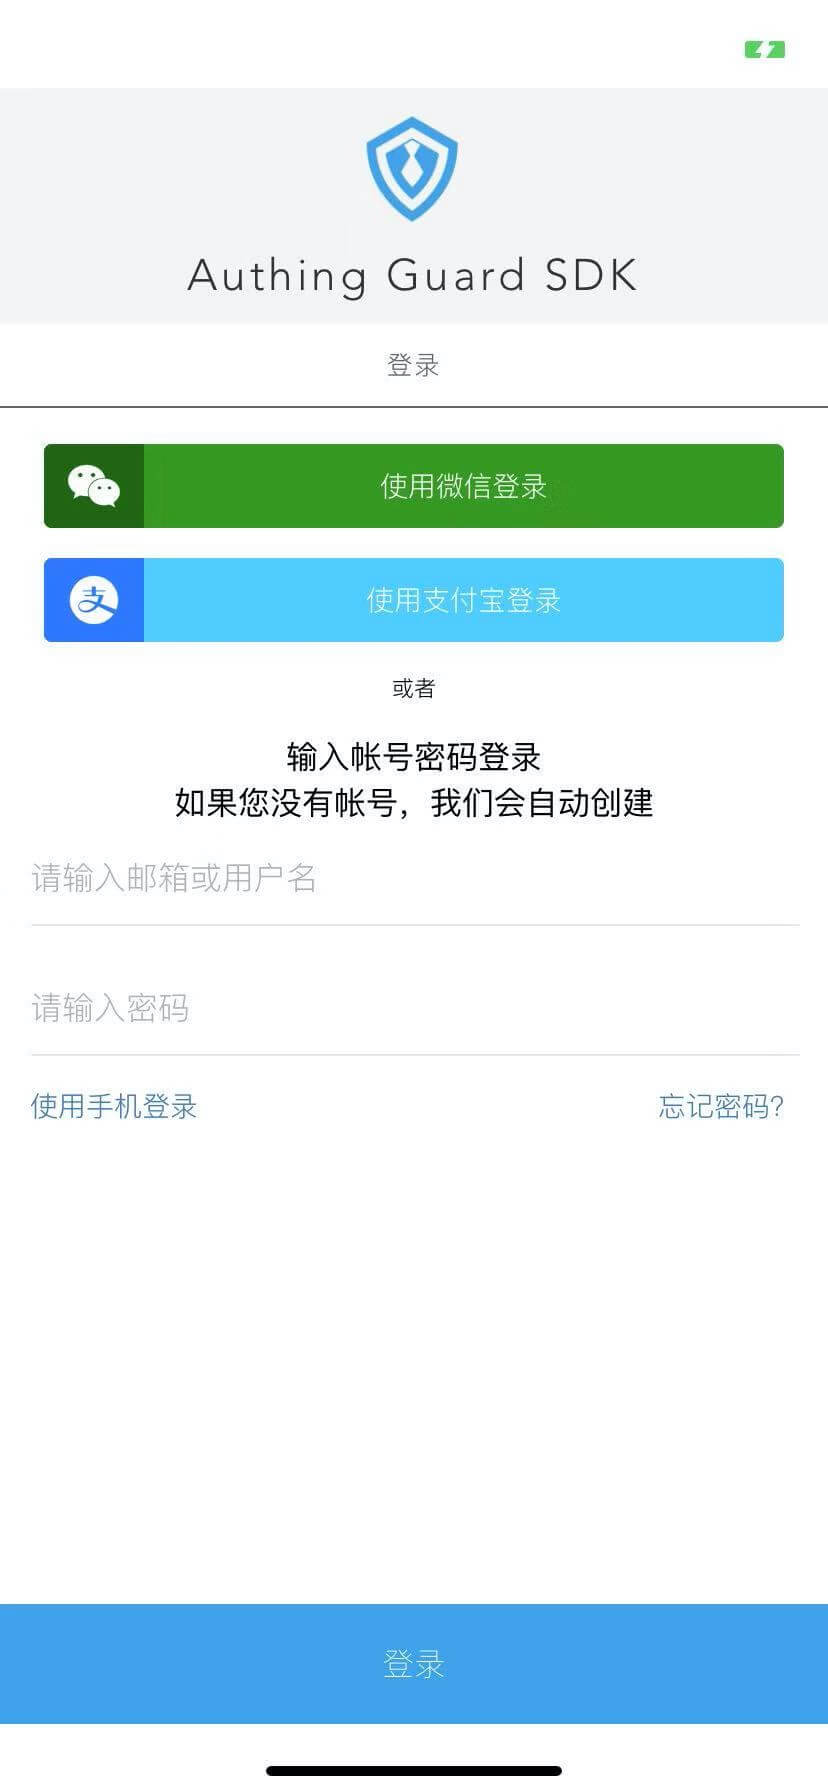
Authing supports React Native mobile development mobile, making developers quickly access Alipay, WeChat, etc. App login, and code development support mailbox password, username password, mobile verification code login.

Click here to view the demo video (opens new window)。
The following is a list of full features:
- Mailbox password login registration
- Mobile phone verification code login
- Username password login
- Forgot your password and reset your password
- Mobile device APP socialized login
Currently supported socialization and registration:
- [x] Alipay
¶ Install
Note: the npm package name of authing-rn-sdk is @authing/rn
yarn add react-native-gesture-handler react-native-webview
yarn add @authing/rn
If it is iOS, you need to execute:
cd ios && pod install
Note: Starting from the react-native 0.60 version, the react-native link instruction is not required to manually need to manually.
If everything goes well, you will see:

Due to platform restrictions, if you need to access social logins, some additional configuration is needed, see below for details.
Now everything is ready, you can start using authing-rn-sdk to quickly access the Authing powerful identity solution!
¶ Quick access
Access Guard is very simple, in the simplest, you only need to specify the callback function of the application pool ID and successfully log in to the event! (Complete event list See below)
If you don't know very well about the concept of Authing Userpool, you can read the foundation concept document. The userpool ID can be obtained from the Authing Console.
import { Guard } from "@authing/rn";
const onLogin = userInfo => {
  // deal with userInfo
};
<Guard userPoolId="{userPoolId}" onLogin="{onLogin}" />
Here is a simple complete example:
import React from "react";
import { SafeAreaView, StatusBar } from "react-native";
import { Guard } from "@authing/rn";

const App = () => {
  const userPoolId = "5dd77e6efa26f000d18101ca";
  const options = {
    title: "Authing Guard SDK",
    forceLogin: true // Combine the registration and login, automatically register when the user does not exist
  };
  const onLogin = (loginMethod, userInfo) => {
    alert(JSON.stringify(userInfo));
  };
  return (
    <>
      <StatusBar barStyle="dark-content" />
      <SafeAreaView style={{ flex: 1 }}>
        <Guard userPoolId={userPoolId} options={options} onLogin={onLogin} />
      </SafeAreaView>
    </>
  );
};

export default App;
Run through the following instructions: iOS:
npx react-native run-ios
Android:
npx react-native run-android
After the user successfully logs in, authing-rn-sdk will call the user information userInfo Press the incoming onLogin function, the user information contains the Authing user ID, the avatar, nickname, etc., and also includes login credentials token. userInfo examples are as follows:
{
  "_id": "5dc10bcb6f94c178c6ffffb9",
  "email": null,
  "emailVerified": false,
  "unionid": "oiPbDuG4S7msrKHPKDc8MECSe8jM",
  "openid": "oiPbDuG4S7msrKHPKDc8MECSe8jM",
  "oauth": "{\"openid\":\"oiPbDuG4S7msrKHPKDc8MECSe8jM\",\"nickname\":\"张三\",\"sex\":1,\"language\":\"zh_CN\",\"city\":\"海淀\",\"province\":\"北京\",\"country\":\"中国\",\"headimgurl\":\"http://thirdwx.qlogo.cn/mmopen/vi_32/GkxYERPDdTMk7bOk3BgBmEEYul8oMcOoLgNHLoibZn5ibe4EulWBp1xo6uN4az59eoSBYBW0QmXB9TrsJEM0EoPw/132\",\"privilege\":[]}",
  "registerMethod": "oauth:wxmp",
  "username": "张三",
  "nickname": "张三",
  "company": "",
  "photo": "https://usercontents.authing.cn/avatar-5dc10bcb6f94c178c6ffffb9-1572932555337",
  "token": "eyJhbGciOiJIUzI1NiIsInR5cCI6IkpXVCJ9.eyJkYXRhIjp7InVuaW9uaWQiOiJvaVBiRHVHNFM3bXNyS0hQS0RjOE1FQ1NlOGpNIiwiaWQiOiI1ZGMxMGJjYjZmOTRjMTc4YzZmZmZmYjkiLCJjbGllbnRJZCI6IjVkYTdlZGFiNTAzOTZjMWFkOTYyMzc4YSJ9LCJpYXQiOjE1NzI5NTY0MjUsImV4cCI6MTU3NDI1MjQyNX0.OTgl72WZS8So3R5DbWCJ7I_Bd0LaZa4S0TAVMg9qaYQ",
  "tokenExpiredAt": "11/20/2019, 8:20:25 PM",
  "loginsCount": 43,
  "lastLogin": "11/5/2019, 8:20:25 PM",
  "lastIP": "127.0.0.1",
  "signedUp": "11/5/2019, 1:42:35 PM",
  "blocked": false,
  "isDeleted": false
}
¶ How to carry token
Set the Authorization request head to "Bearer" + token, for example:
Notice Bearer and token space between space.
Authorization: "Bearer eyJhbGciOiJIUzI1NiIsInR5cCI6IkpXVCJ9.eyJkYXRhIjp7InVuaW9uaWQiOiJvaVBiRHVHNFM3bXNyS0hQS0RjOE1FQ1NlOGpNIiwiaWQiOiI1ZGMxMGJjYjZmOTRjMTc4YzZmZmZmYjkiLCJjbGllbnRJZCI6IjVkYTdlZGFiNTAzOTZjMWFkOTYyMzc4YSJ9LCJpYXQiOjE1NzI5NTY0MjUsImV4cCI6MTU3NDI1MjQyNX0.OTgl72WZS8So3R5DbWCJ7I_Bd0LaZa4S0TAVMg9qaYQ";
If you are using axios, you can write this:
axios.get("https://mywebsite.com/endpoint/", {
  headers: {
    Authorization: `Bearer ${userInfo.token}`
  }
});
If you are using fetch, you can write this:
fetch("https://mywebsite.com/endpoint/", {
  method: "POST",
  headers: {
    Authorization: `Bearer ${userInfo.token}`
  },
  body: JSON.stringify({
    firstParam: "yourValue",
    secondParam: "yourOtherValue"
  })
});
¶ How to check Token in backend
Authing provides several ways to help verify the legality of Token and the login status of the corresponding user, Document Click here.
Developers can package this method into a function, such as check_authing_token_status (for convenience I use Python):
Developers don't have to store this token in the rear end, just call the interface provided by Authing.
def check_authing_token_status(token: str) -> bool:
    """
    :param token: token within the User info
    :return: isLoggedIn (boolean)
    """
    # Calling the method provided by Authing, the specific implementation method is omitted, please see the document mentioned above.
    pass
Then you can respond to the registration status and your business logic, such as:
logged_in = check_authing_token_status(token)
if not logged_in:
    # Return error prompt
# Continue under the following logic
¶ How to control user access by user role
Sometimes whether you log in to this condition is not enough to determine whether the request is permission to access the resource, and this Authing also provides the user role-related API.
¶ Supported callback function list
| Callback | Correspondence | parameter | Parameter Description |
|---|---|---|---|
| onLogin | Successfully logged in | userInfo | User Info |
| onLoginError | Login failed | error | Error message |
| onSocialLoad | Social login list loading complete | oauthList | A full OAuth list, if the user is not configured in the background, it is empty. Note: The Native side only shows the social login of Native applications. |
| onSocialUnload | Social login list loading failed | error | Error message |
| onRegister | User registration is successful | userInfo | User data. and onLogin tune function userInfo The parameter is consistent, but token Is empty. |
| onRegisterError | User registration failed | error | Error message |
| onEmailSent | Forgot your password mail to send success | data | Send result |
| onEmailSentError | Forgot your password mail delivery failed | error | Error message |
| onResetPassword | Reset password success | data | Reset password results |
| onResetPasswordError | Reset password failed | error | Error message |
¶ customize UI
Guard supports highly customized, can be incorporated by options parameters, such as:
<Guard
  userPoolId={userPoolId}
  options={{
    title: "Your application name",
    logo: "Your application icon",
    // Merge with registration and login, if the user does not exist automatically and log in
    forceLogin: true,
    placeholder: {
      // Customize the placeholder of the username input box
      username: "xxxxx"
    }
  }}
  onLogin={onLogin}
/>
¶ Add Custom CSS
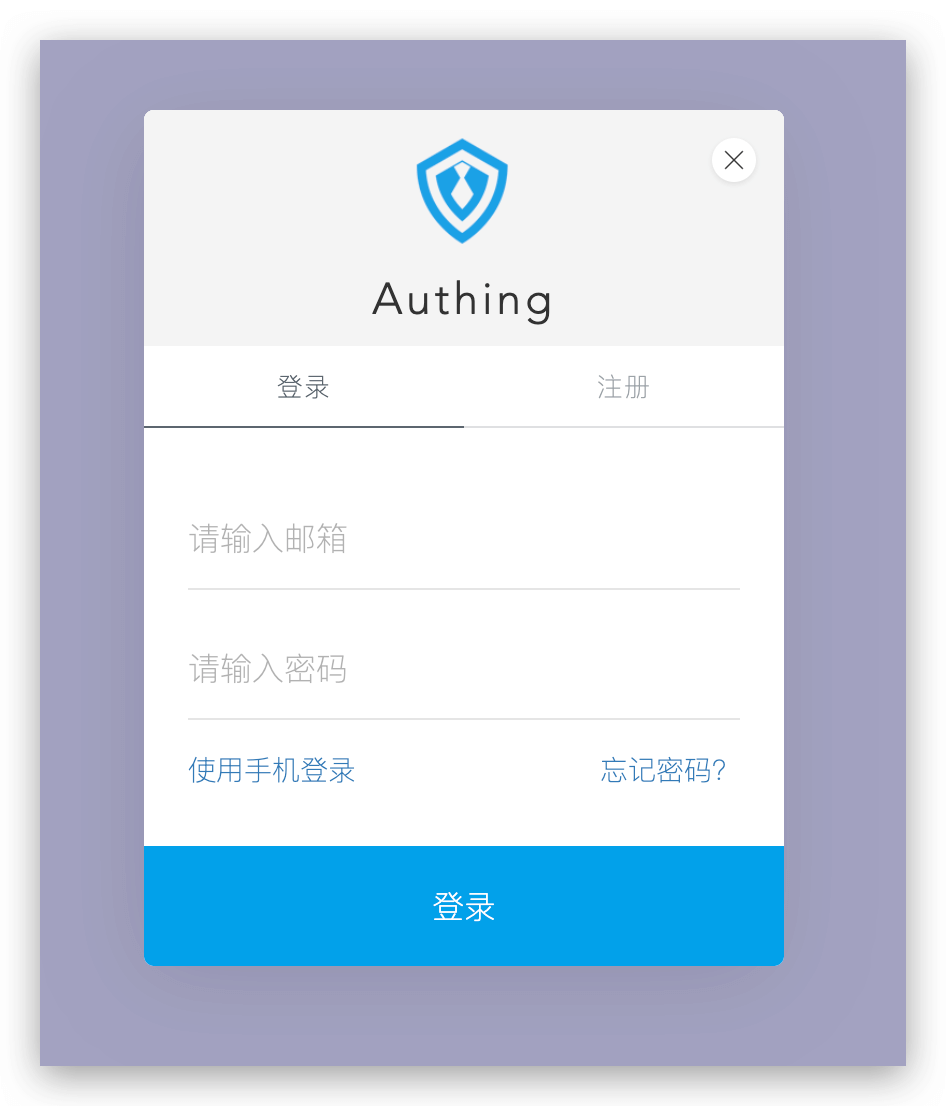
authing-rn-sdk lso supports the passing CSS style through options.css, This makes developers to highly customize formats. If you specify the options.css, you will insert a <style type="text/css"></style> node. Example:
const css = `
body {
    background: #6699 !important;
}
`
<Guard
  userPoolId={userPoolId}
  options={{
    css,
  }}
  onLogin={onLogin}
/>
The effect is shown in the figure:
