¶ Twitter Social Login
¶ Introduction
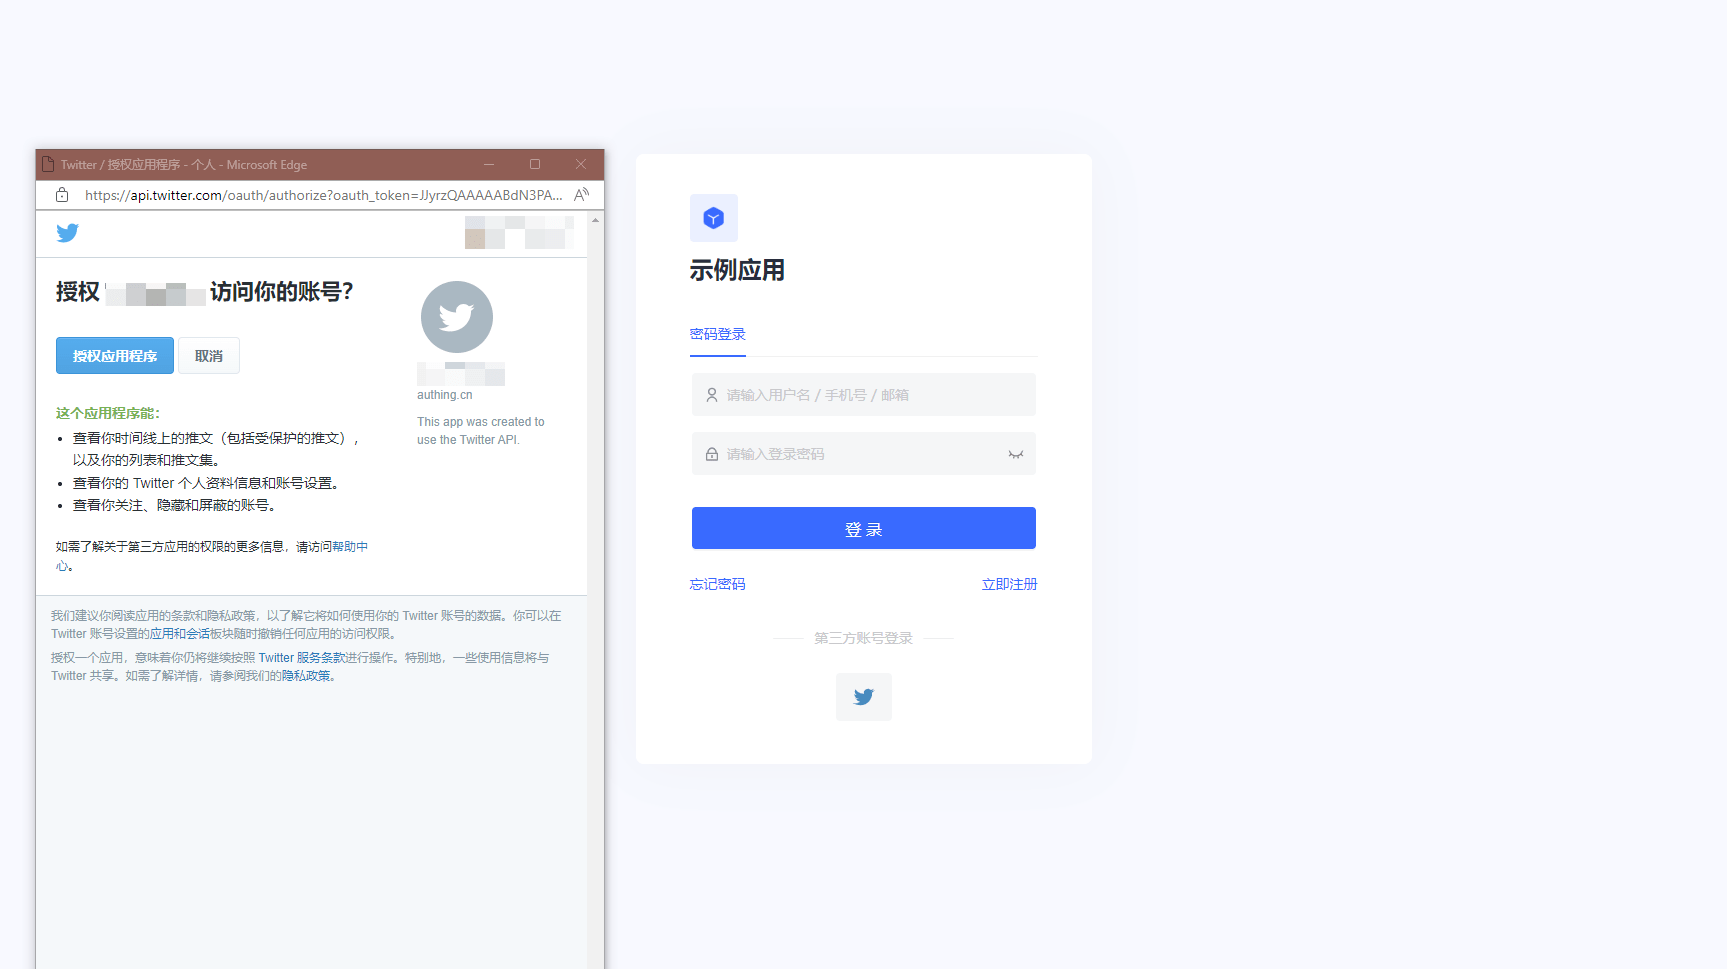
- Overview Twitter social login is a secure login to a third-party application or website using Twitter as the user's identity source. Configure and enable Twitter social login in Authing to enable quick access to basic open Twitter information and help users to achieve password-free login via Authing.
- Application Scenario: PC website
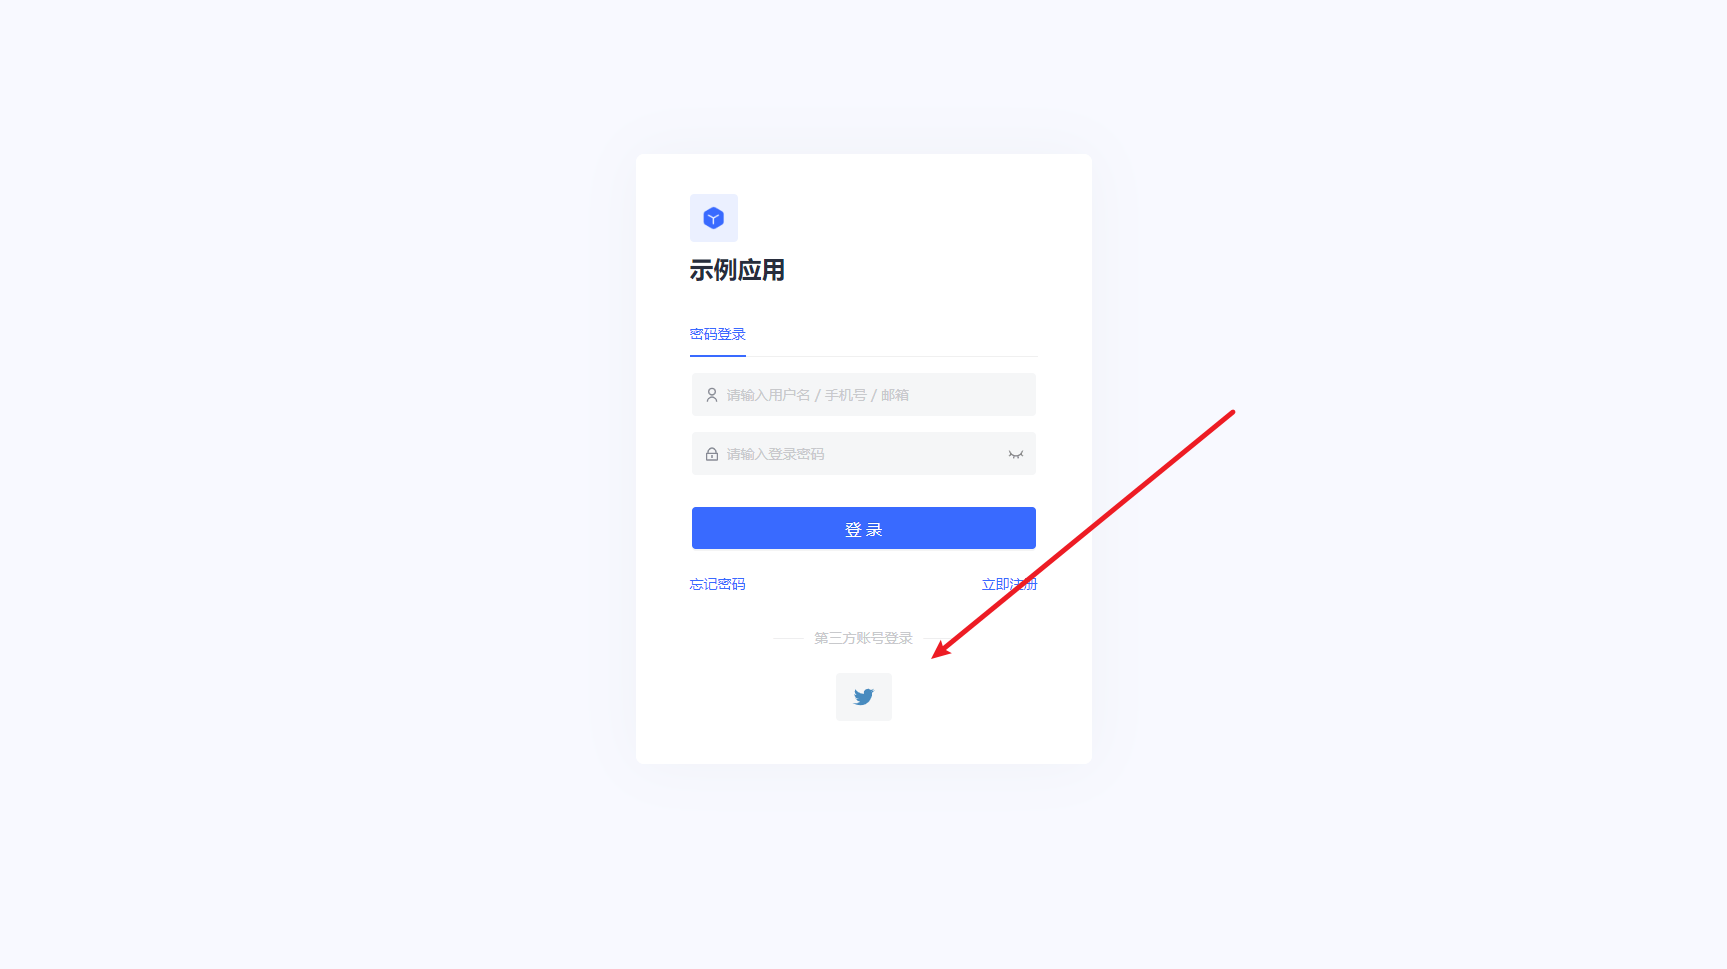
- End-user preview image.
¶ Caution.
- If you do not have a Twitter account, please go to Twitter Platform (opens new window) to register for an account.
- Go to the Twitter Developer Platform (opens new window) to complete your account information and request Elevated access (opens new window) for your account./petition/standard/basic-info).
- If you do not have a Authing console account, go to the Authing Console console (opens new window) to register for a developer account.
¶ Step 1: Create a Twitter app
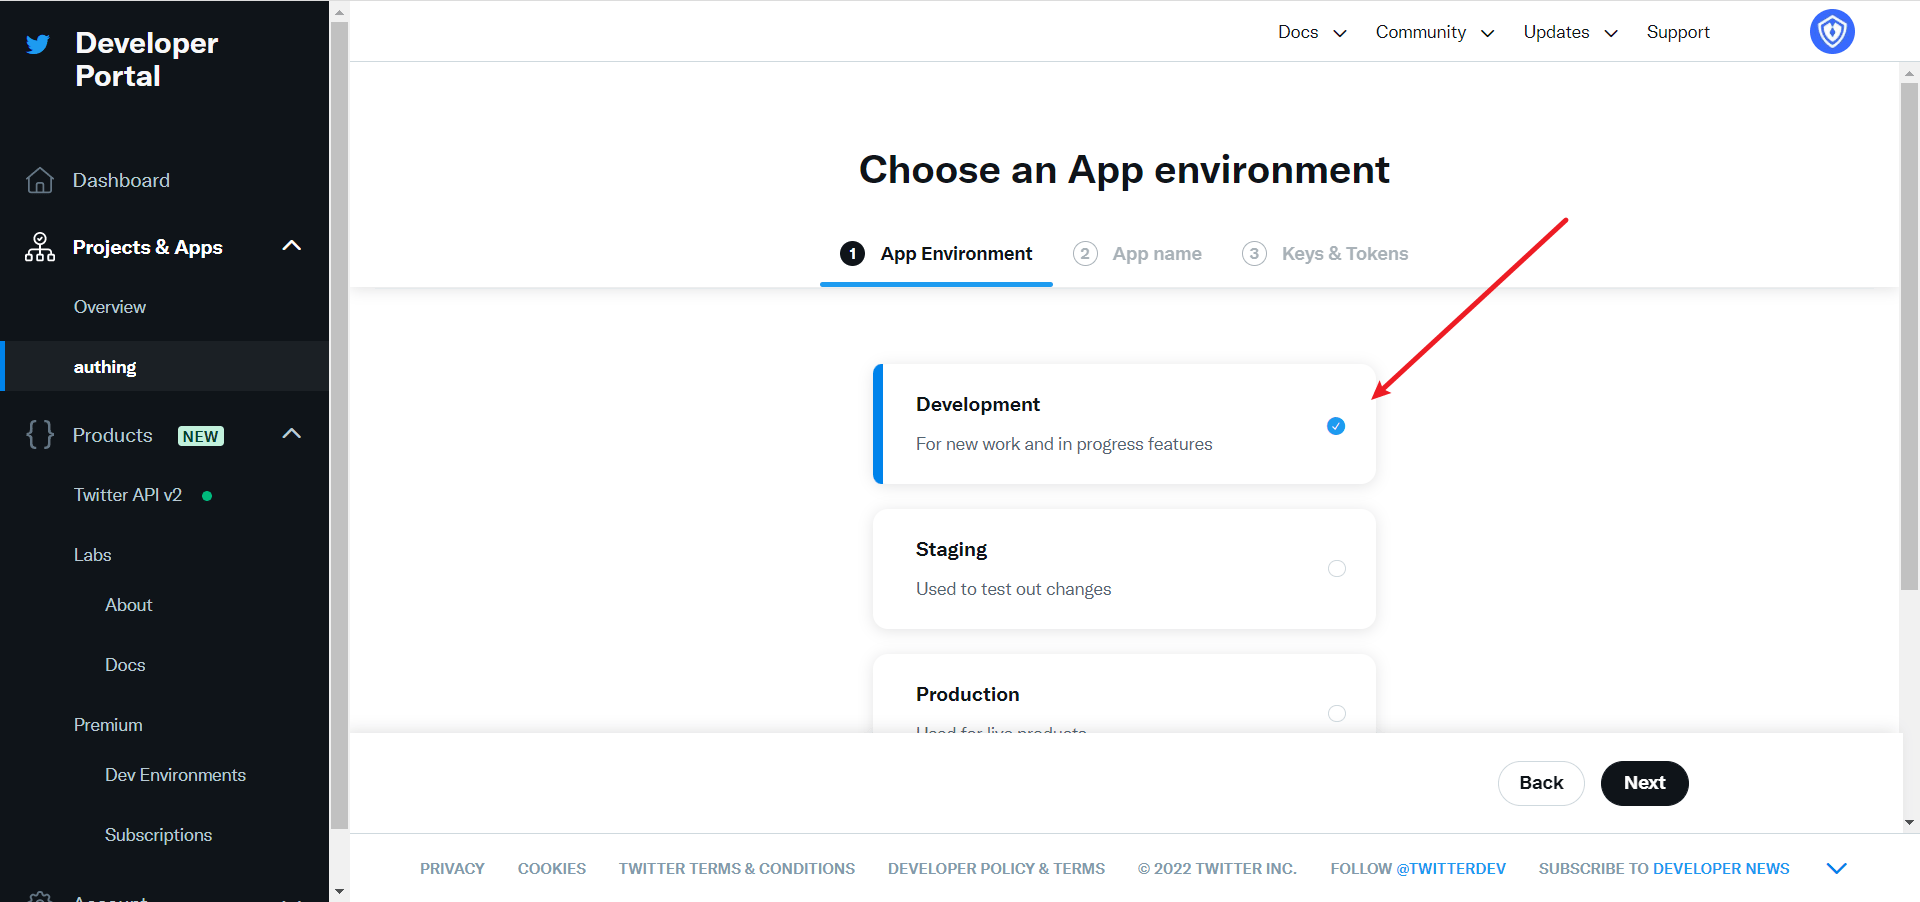
1.1 To create a project, in the sidebar Projects & Apps, select Overview, and under the Elevated directory, click +New Project.
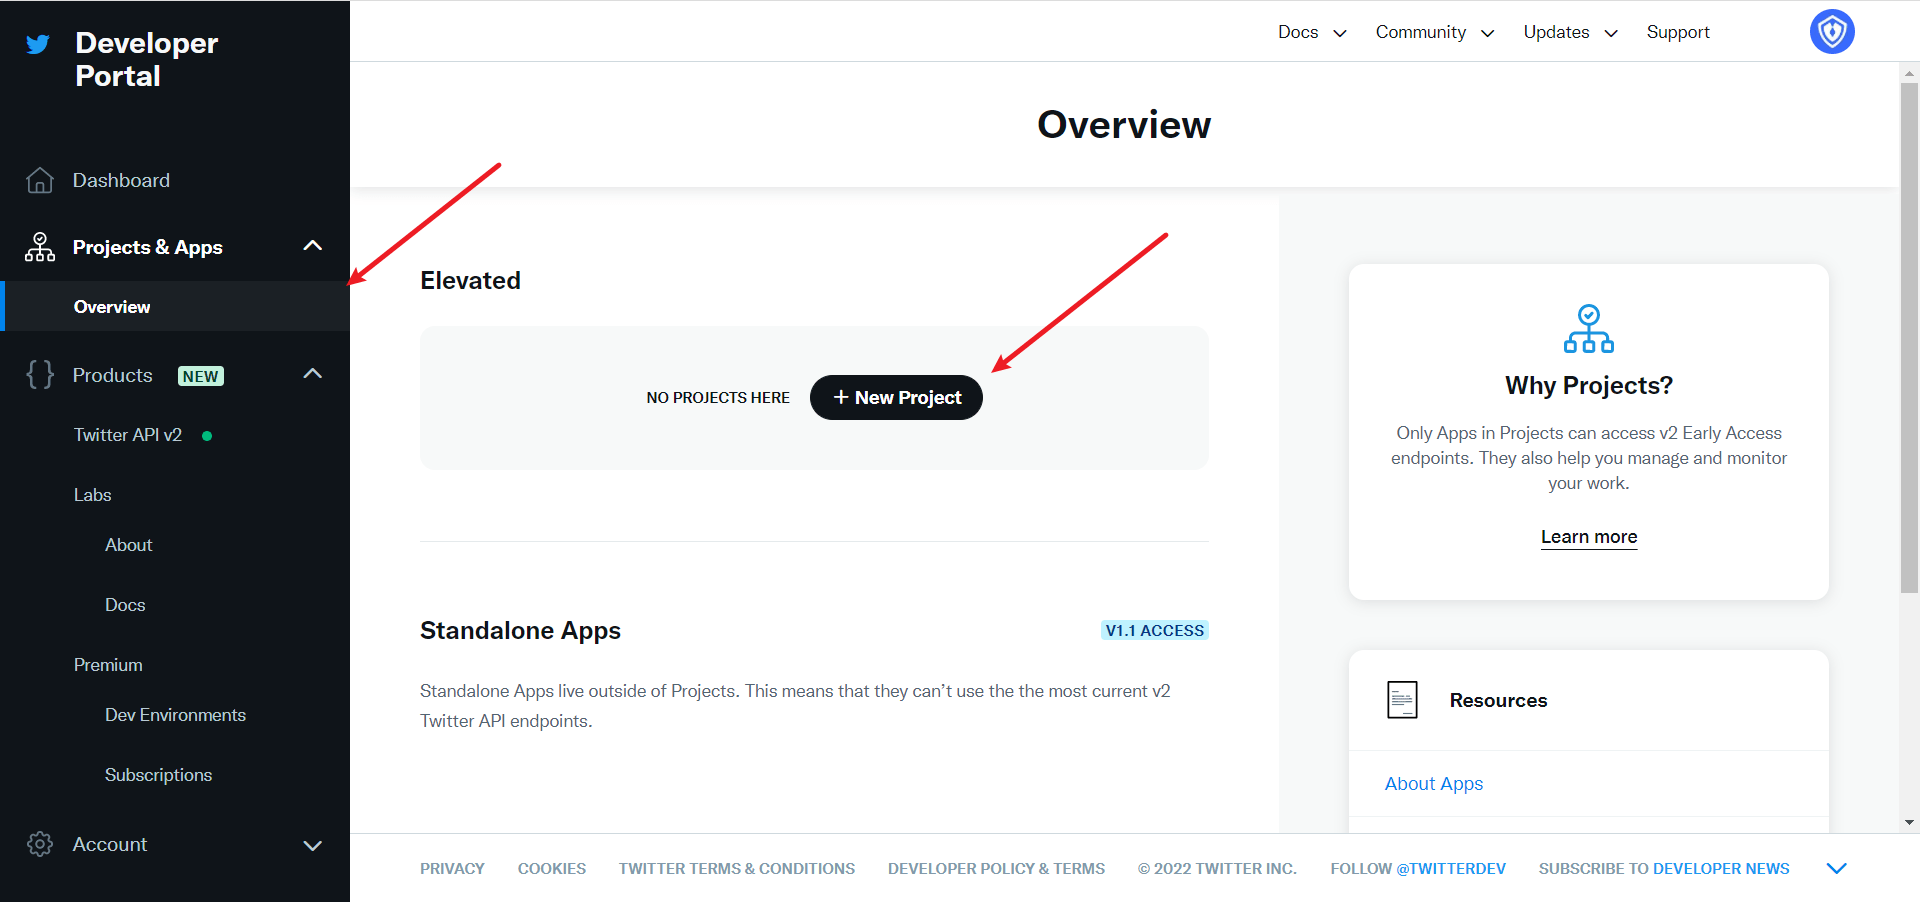
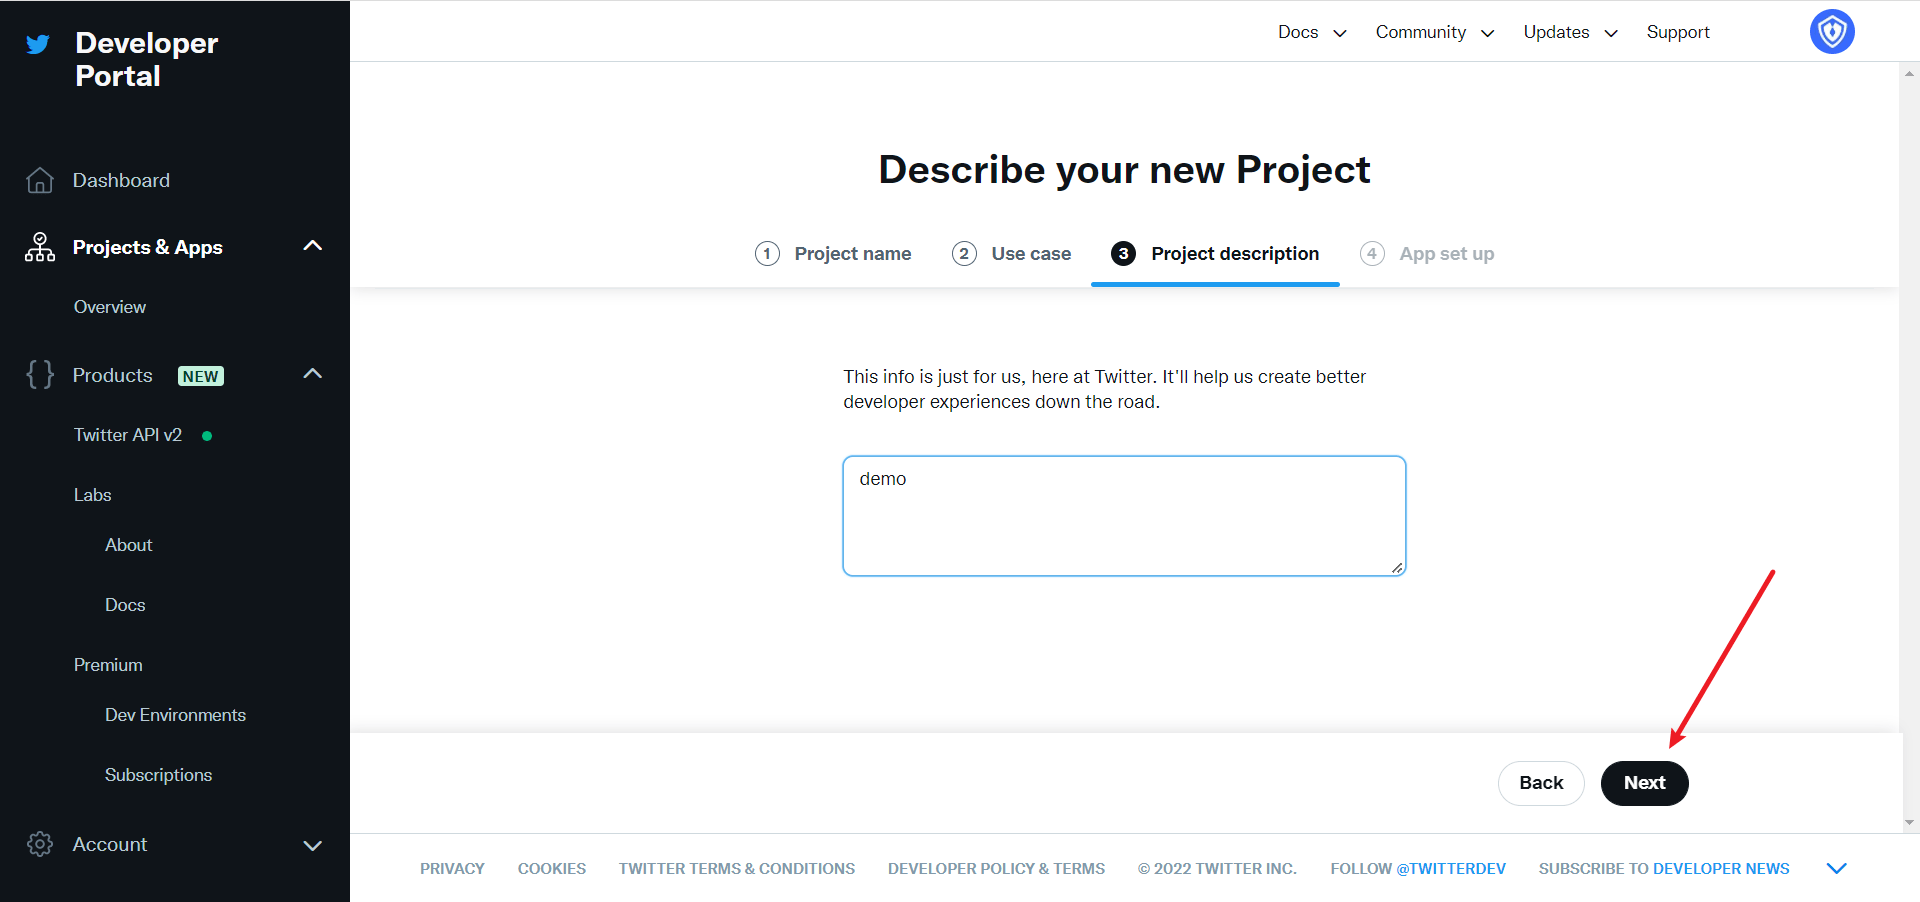
Fill in Project Name, Usage Scenario, Project Description in order to start the app creation.
During the development phase, the application environment is first selected as Development and switched to Production after debugging is complete
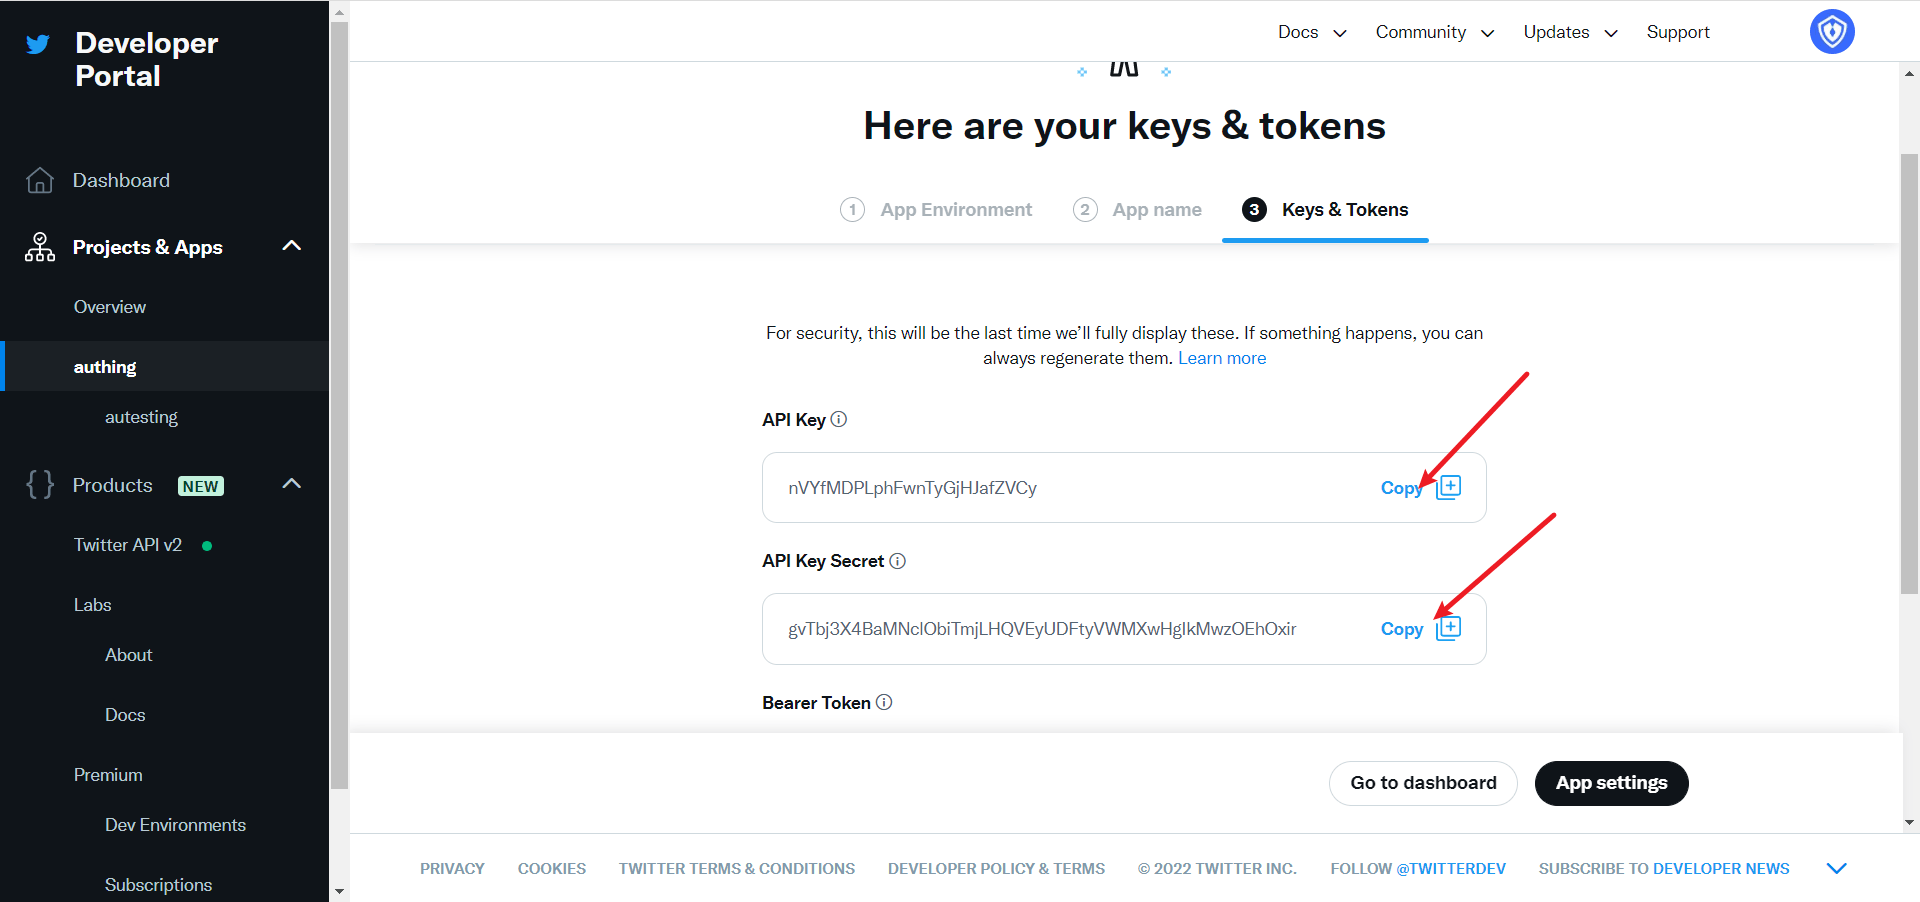
After filling in the name, you will see APP Key and APP Key Secret, which will be recorded first and used in the Authing console configuration
¶ Step 2: Configure Twitter in the Authing console
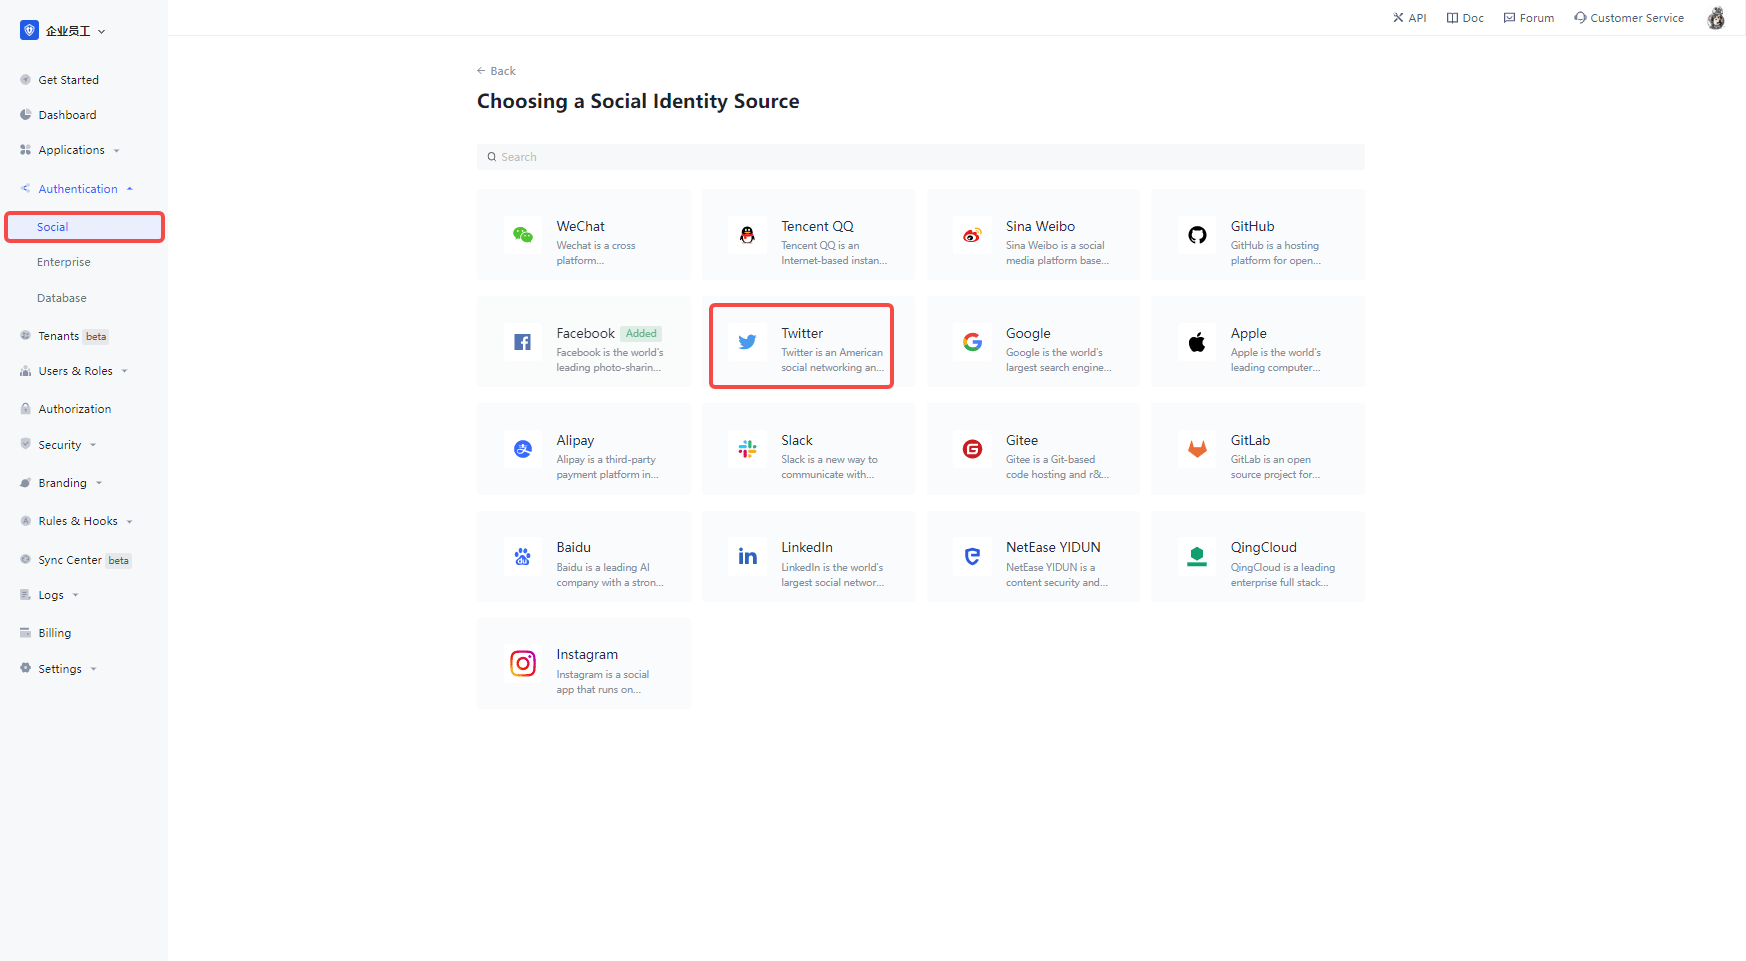
2.1 In the Authing Console, click the "Create Social Identity" button on the "Social Identity" page, go to the "Select Social Identity" page, select the "Twitter" identity button, and go to the "Twitter Login Mode" page.
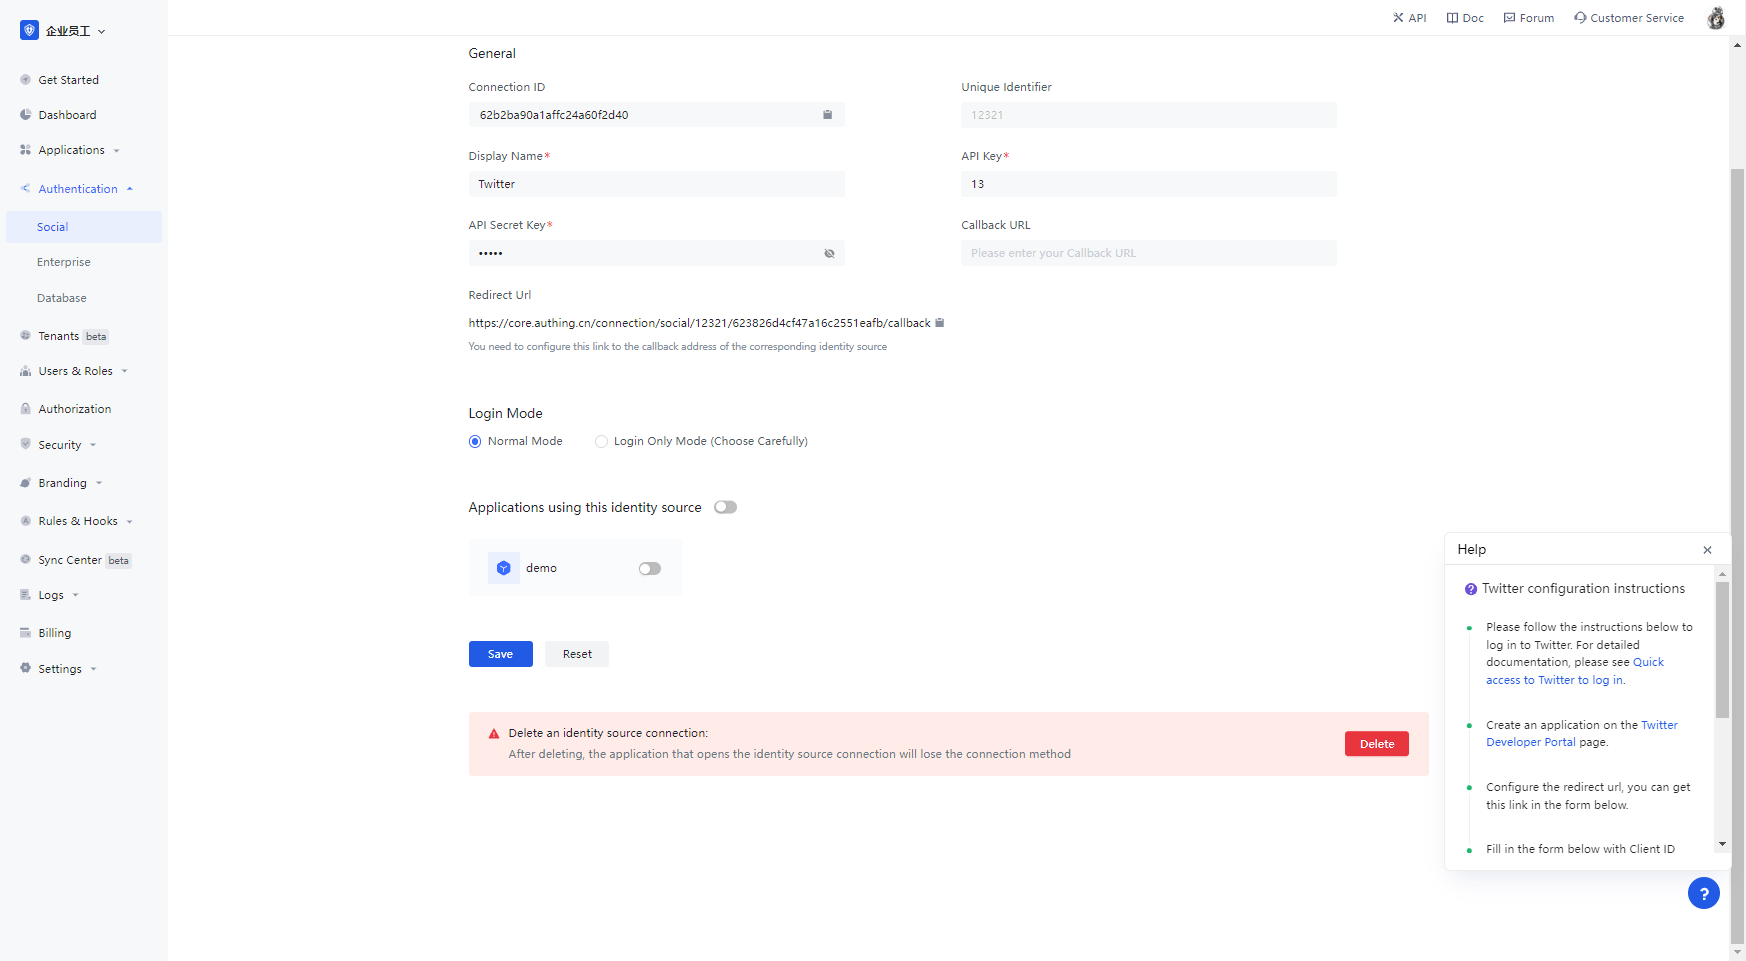
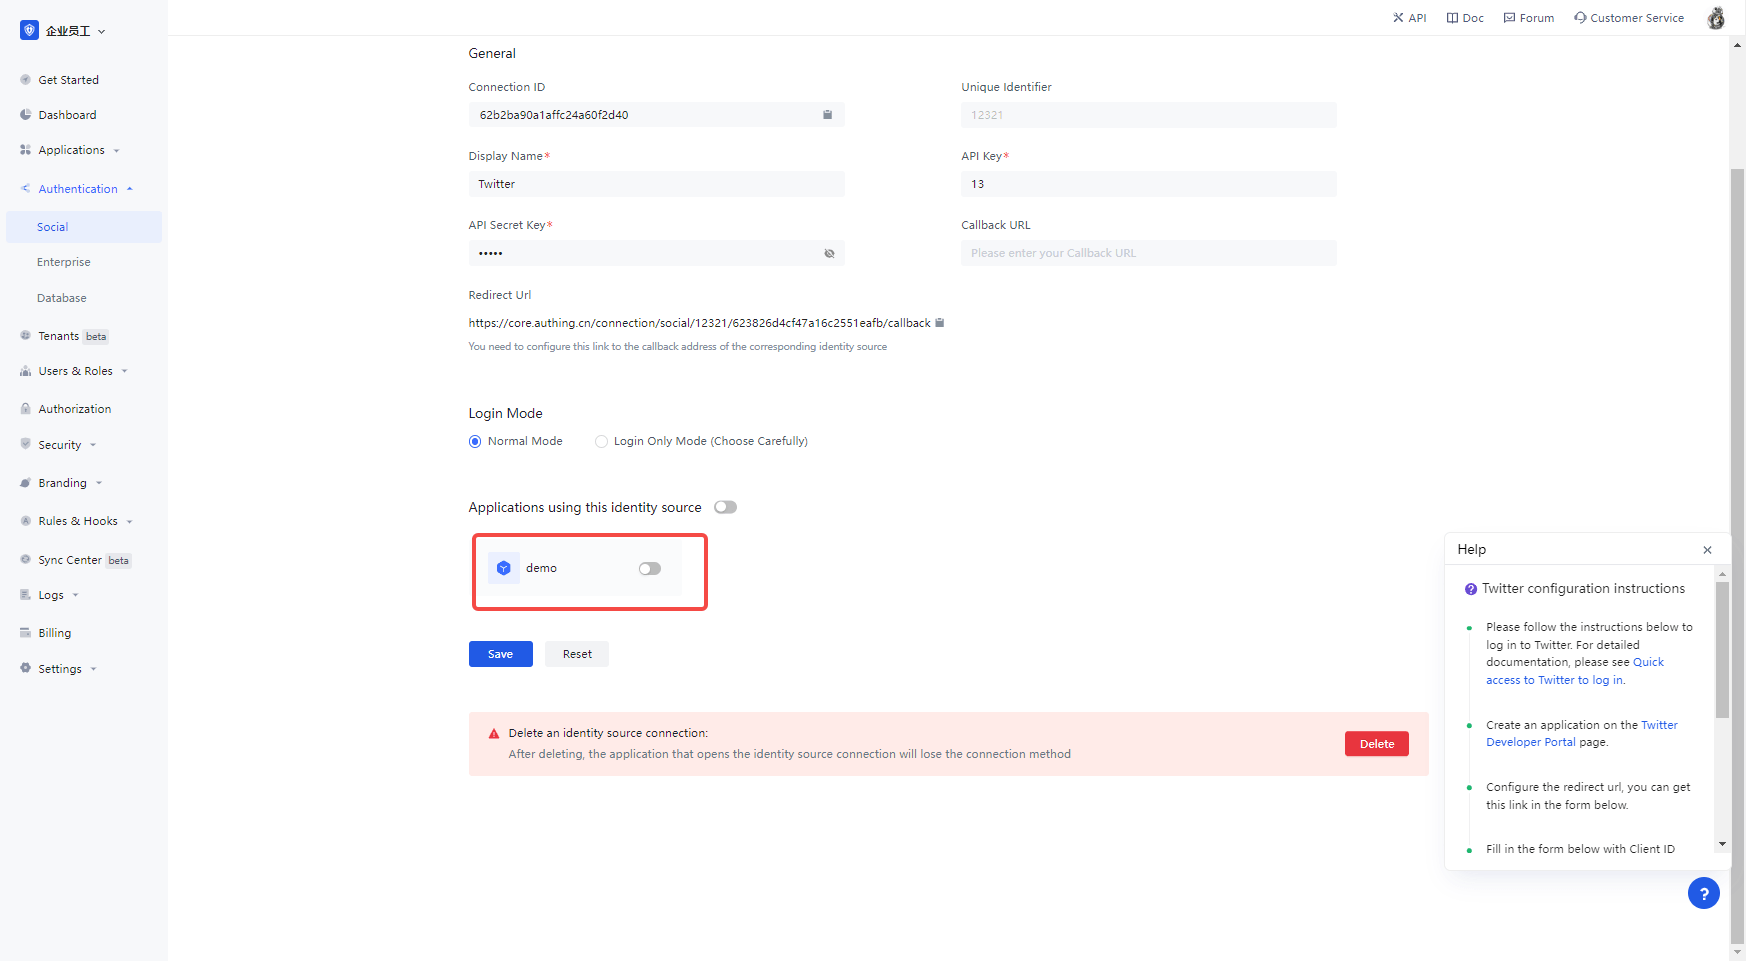
2.3 Please configure the relevant field information on the Social Identity Source - Twitter page in the Authing Console.
| 字段/功能 | 描述 |
|---|---|
| Unique identifier | a. The unique identifier consists of lowercase letters, numbers, -, and is less than 32 bits long. b. This is the unique identifier for this connection and cannot be modified after it is set. |
| Display name | This name is displayed on the button on the end-user's login screen. |
| API Key | The application number, which needs to be obtained on the Twitter platform. |
| API Secret Key | The application key to be obtained on the Twitter platform. |
| Callback URL | This is your business callback domain name, which is not the same concept as the callback link configured in the self-built application, nor is it related to the callback address configured in the third-party social login console. For example, if your website domain name is https://example.com and the url for handling Authing callback requests is /auth/callback, then you should fill in https://example.com. That parameter has been It is not recommended to use this parameter, and it is recommended to configure the callback link separately in the application, where the address can be filled in #. |
| Callback Address | Twitter's redirect URI. You need to configure this URL to the callback address of the application created on the Twitter platform. |
| Login Mode | When "Login Only Mode" is enabled, you can only login to your existing account and cannot create a new account, so please choose carefully. |
Once the configuration is complete, click the "Create" or "Save" button to finish the creation.
In the Twitter created project, select the app you just created, scroll down to the bottom and under the User authentication settings section, click the Set Up button to enter the authentication settings page 
Turn on OAuth 1.0a 
Select App permissions as needed, by default Read is sufficient for authentication, Callback URI / Redirect URL fills in the callback address displayed after the Twitter identity feed is created on the Authing console. 
Website URL Just fill in your site's homepage and click Save 
If you forget the application key, you can click Keys and tokens on the application page and select Regenerate to regenerate it. 
When you're done configuring the app, go back to the app settings page and click Edit to switch the app environment to Production. 
¶ Step 3: Development Access
Recommended development access: Use a hosted login page
Description of advantages and disadvantages: Simple to run and maintain, run by Authing. Each user pool has a separate secondary domain; if you need to embed it in your application, you need to use the popup mode login, i.e.: after clicking the login button, a window will pop up with Authing hosted login page, or redirect the browser to Authing to the hosted login page.
Detailed access method.
3.1 Create an app in the Authing console, for details see: How to create an app in Authing
3.2 On the created Twitter identity connection details page, open and associate an app created in the Authing console
3.3 Experience Twitter third-party login on the login page
