¶ Windows AD
¶ Introduction
- Overview: Windows AD is a localized user directory management service provided by Microsoft. You can configure and enable the enterprise login of Windows AD service provider application sweep code in Authing to quickly get the basic open information of Windows AD and help users to achieve the password-free login function through Authing.
- Application scenario: Enterprise PC no-login scenario
- End-user preview image.

¶ Caution.
- To use Windows AD you need a Windows server.
- A server with Active Directory installed.
- A machine running the Authing AD Connector that is able to connect to Active Directory.
- A user account with read access to Active Directory.
- If you do not have a Authing console account, go to AuthingConsole console (opens new window) to register for a developer account first.
¶ This article contains the following sections.
- Windows Active Directory Installation under Windows Server
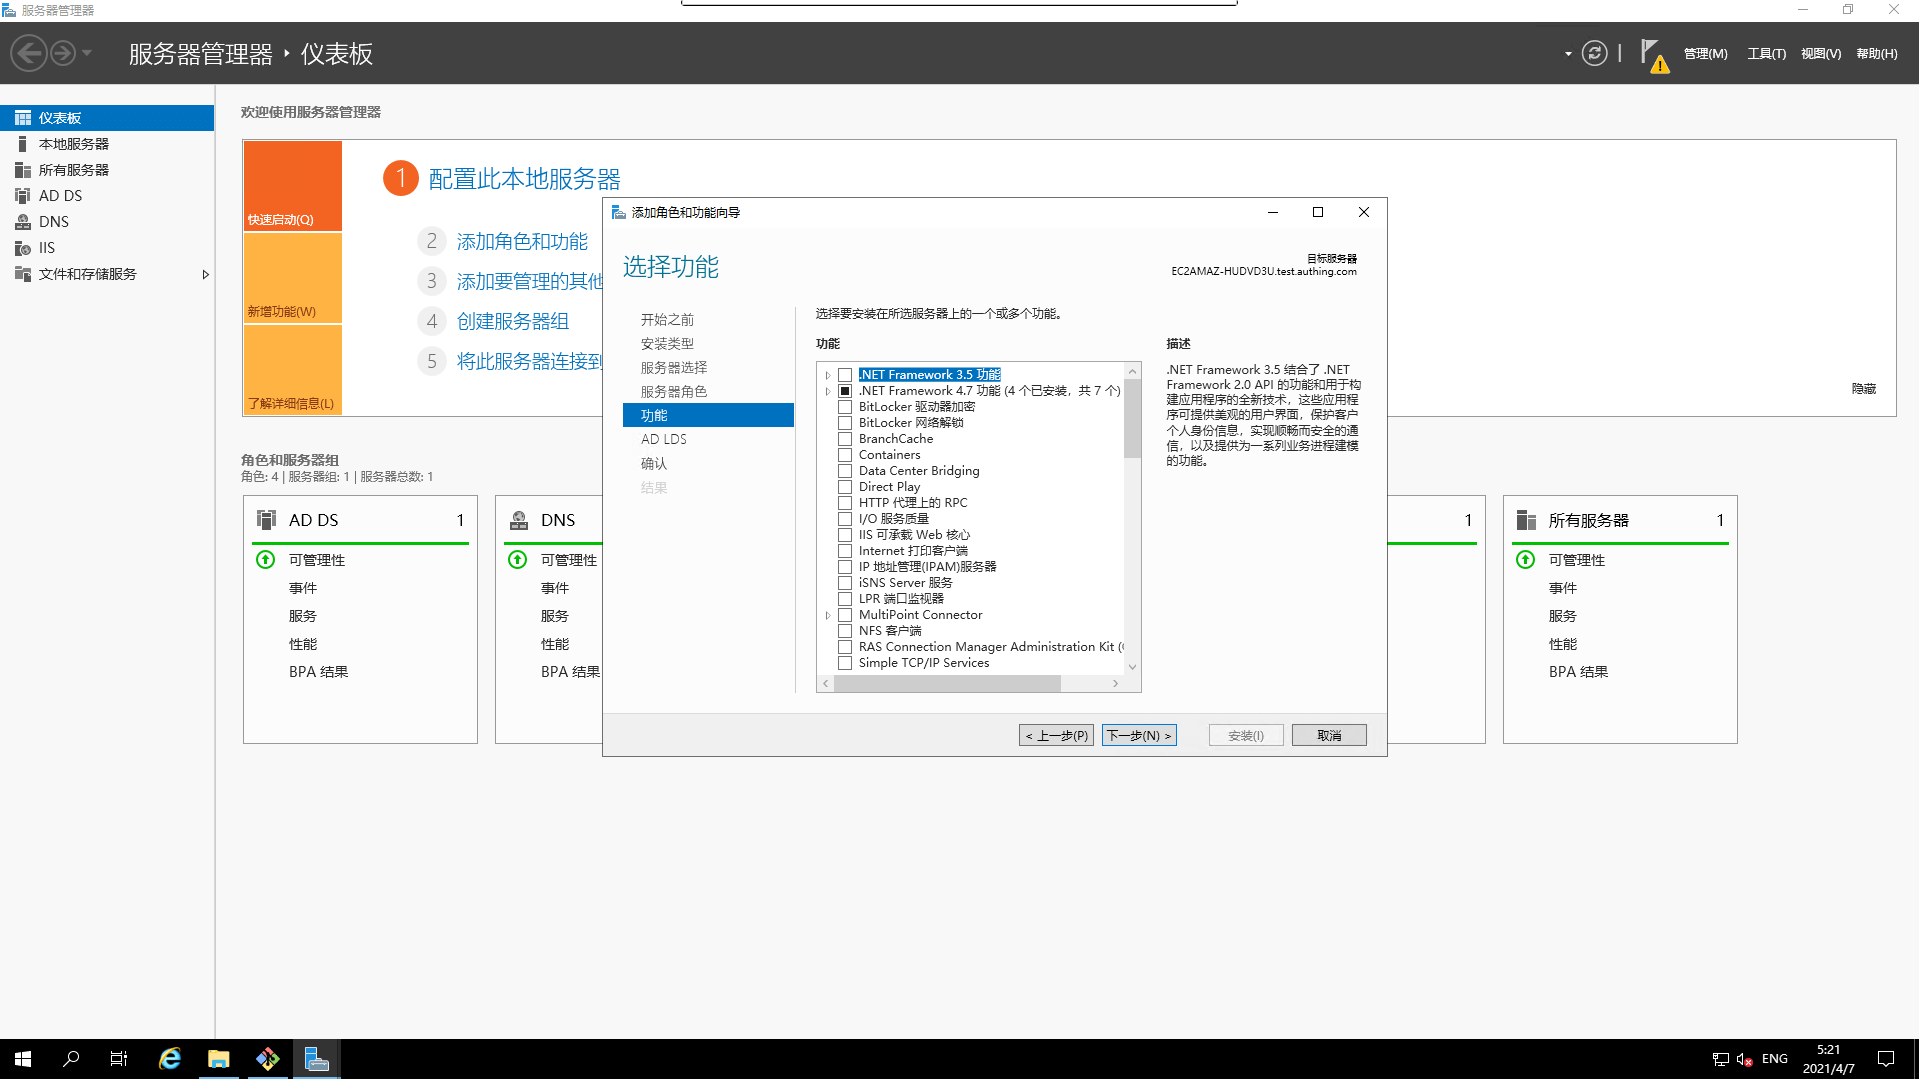
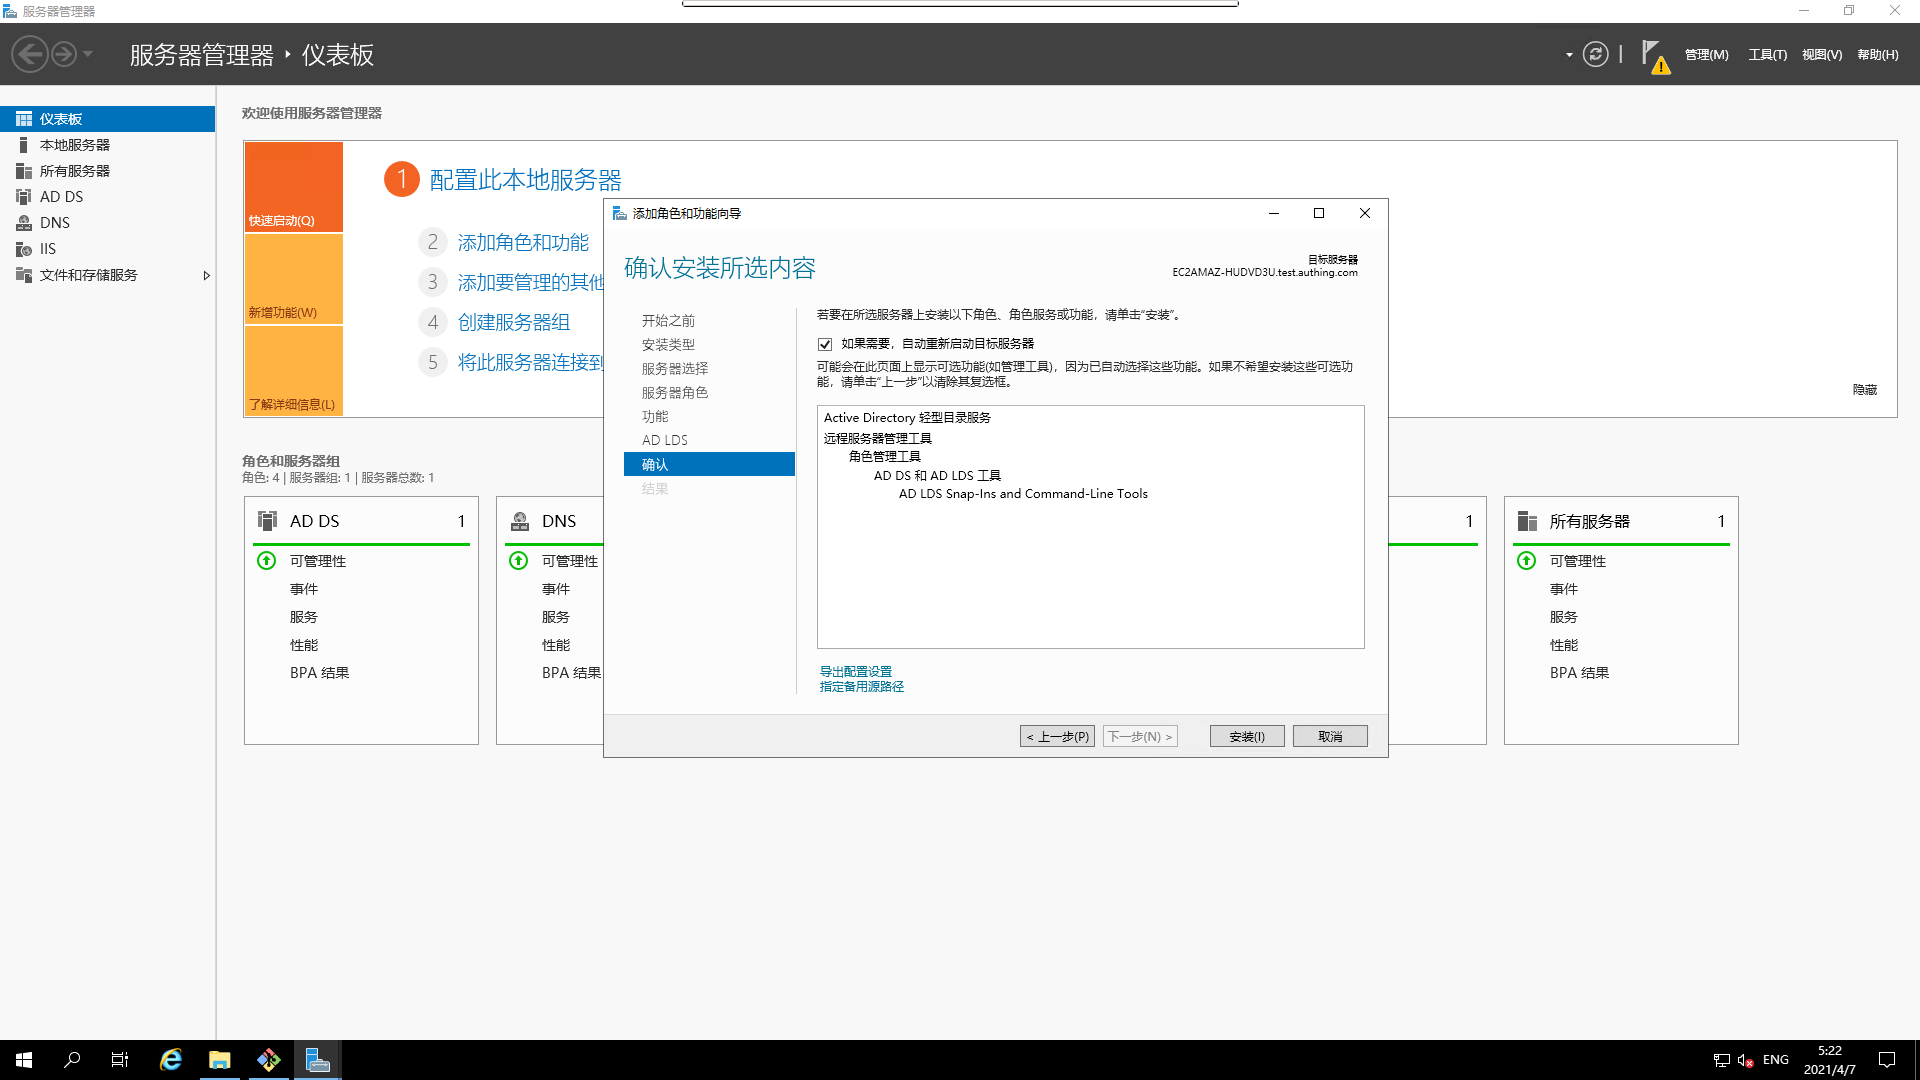
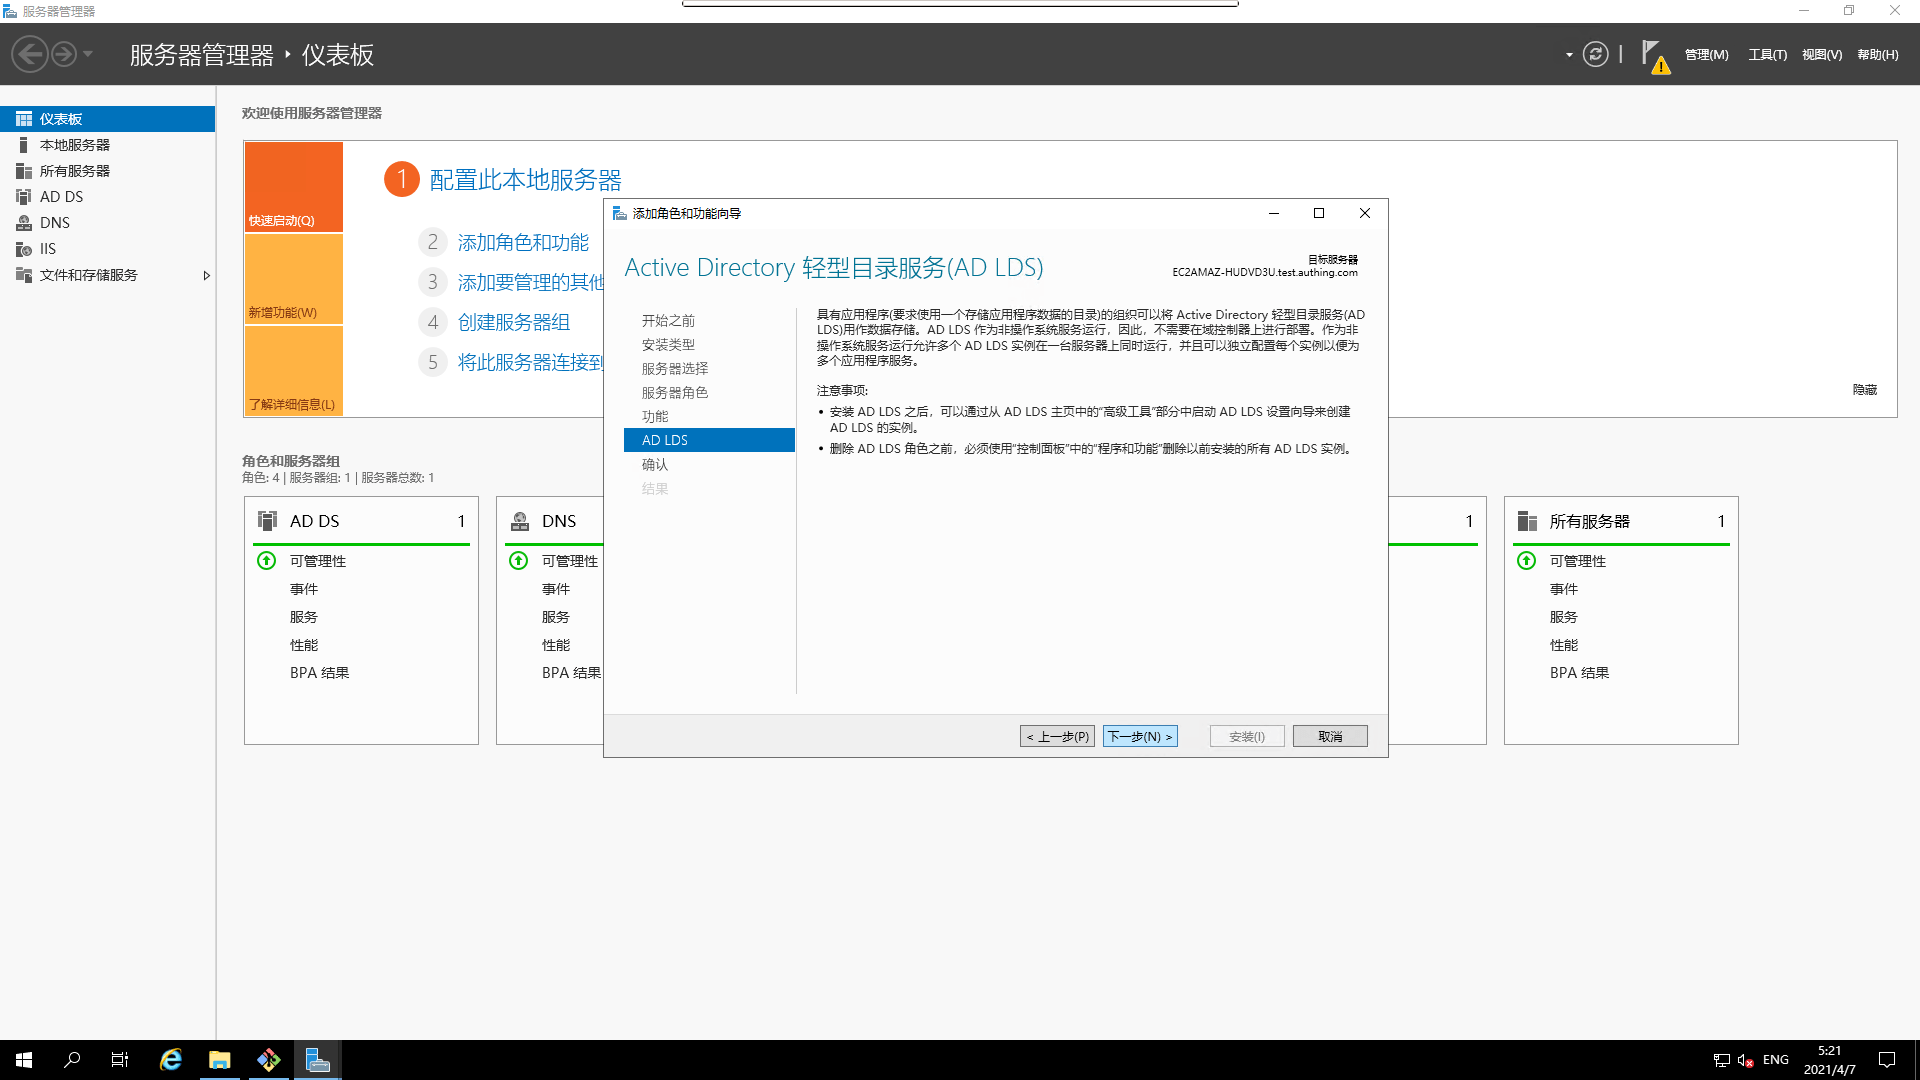
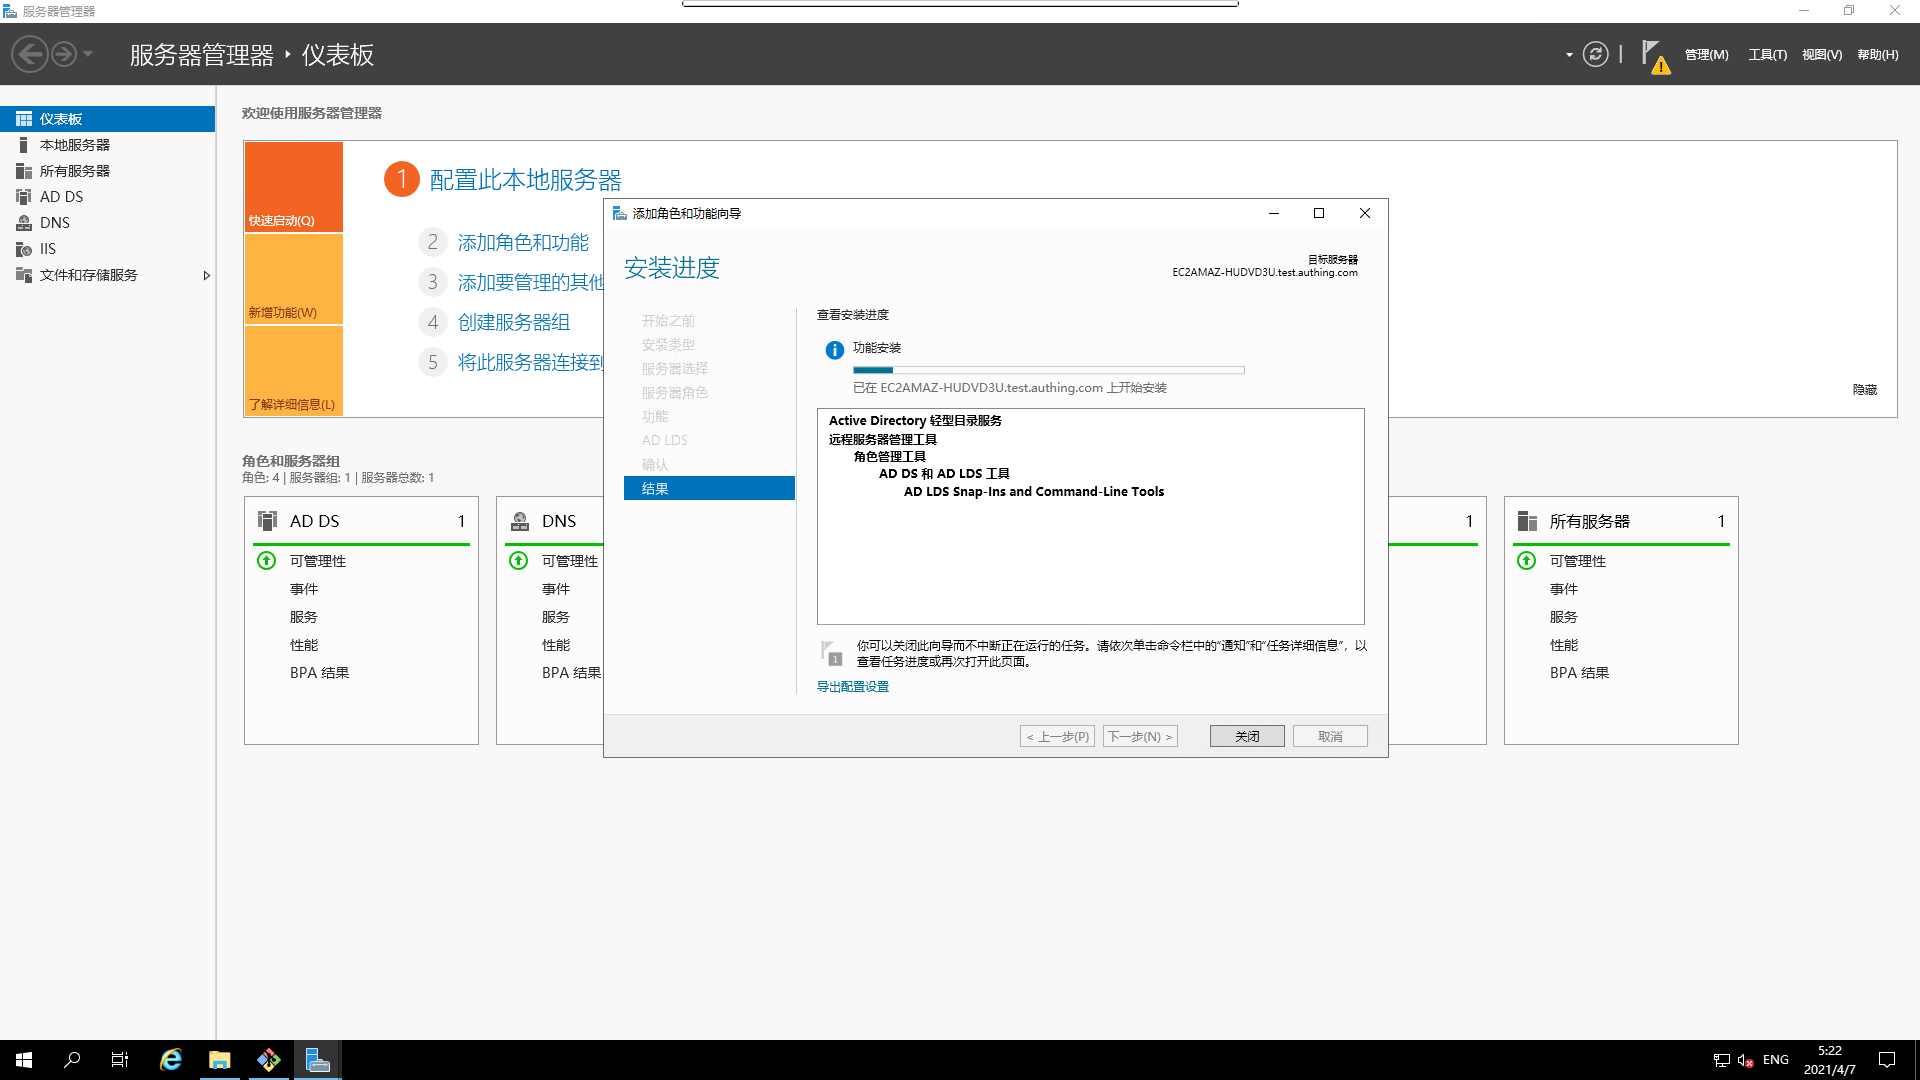
- Installing AD LDS
- Configuring AD Domain Services
- Checking Active Directory Service Connections
- Installing AD CS
- Configure AD CS
- Test pass
ldapsto connect to Active Directory AD Related PoliciesModificationandTesting- Related
servicesandconfigurationpurposes
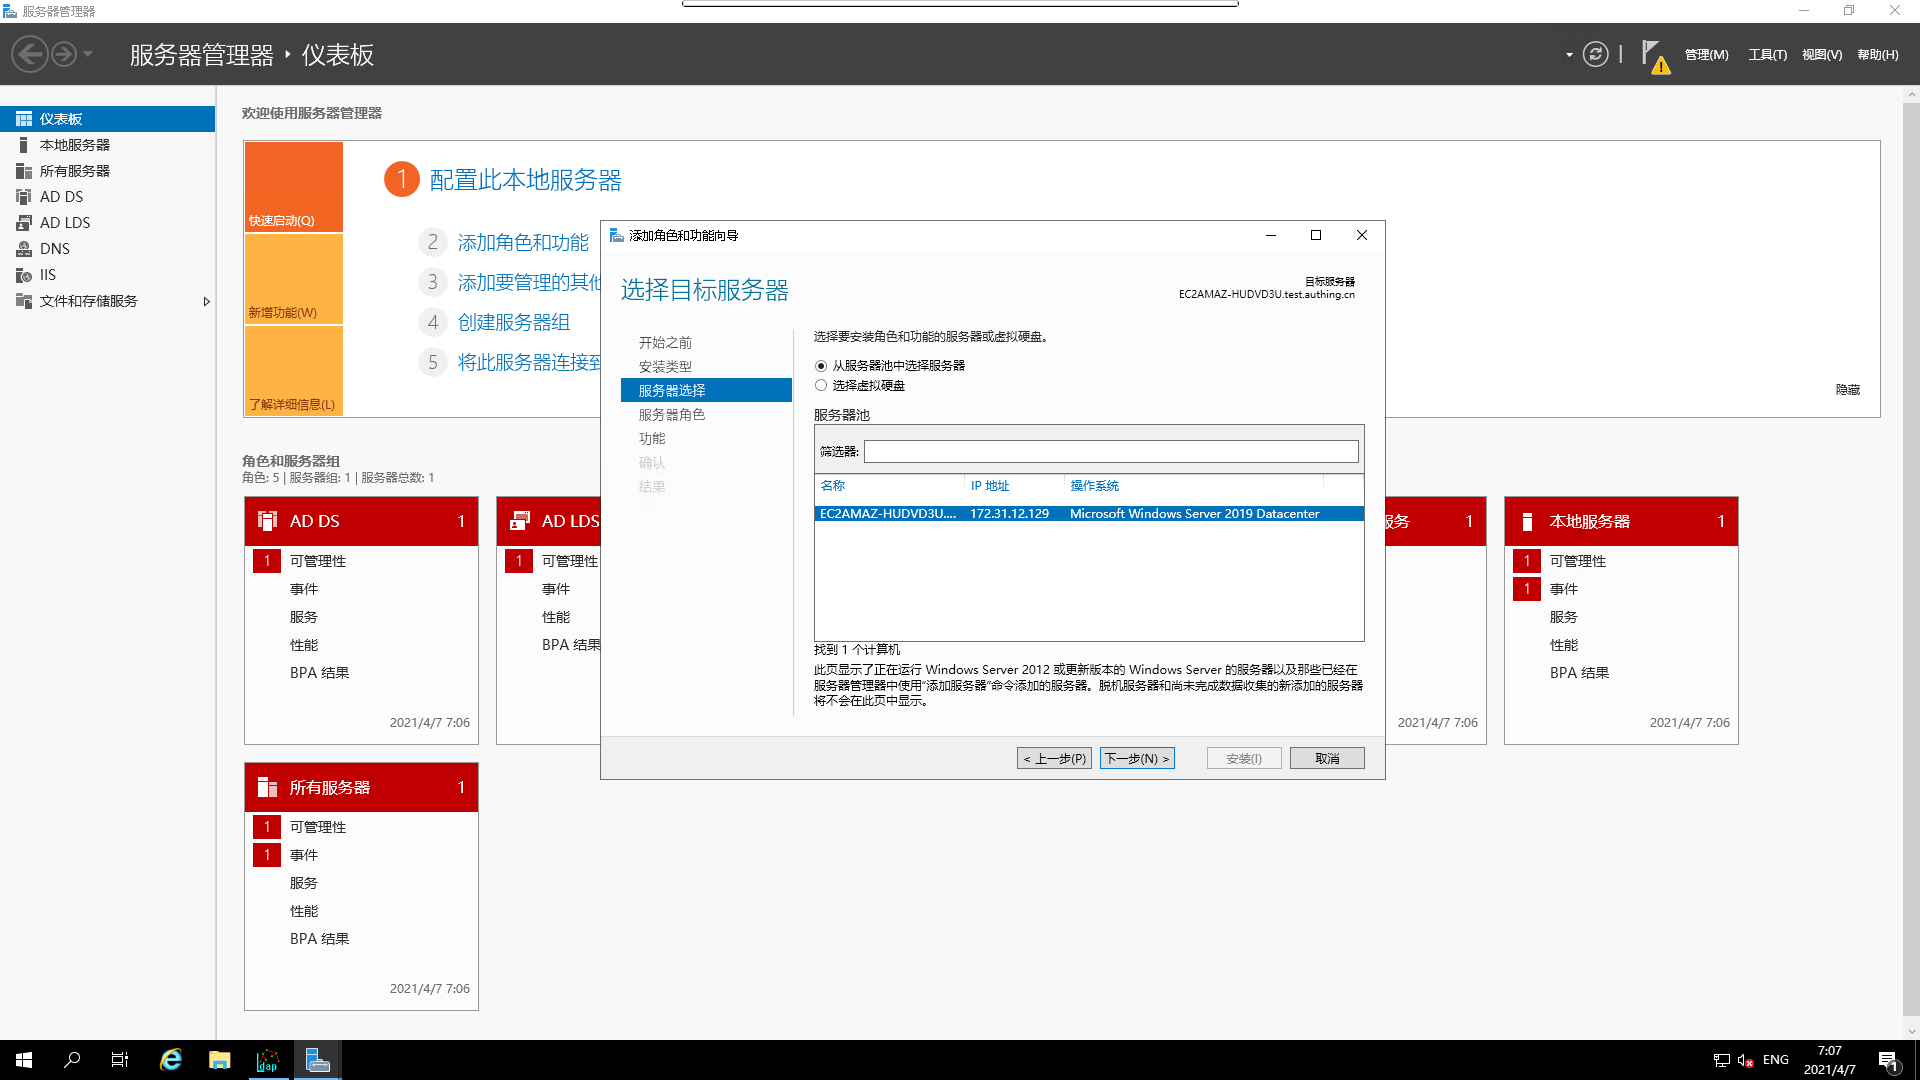
¶ Windows Active Directory installation under Windows Server
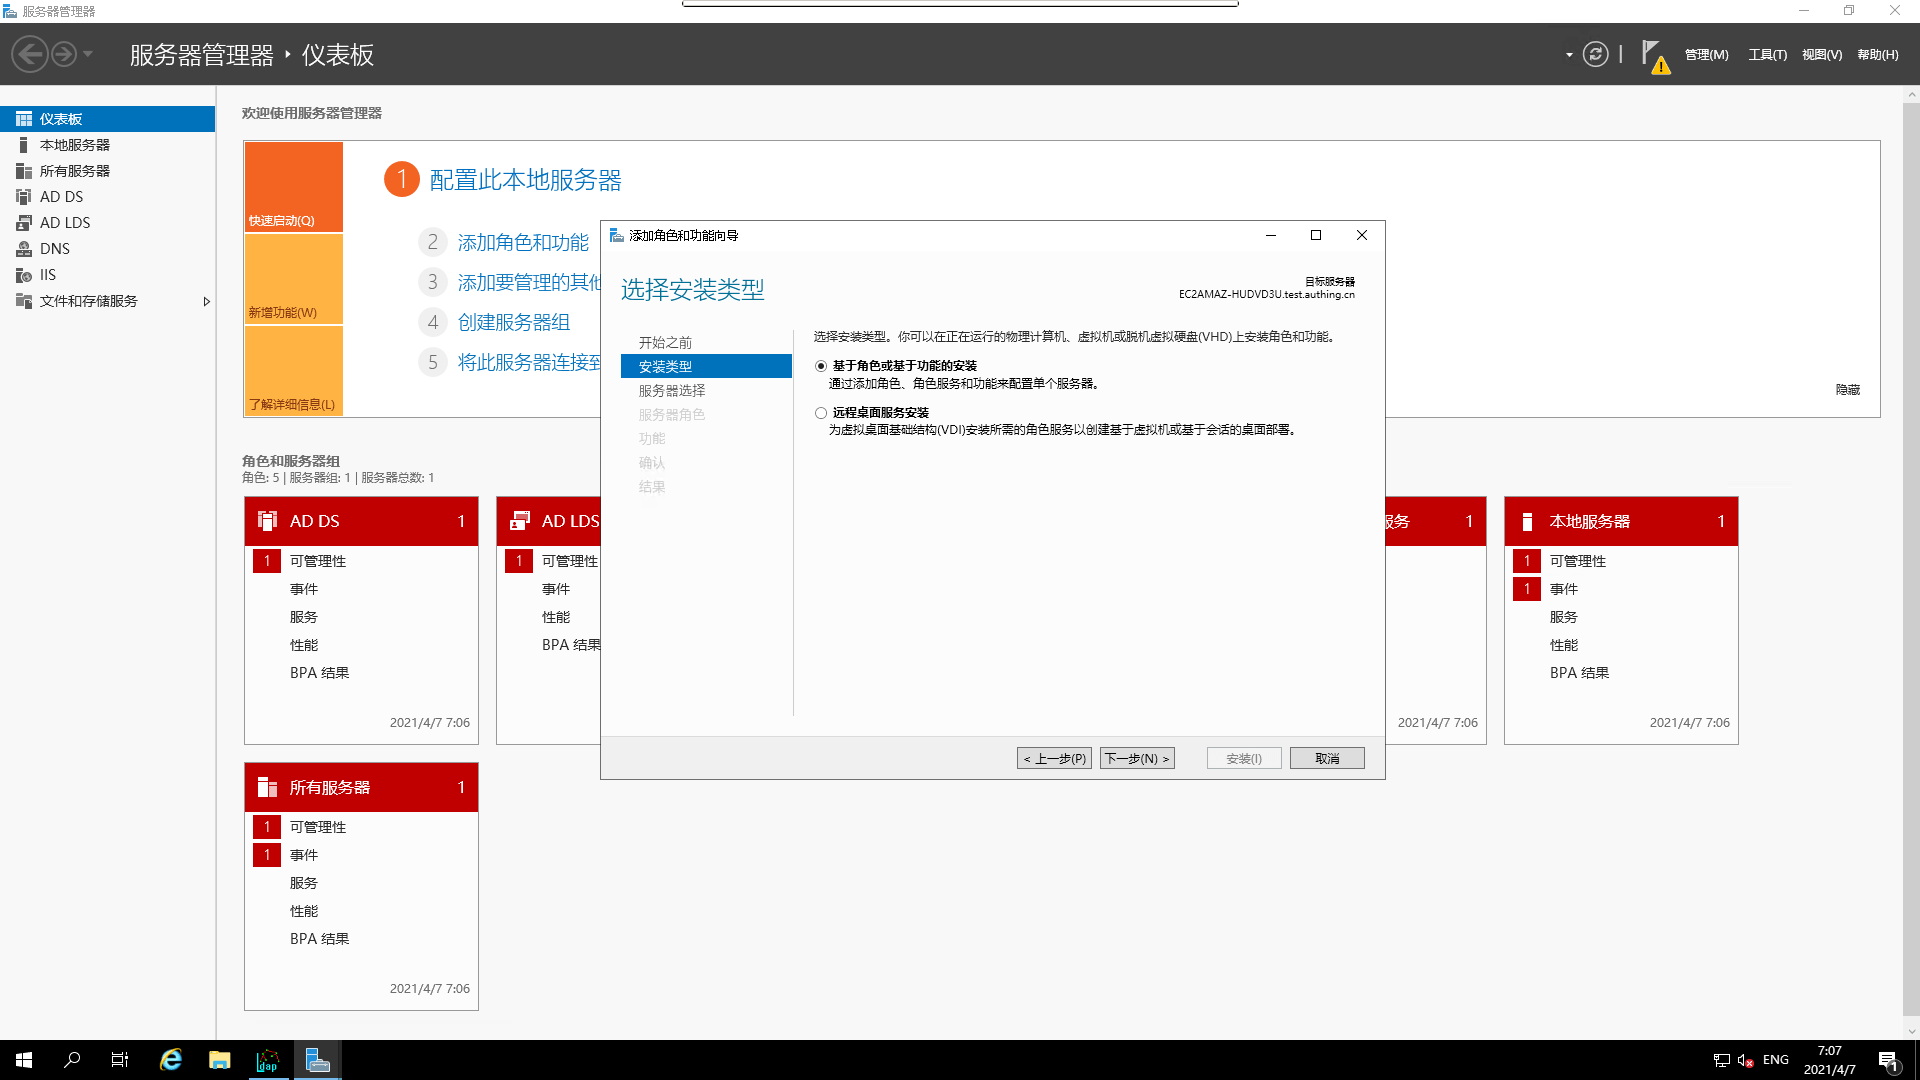
¶ Installing AD Domain Services 1.
- Open the
Service Managerin Windows Server
 2.
2.
- Select
Add Roles and Features

- Select
installation type

- `Server selection

- select
server-role

- Select
featured
- Confirm
- AD LDS
- Installation in progress
- Installing successfully
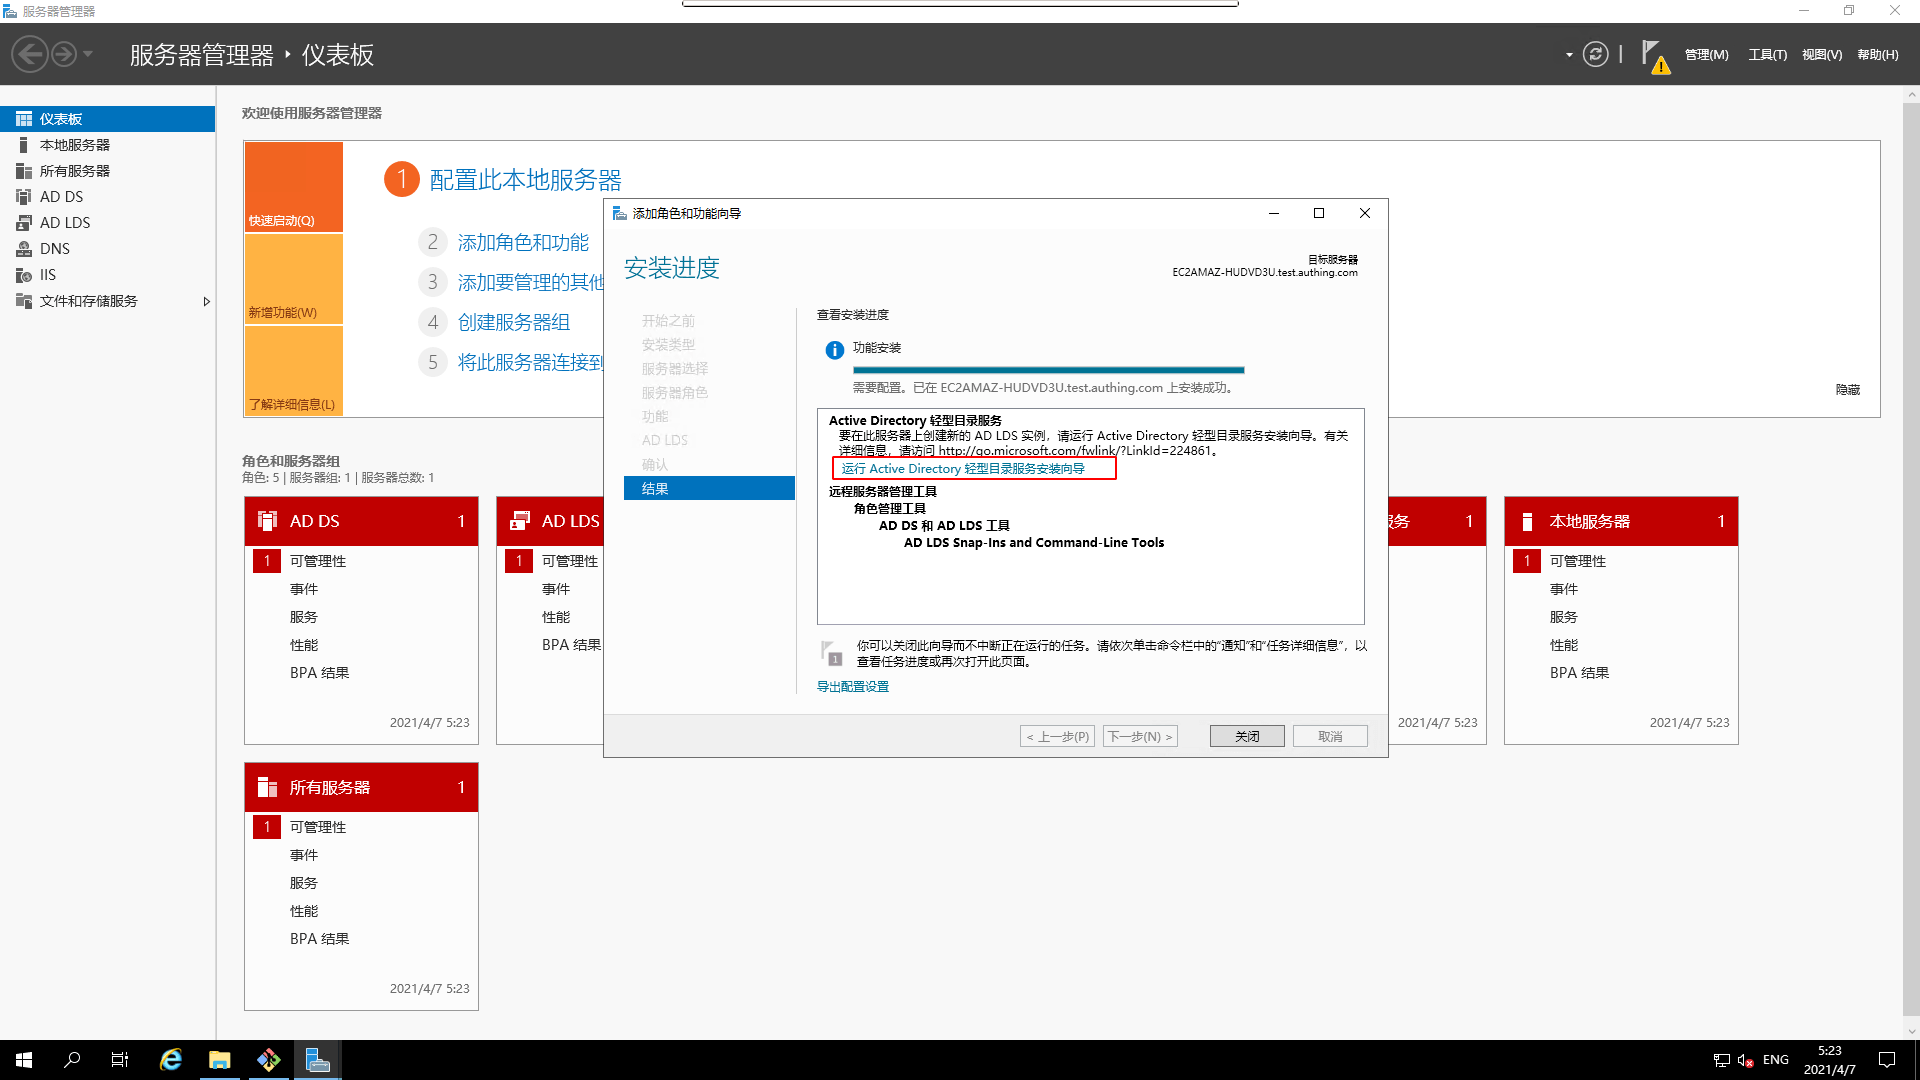
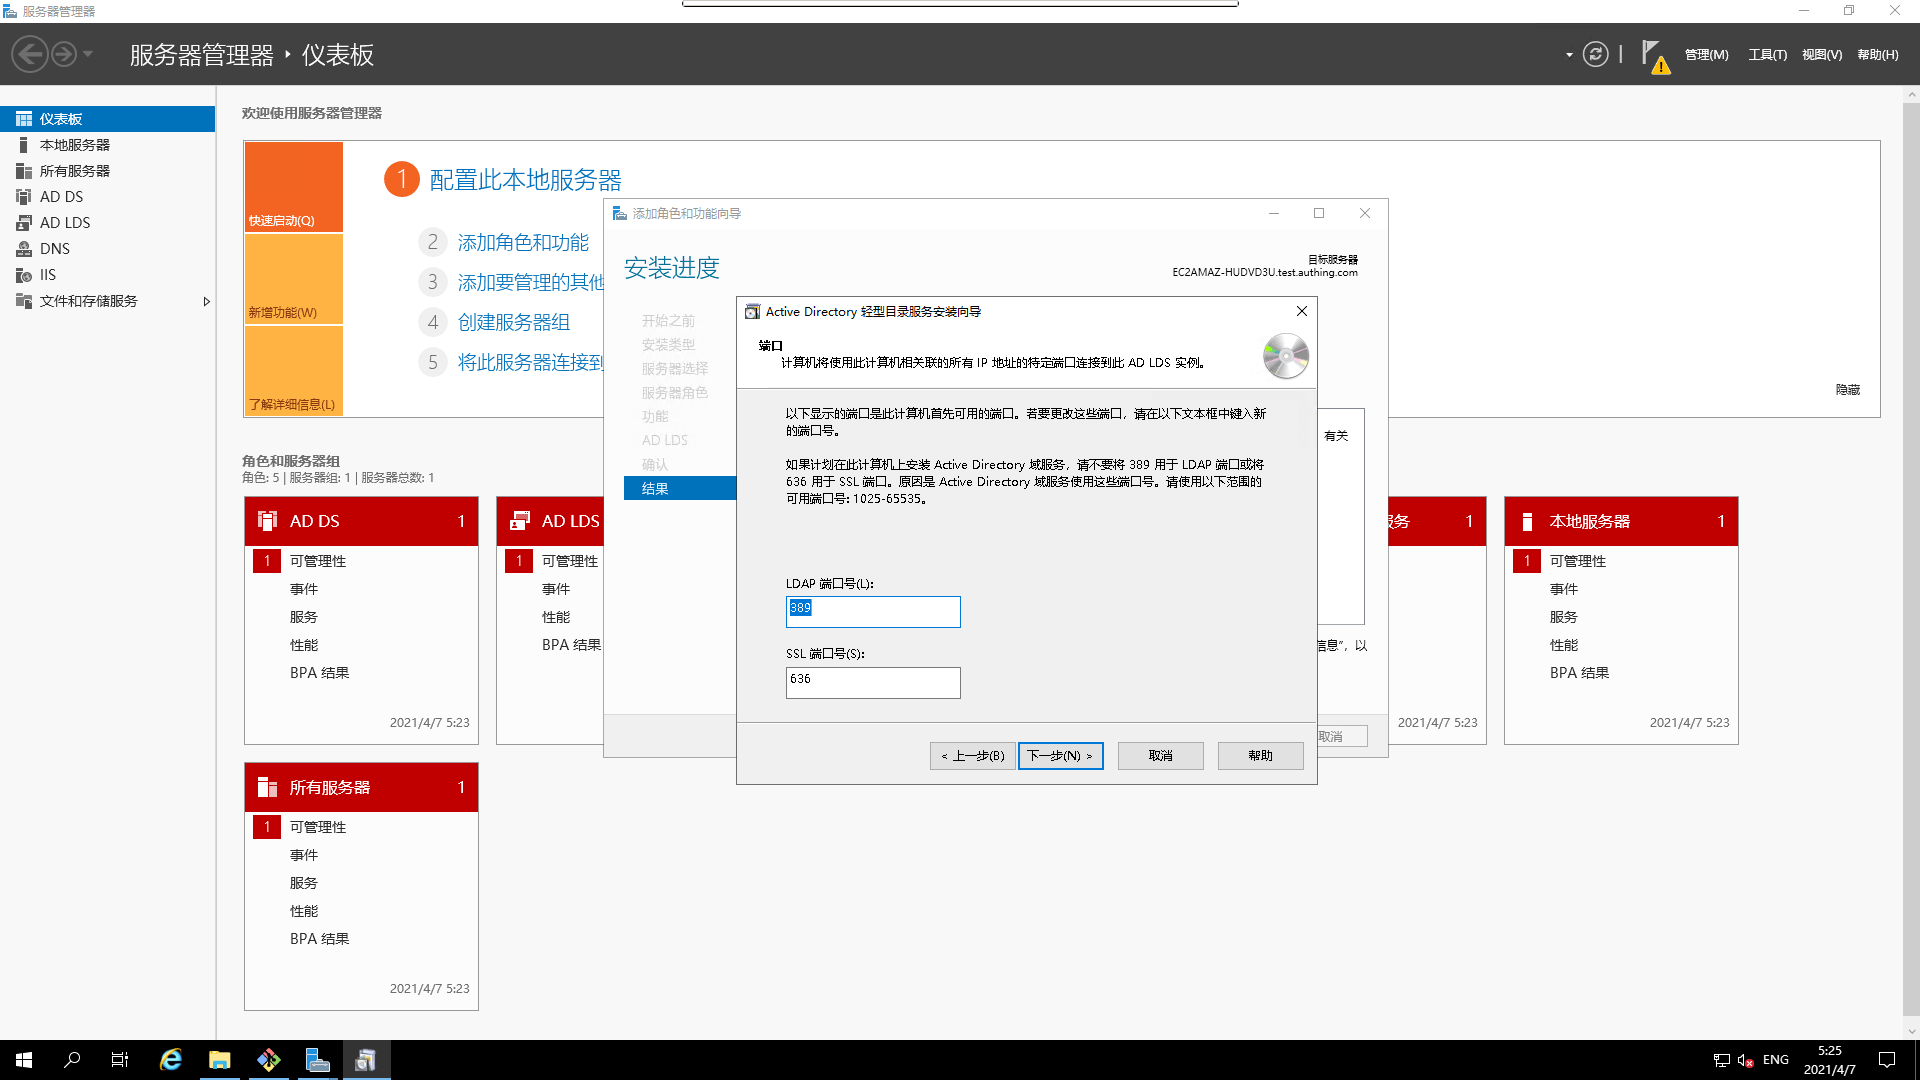
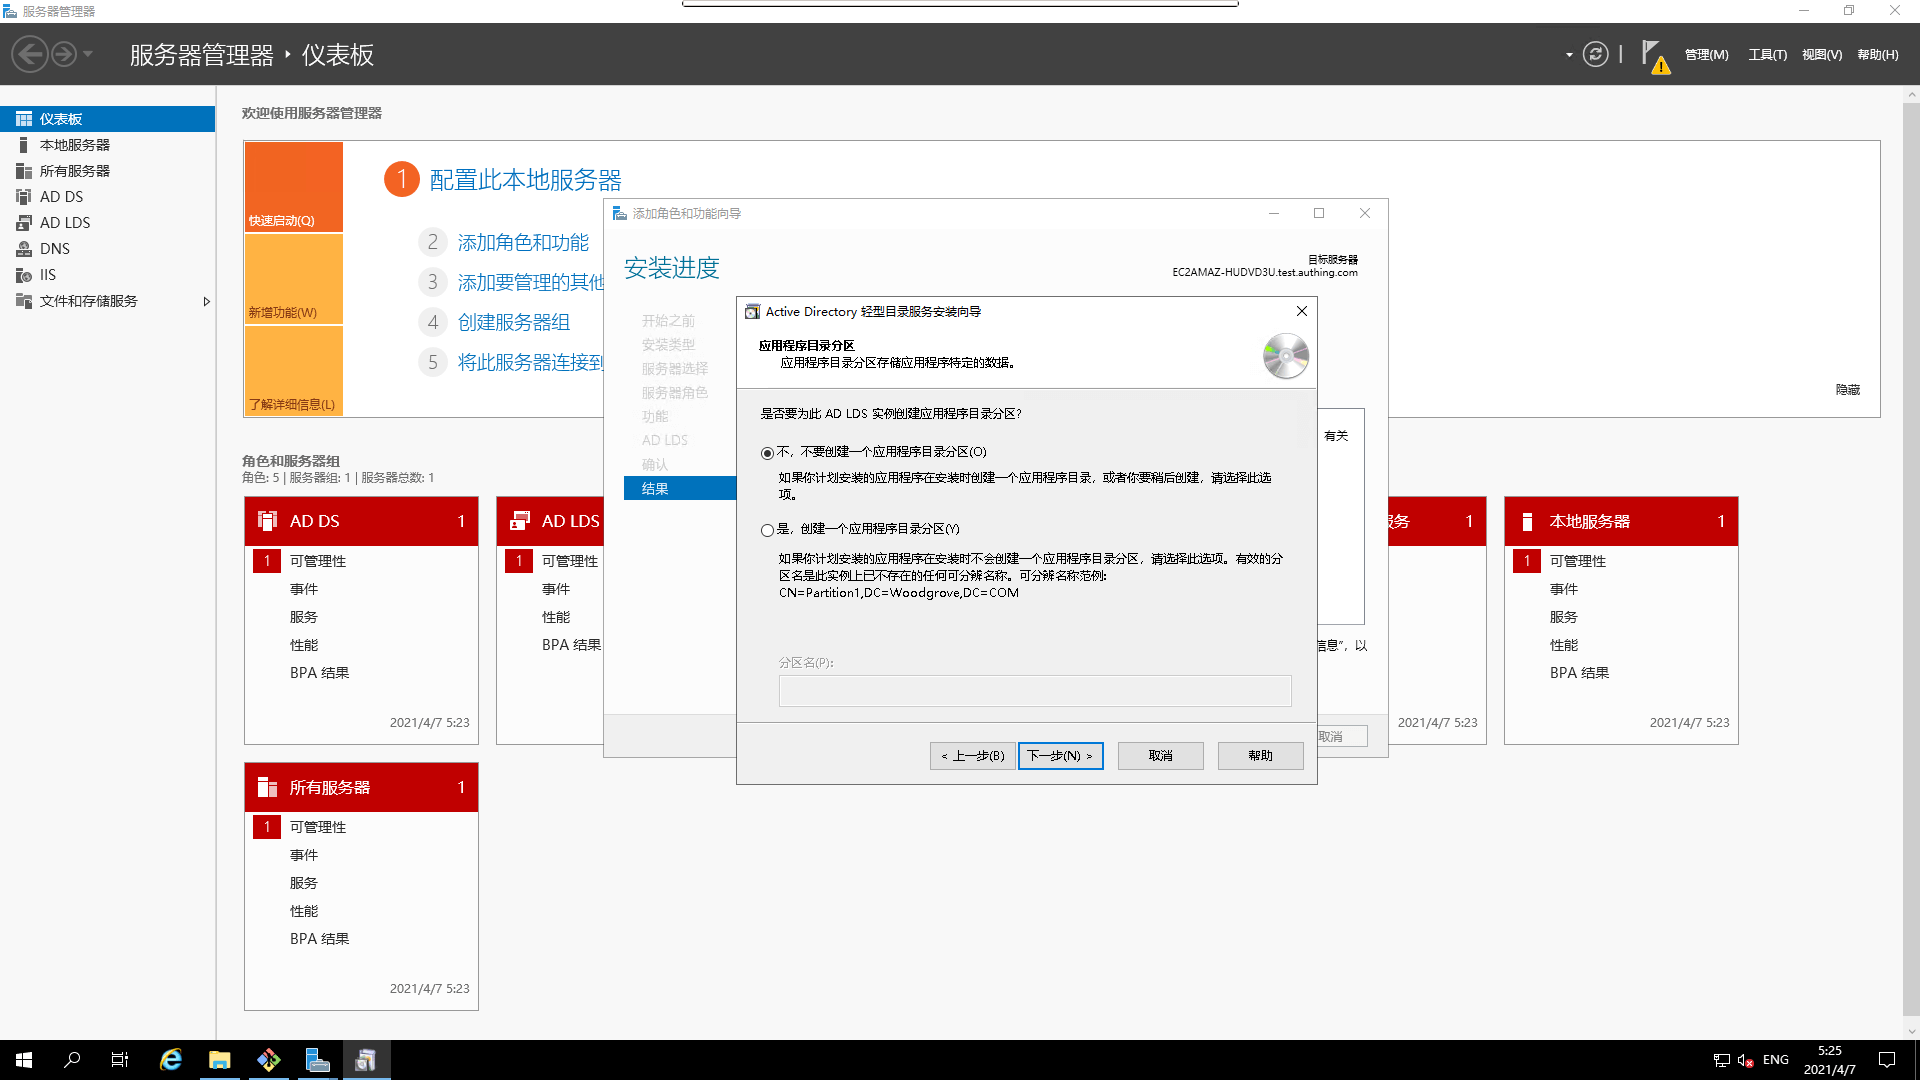
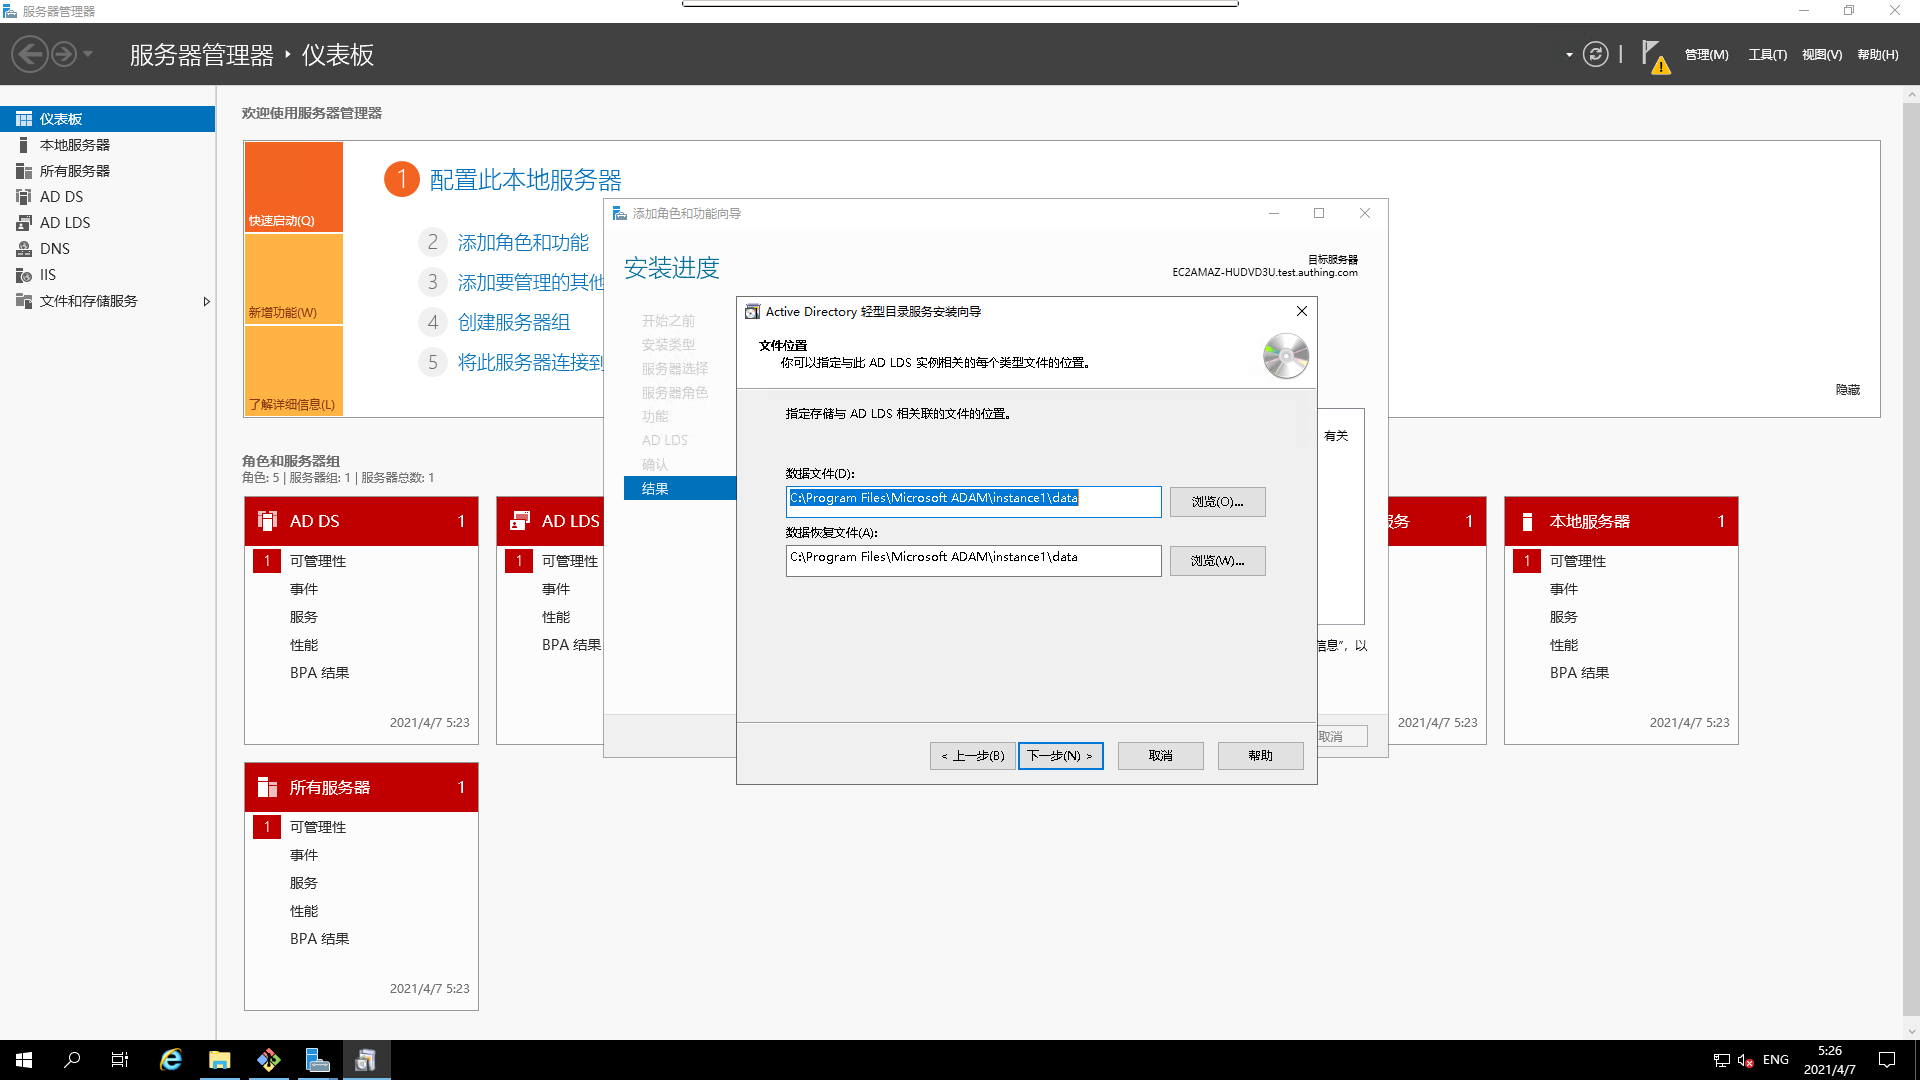
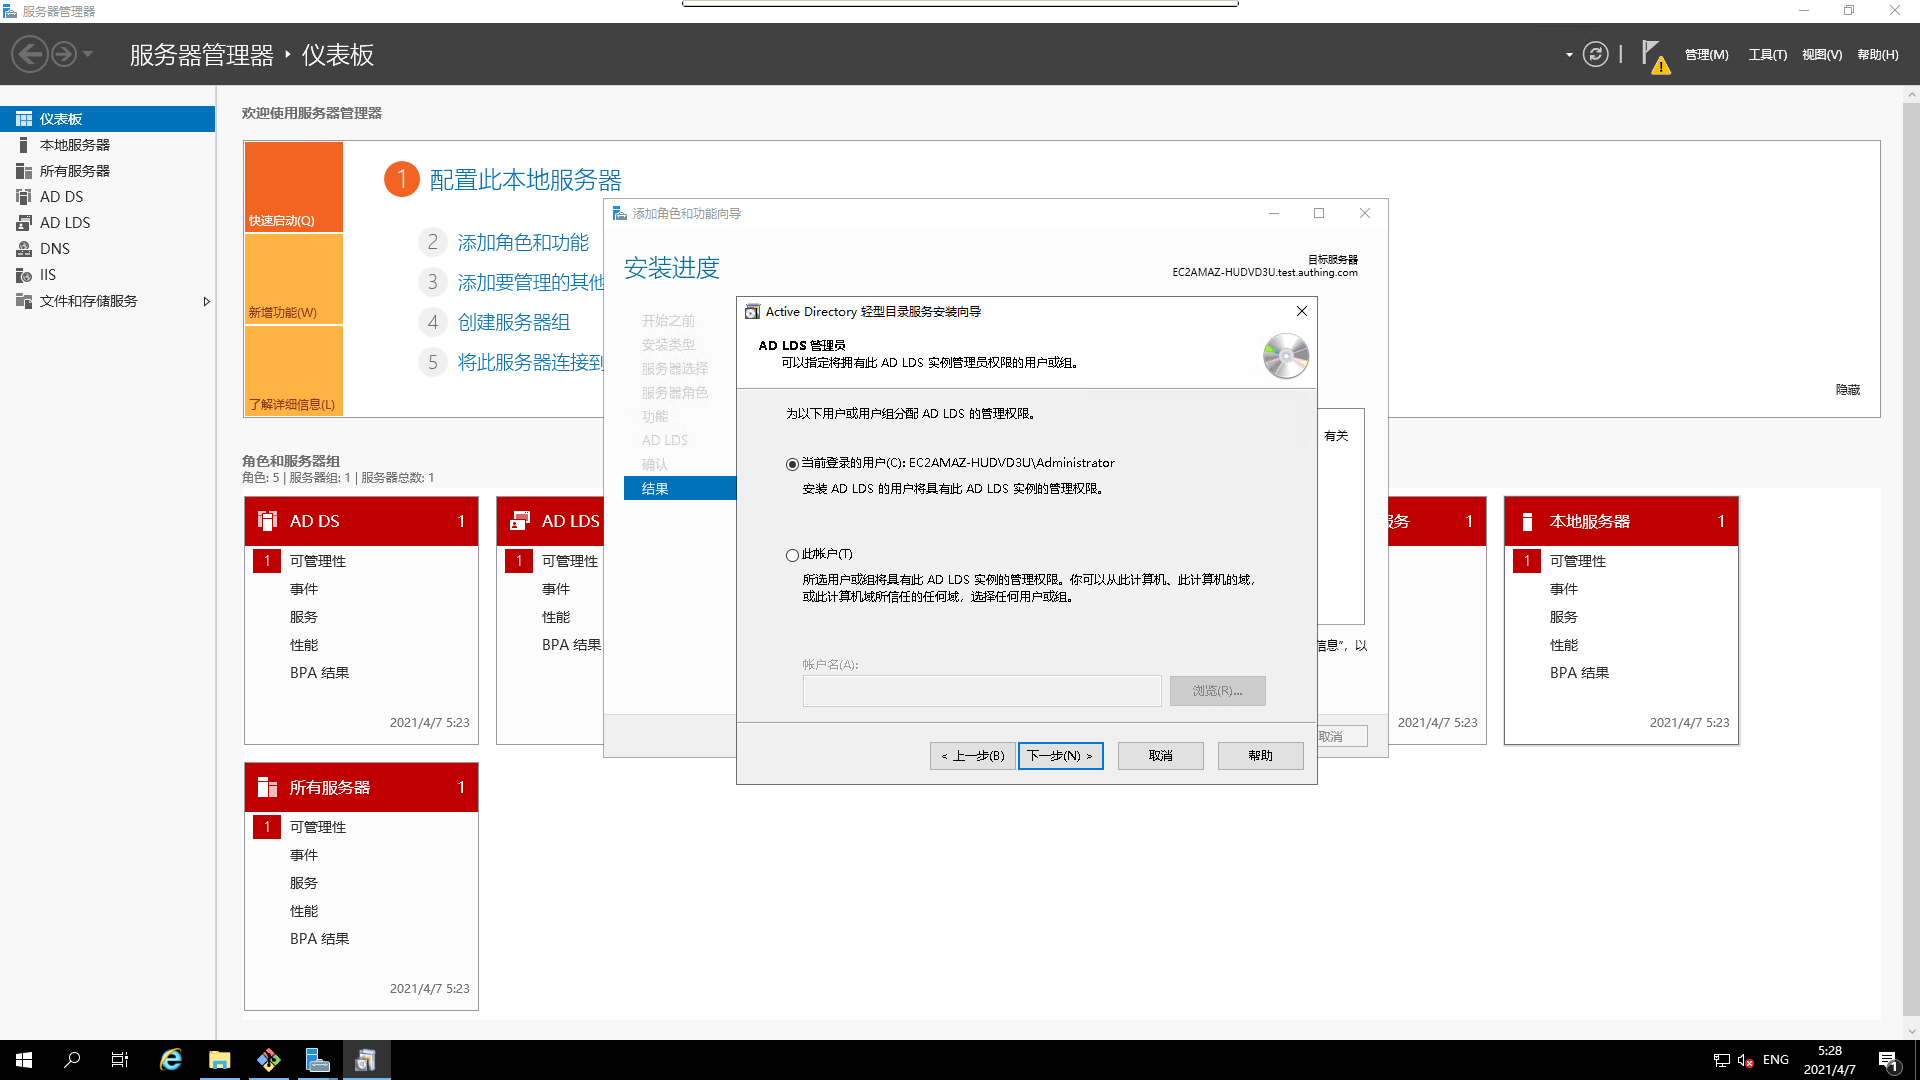
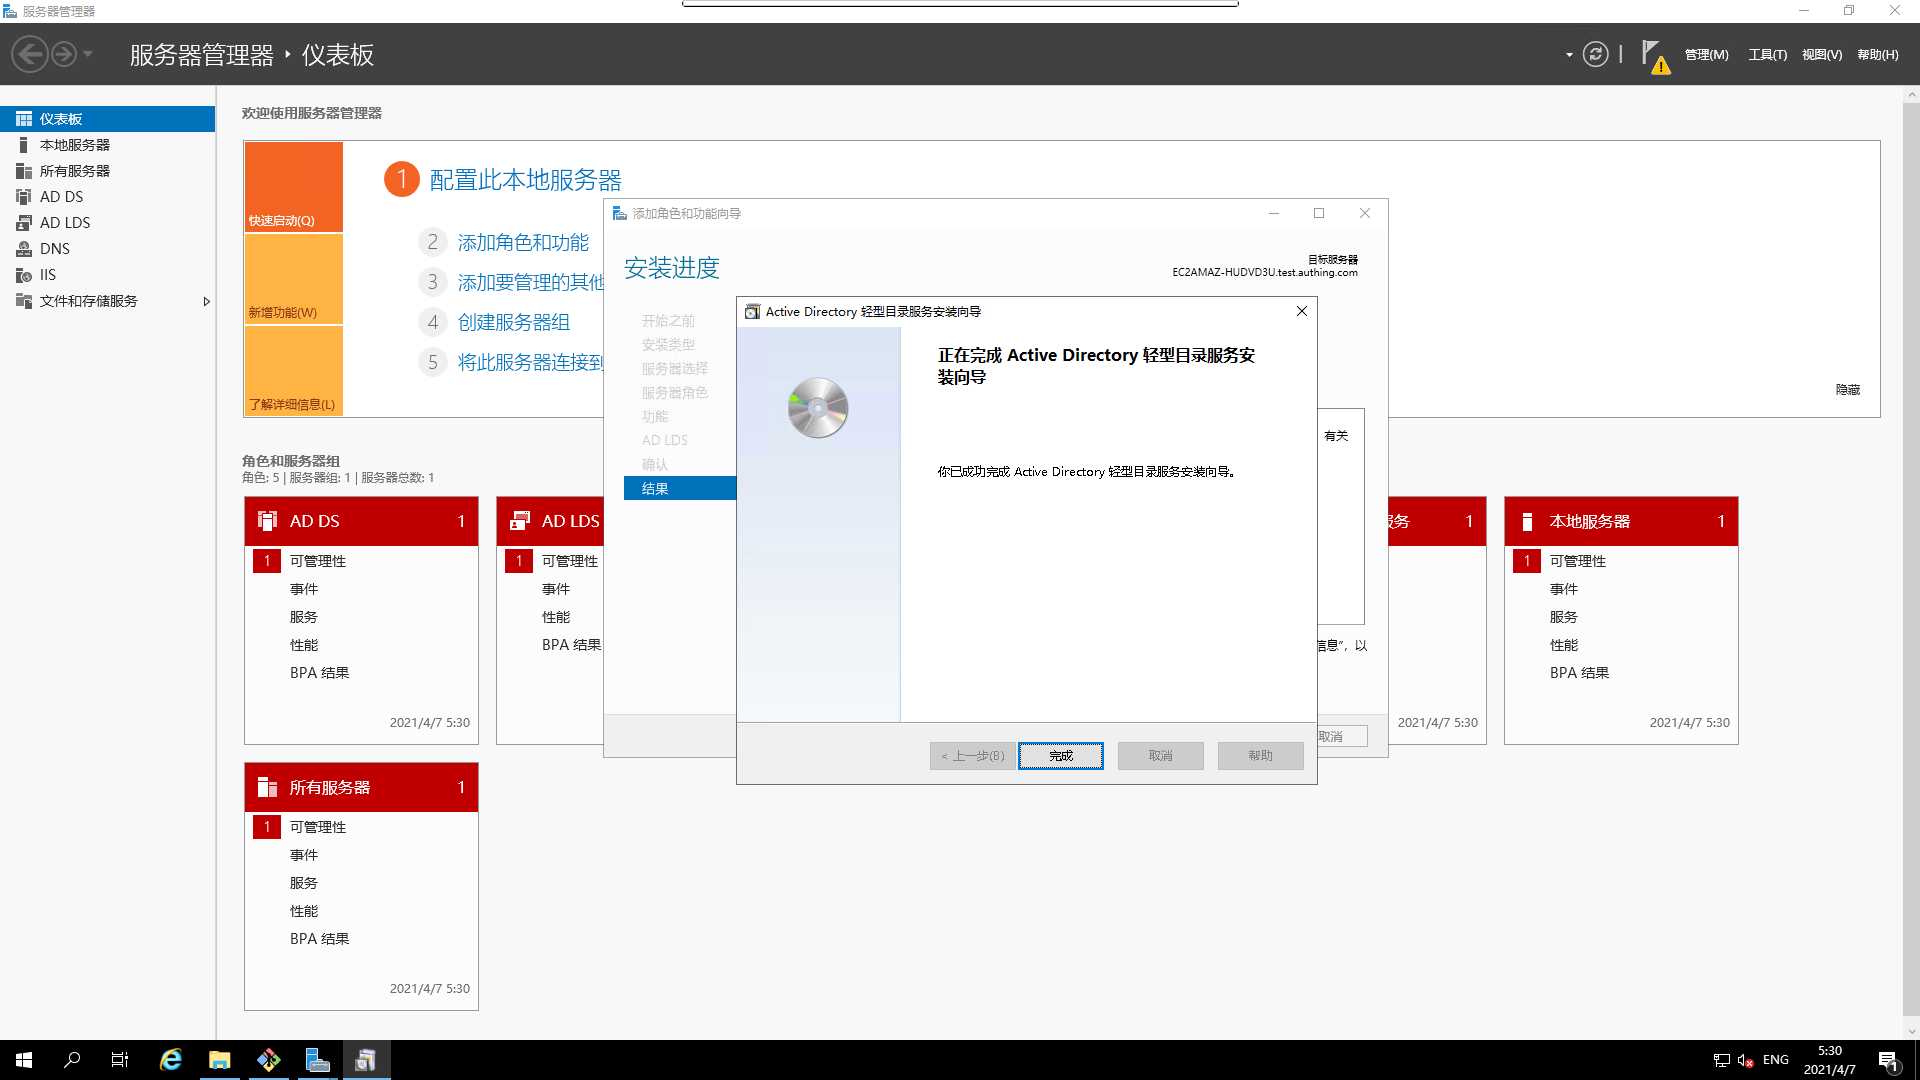
¶ Installing AD LDS
You can also choose not to do the installation and go directly to the
Configure AD Domain Servicesinstallation, this is just to provide the installation process and points to note.
- Run the `Installation Wizard
- Installation Wizard
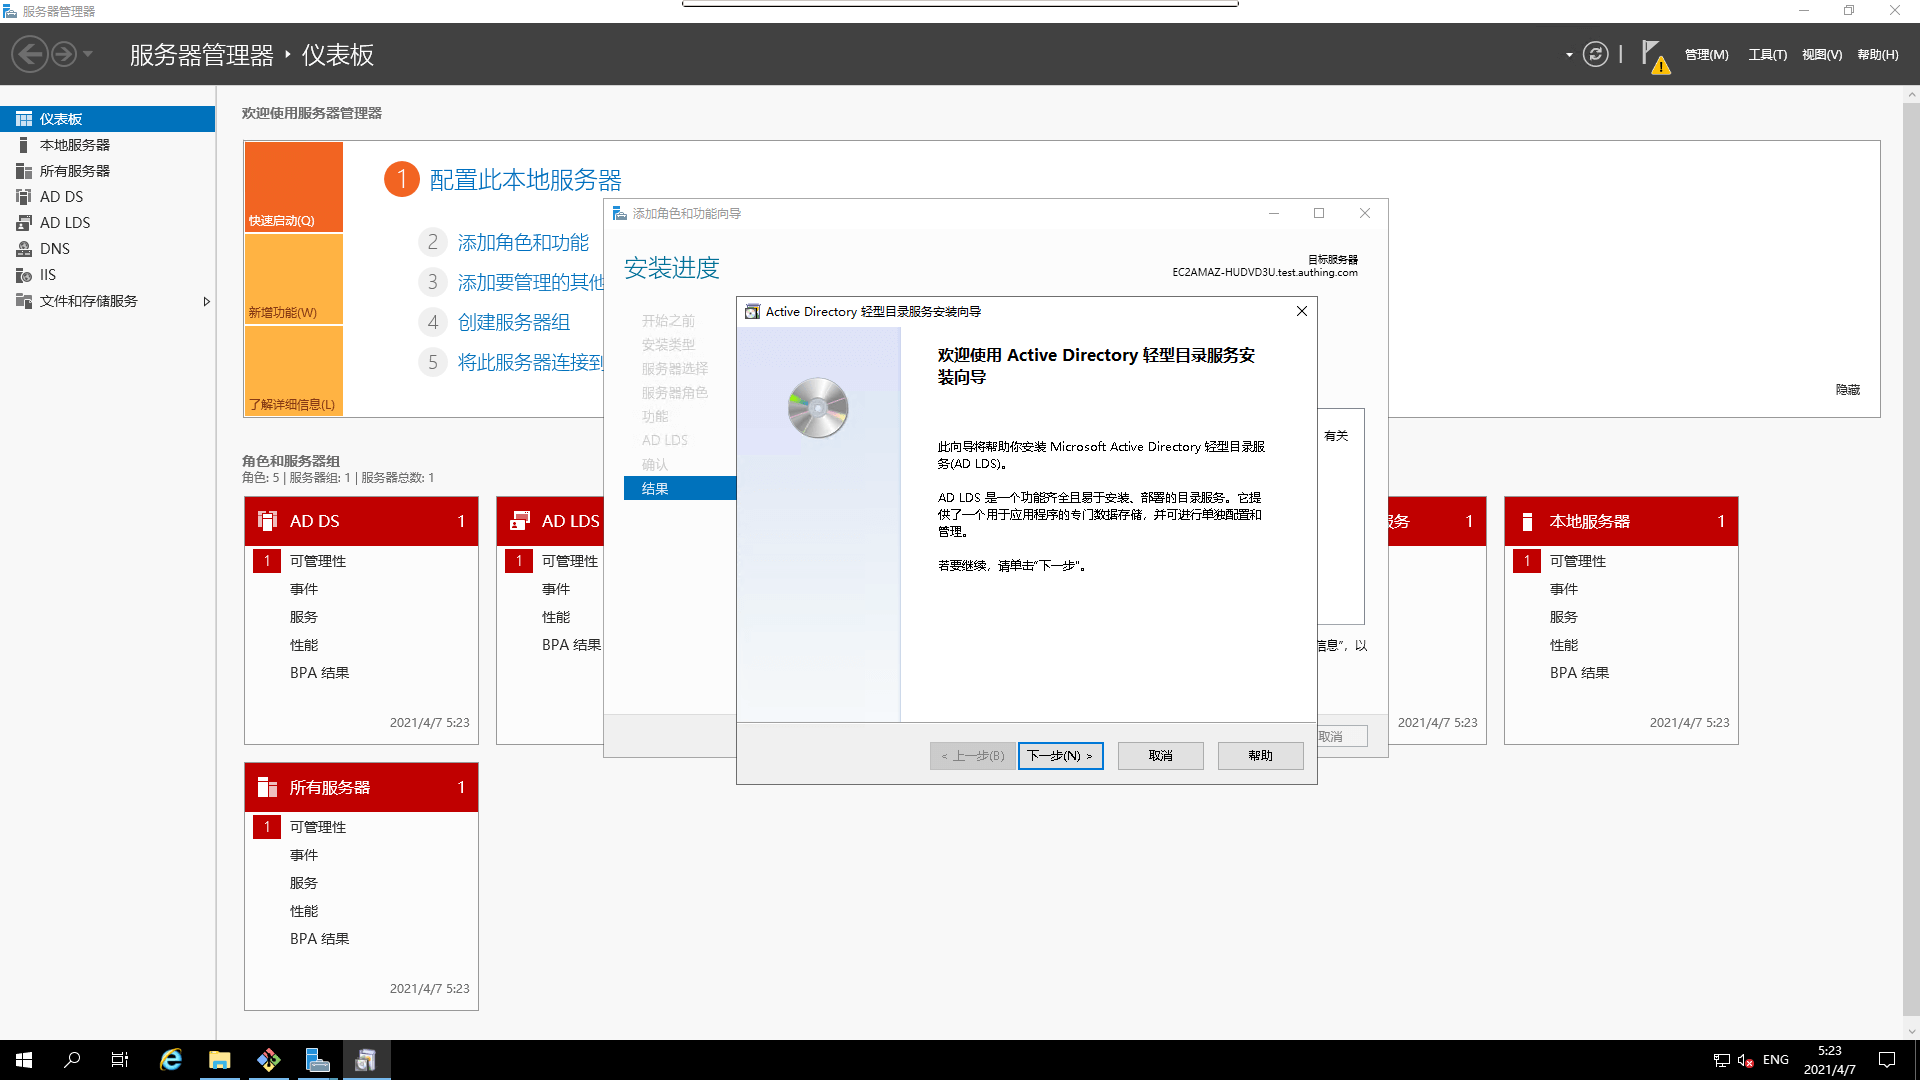
- Create the AD LDS instance
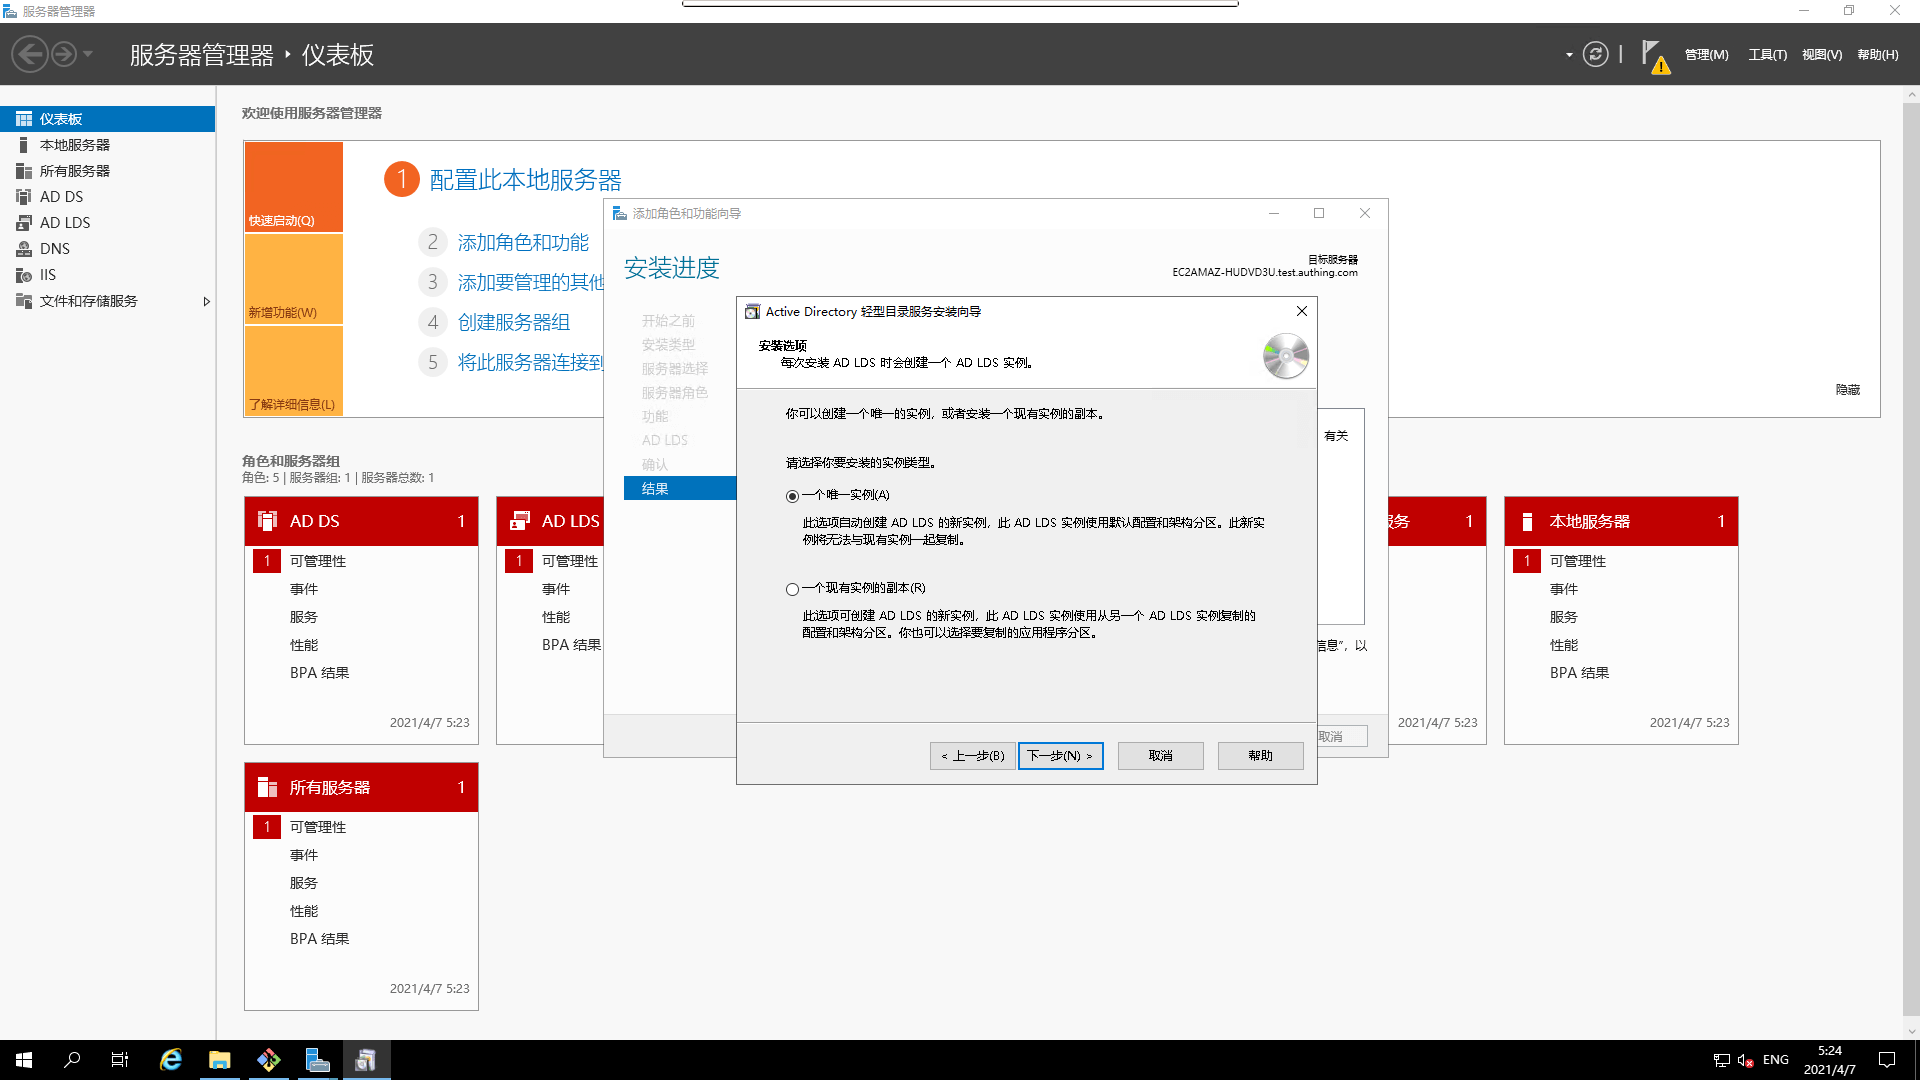
- Set the `instance name
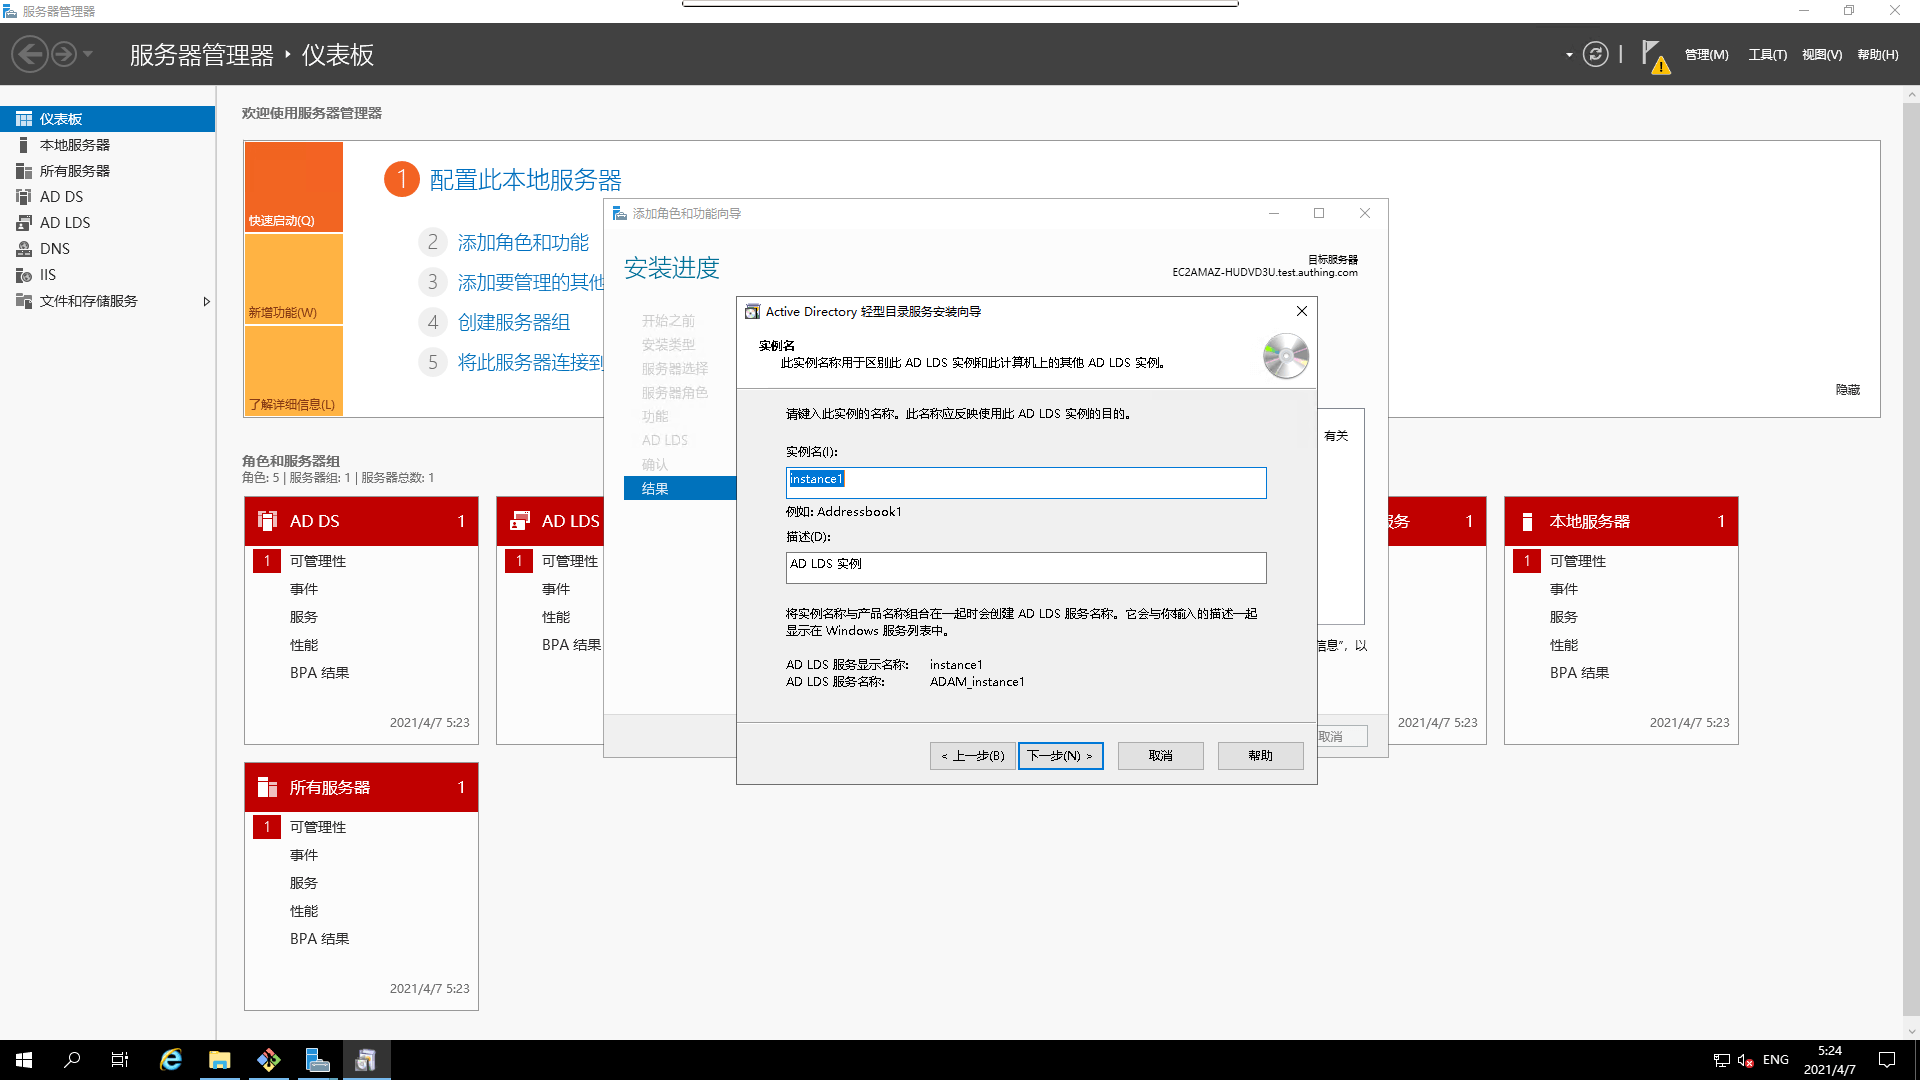
- Set the `default port
If this default port conflicts with the
AD default port, it will cause theAD domain serviceprerequisite checkto fail
- Create the application directory partition
- Choose a storage location
- Select account association

- Assign administrative privileges
- Pour in the corresponding
LDIF

- Installation confirmation

- Installation in progress
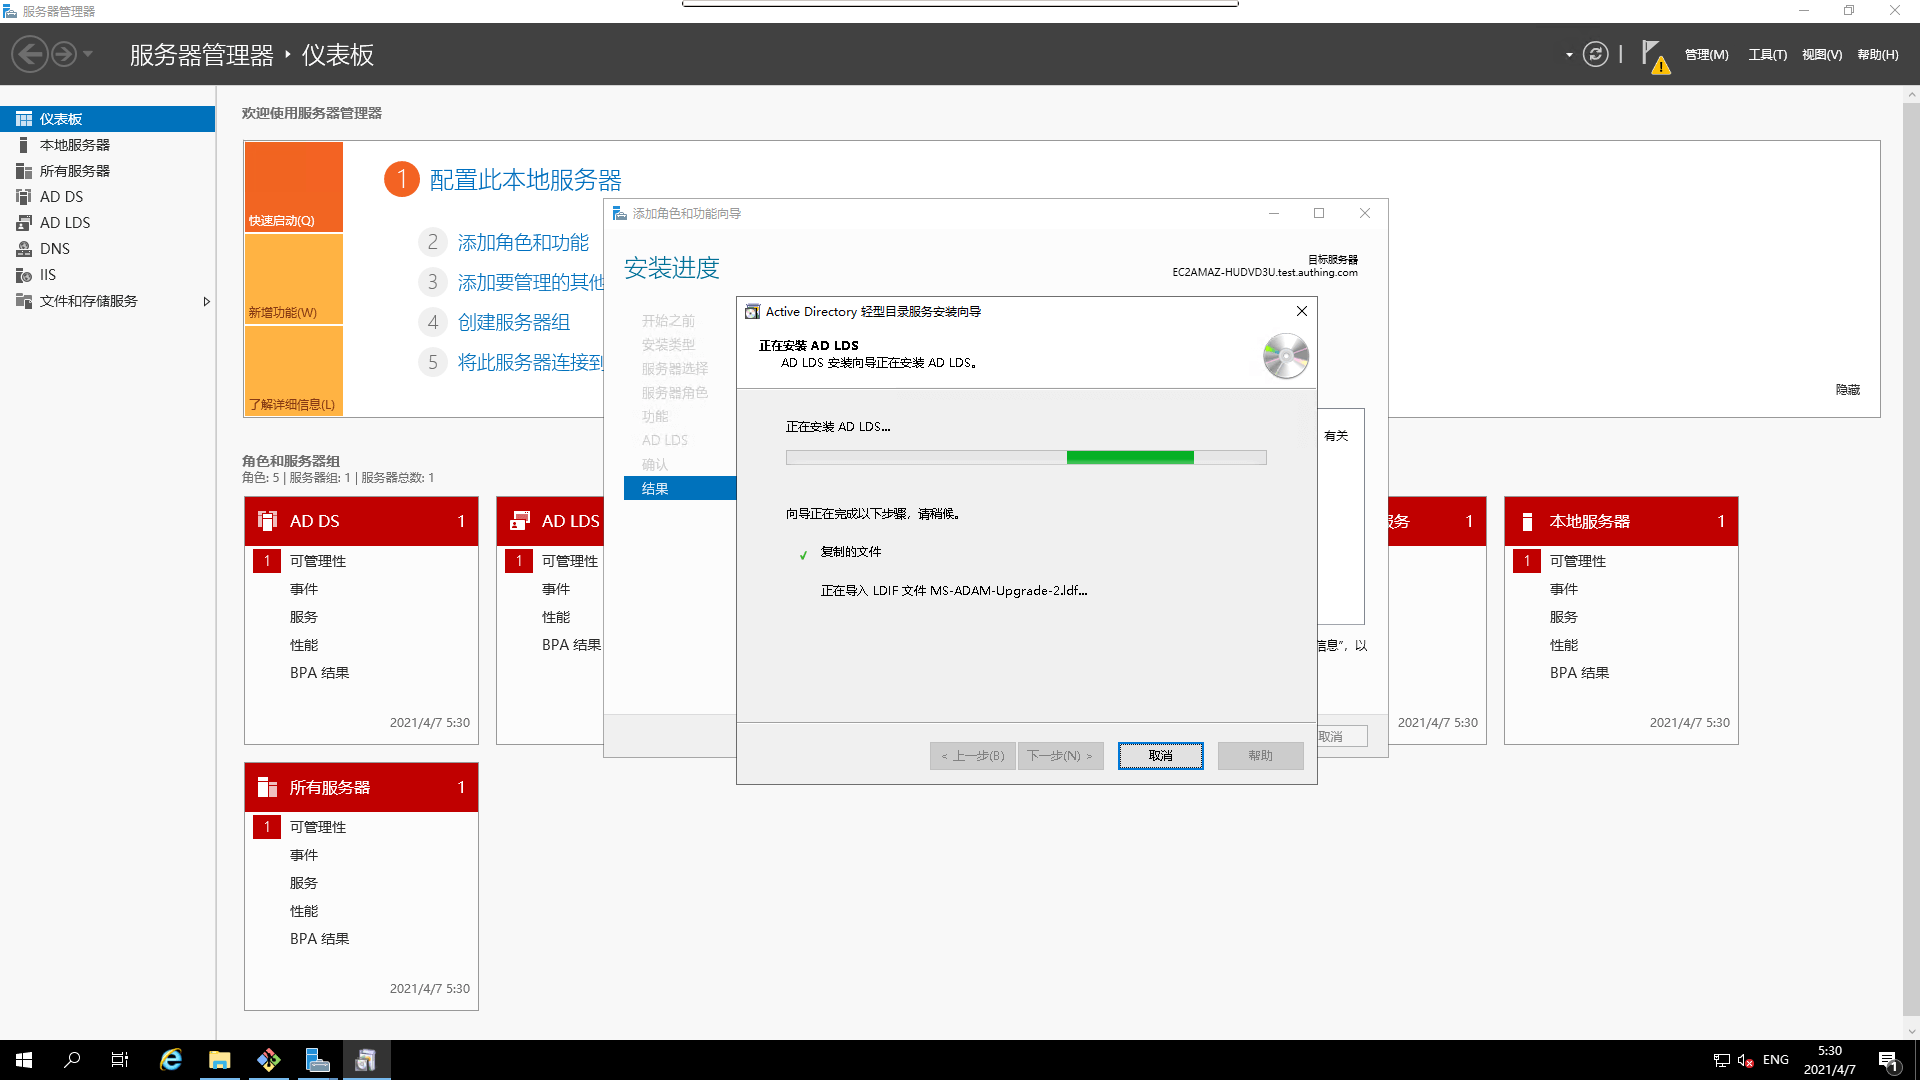
- Installation complete
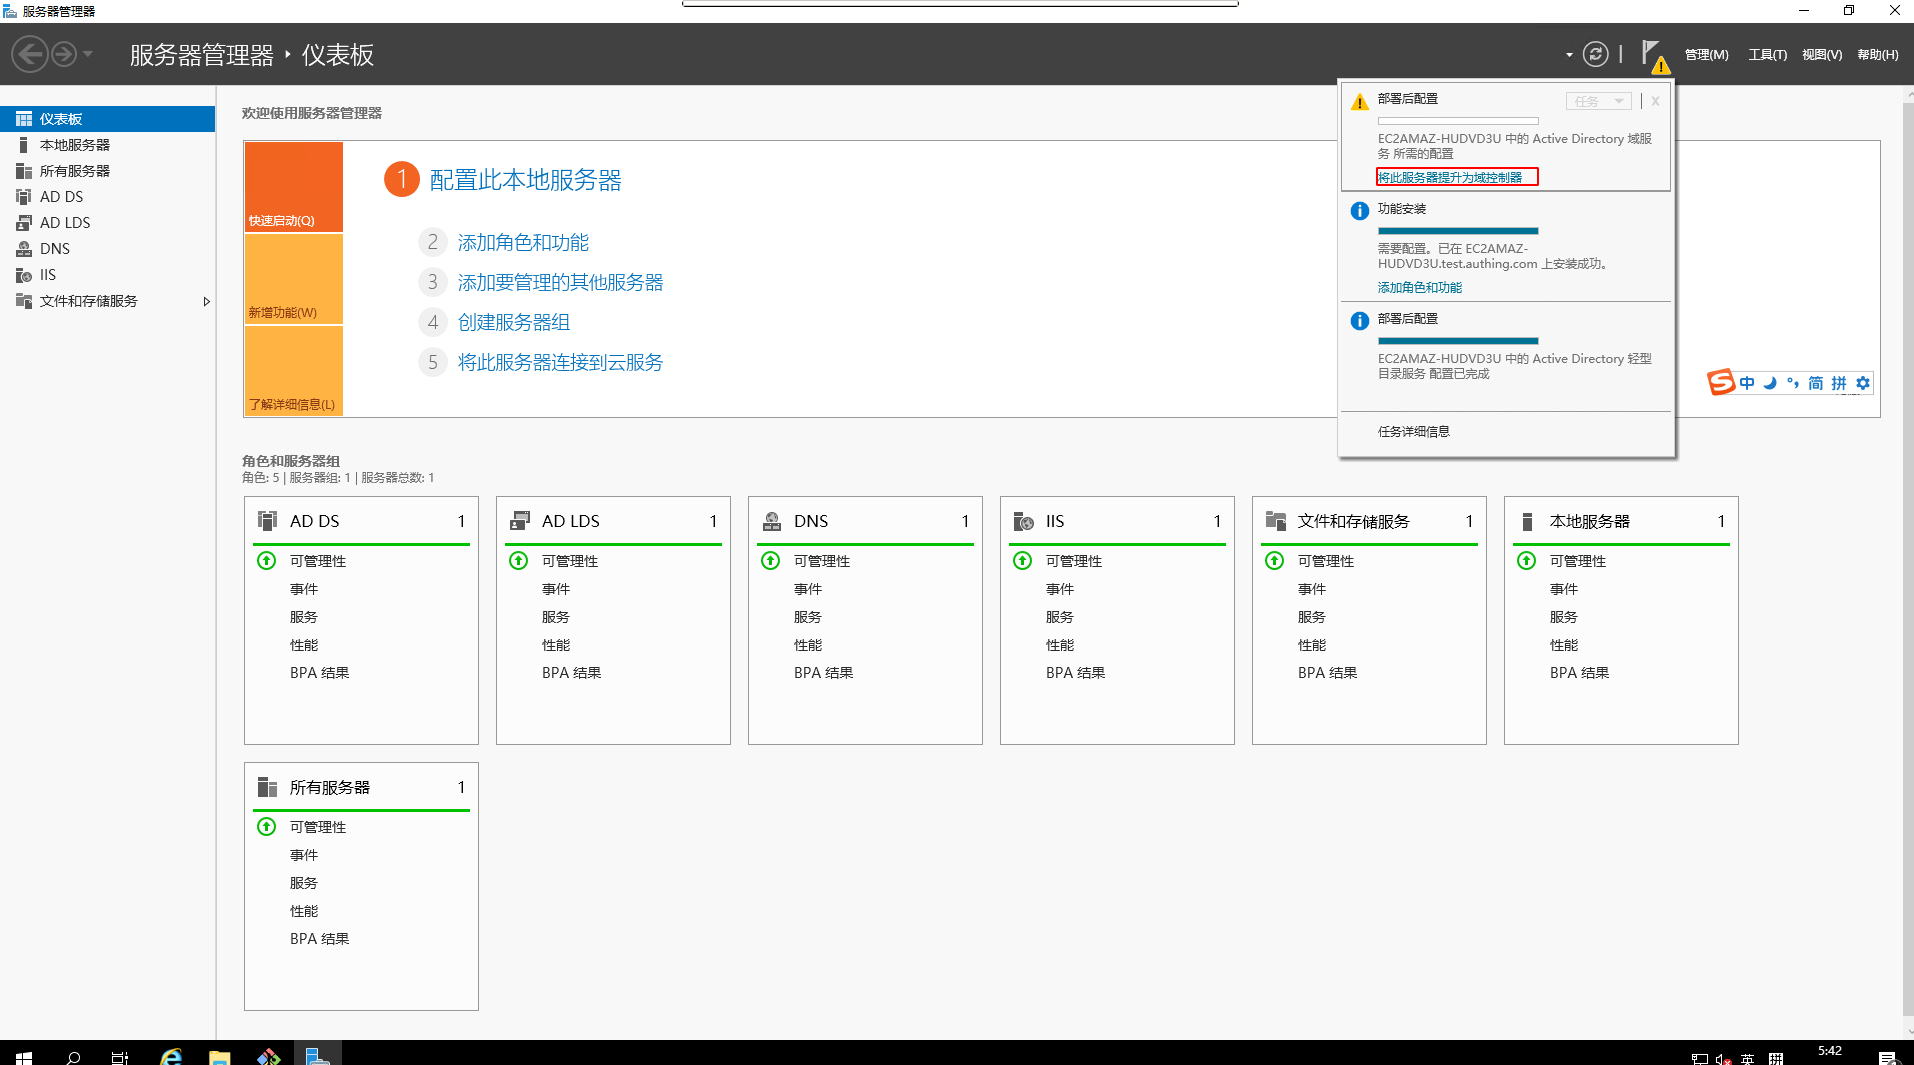
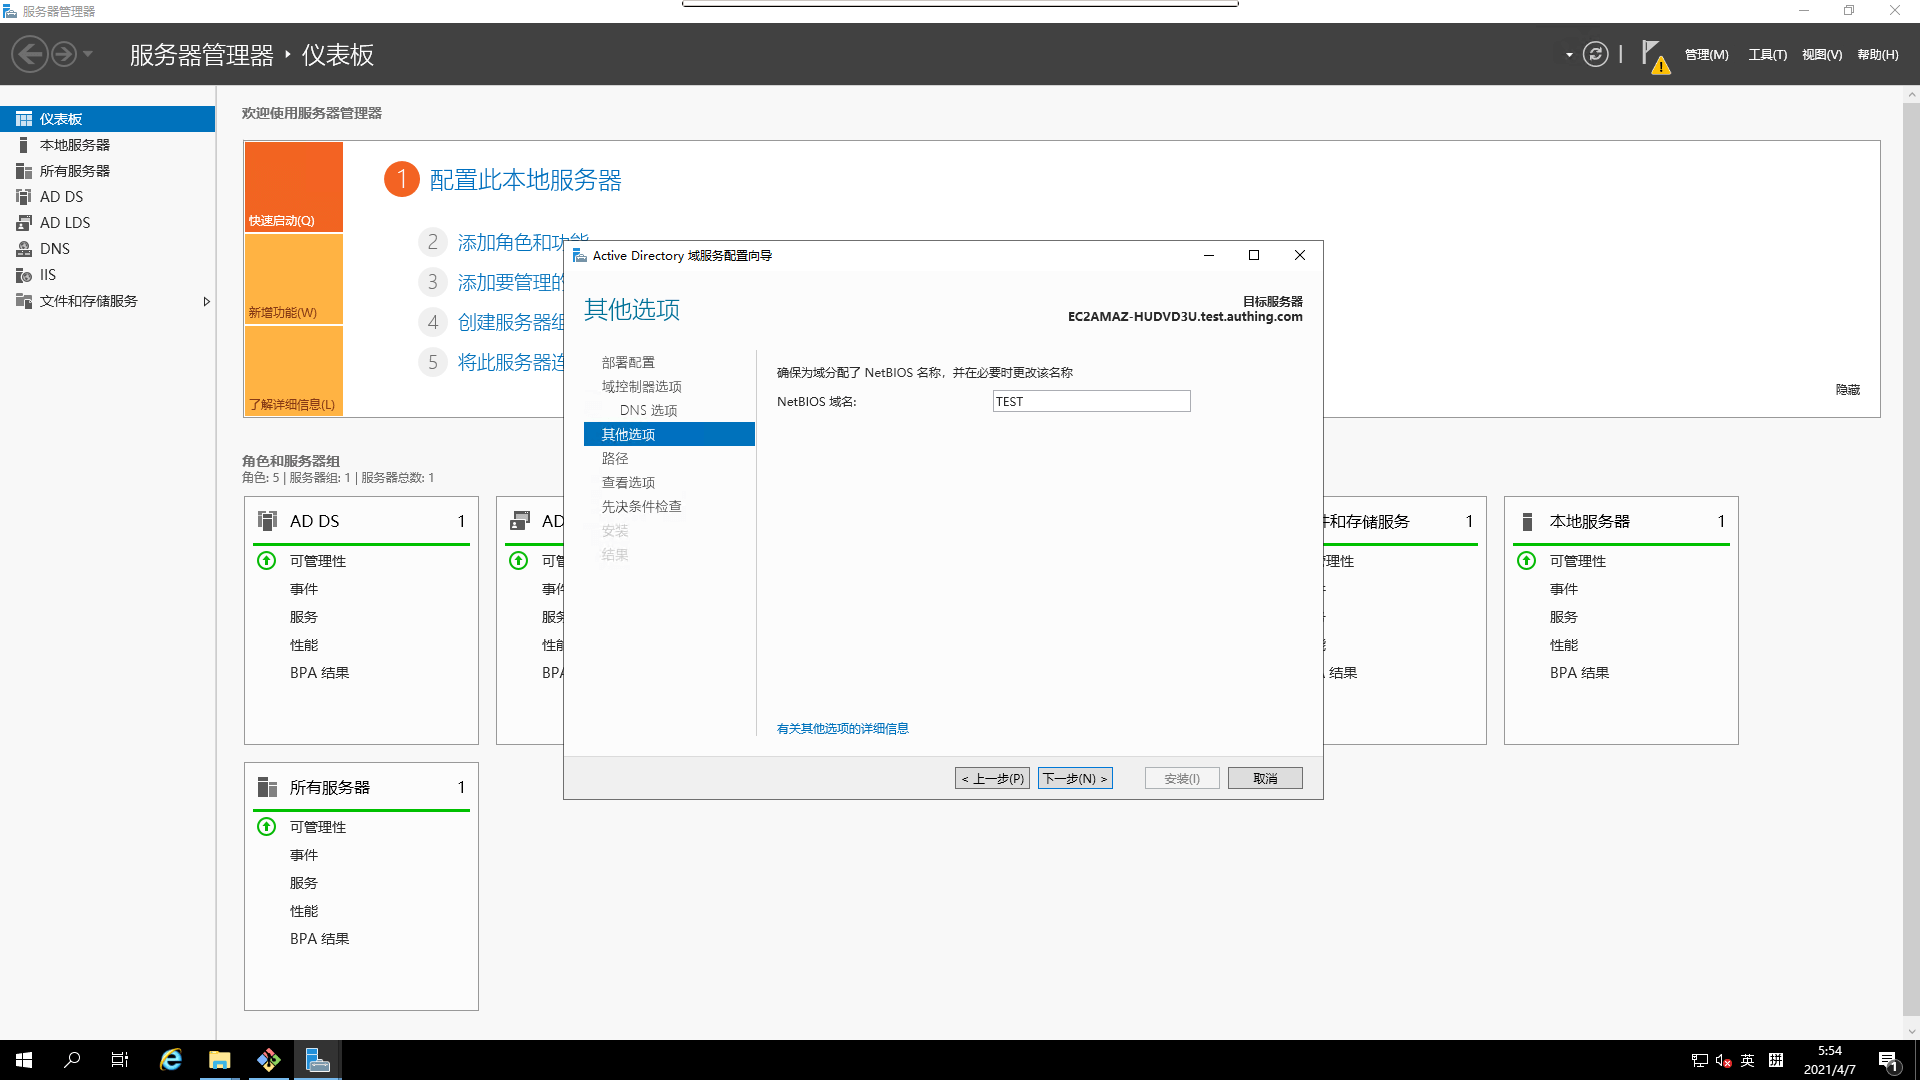
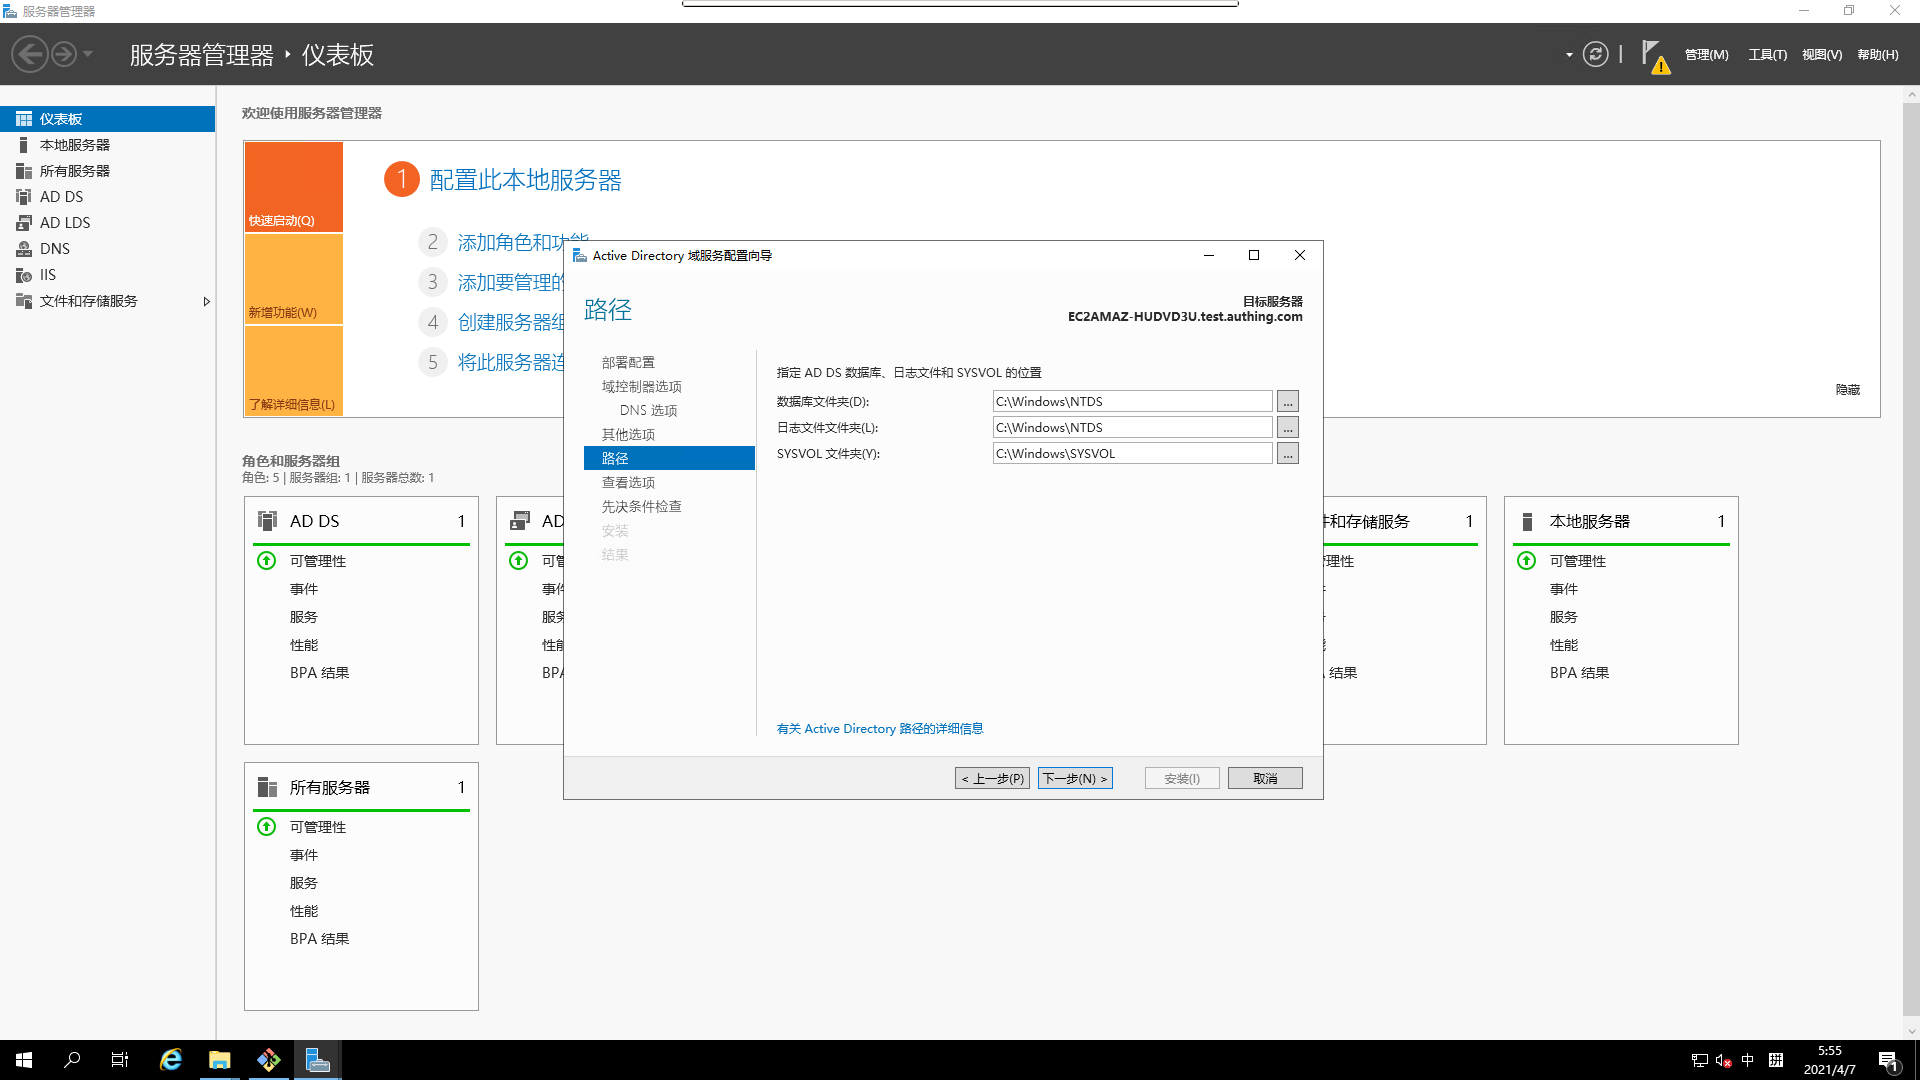
¶ Configuring AD Domain Services 1.
On Service Manager, elevate this service to Domain Controller
- Deployment configuration
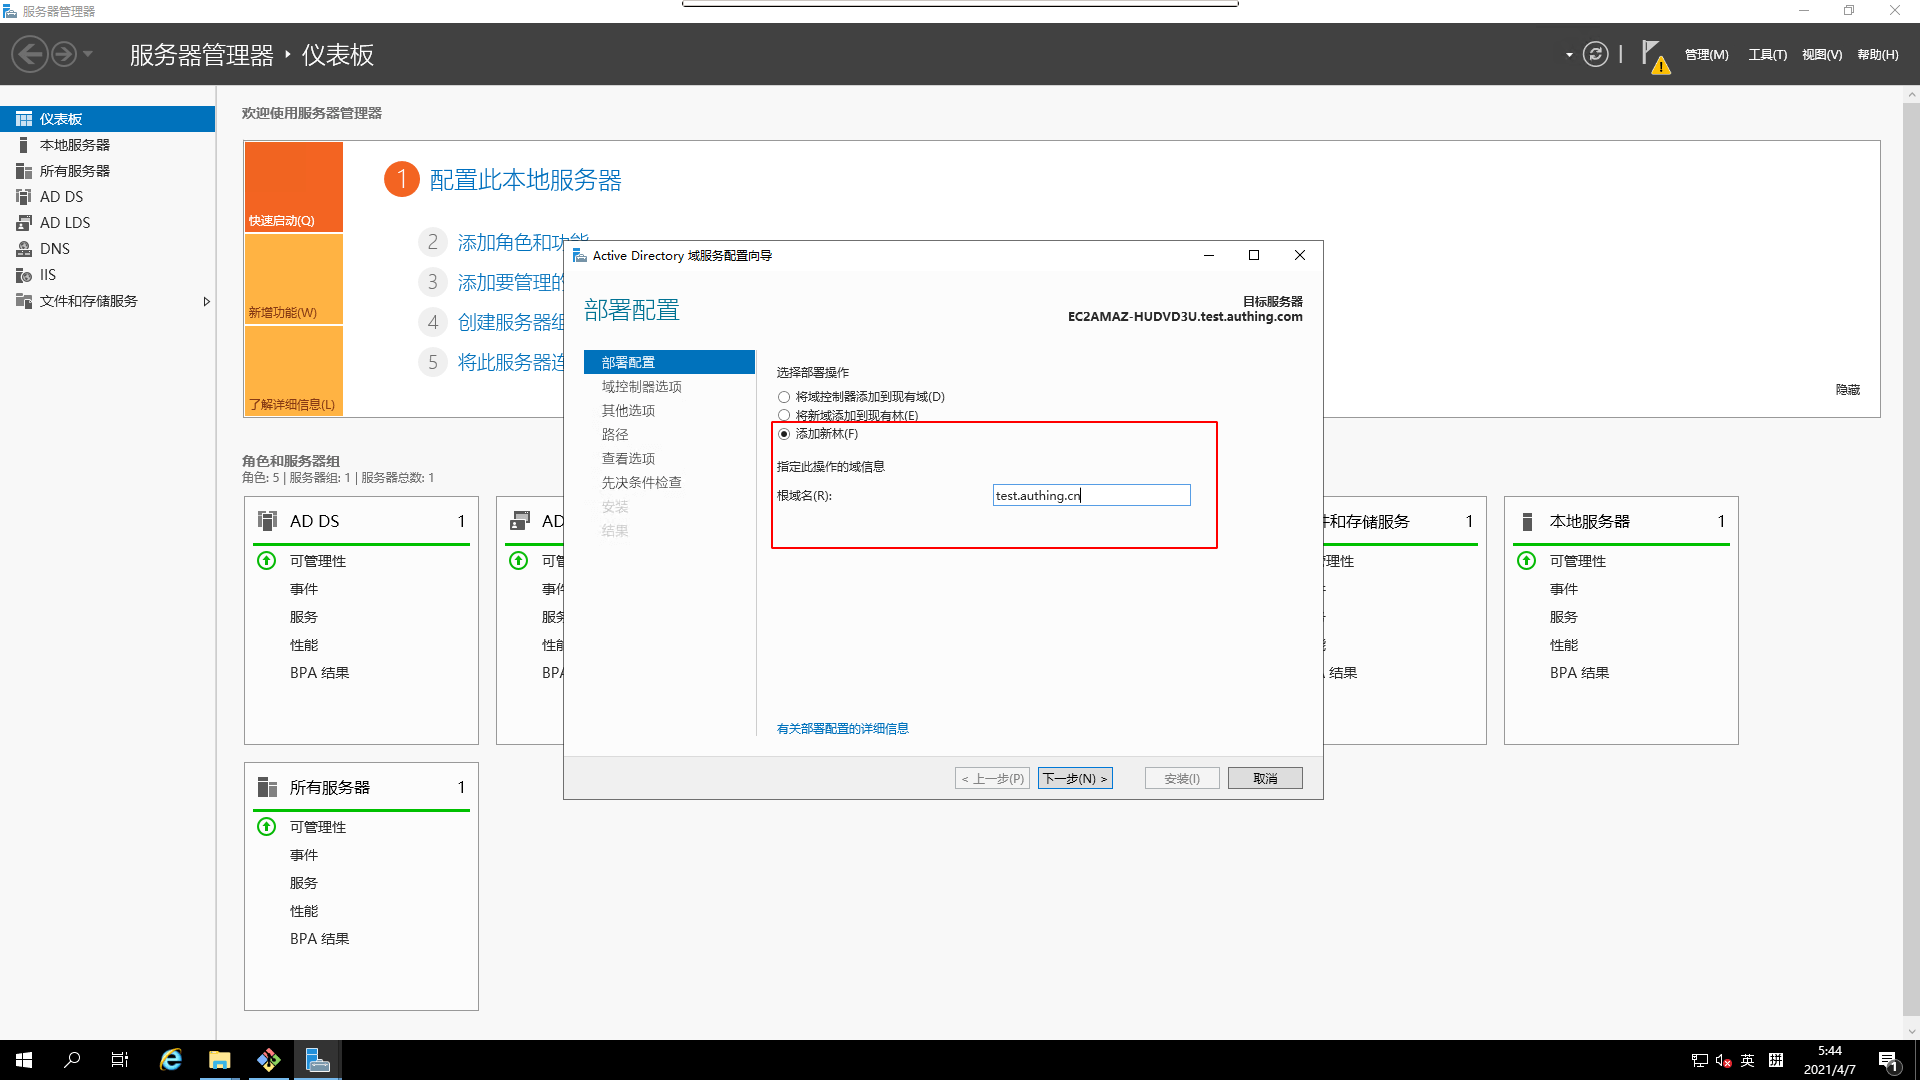
Domain ControllerOptions
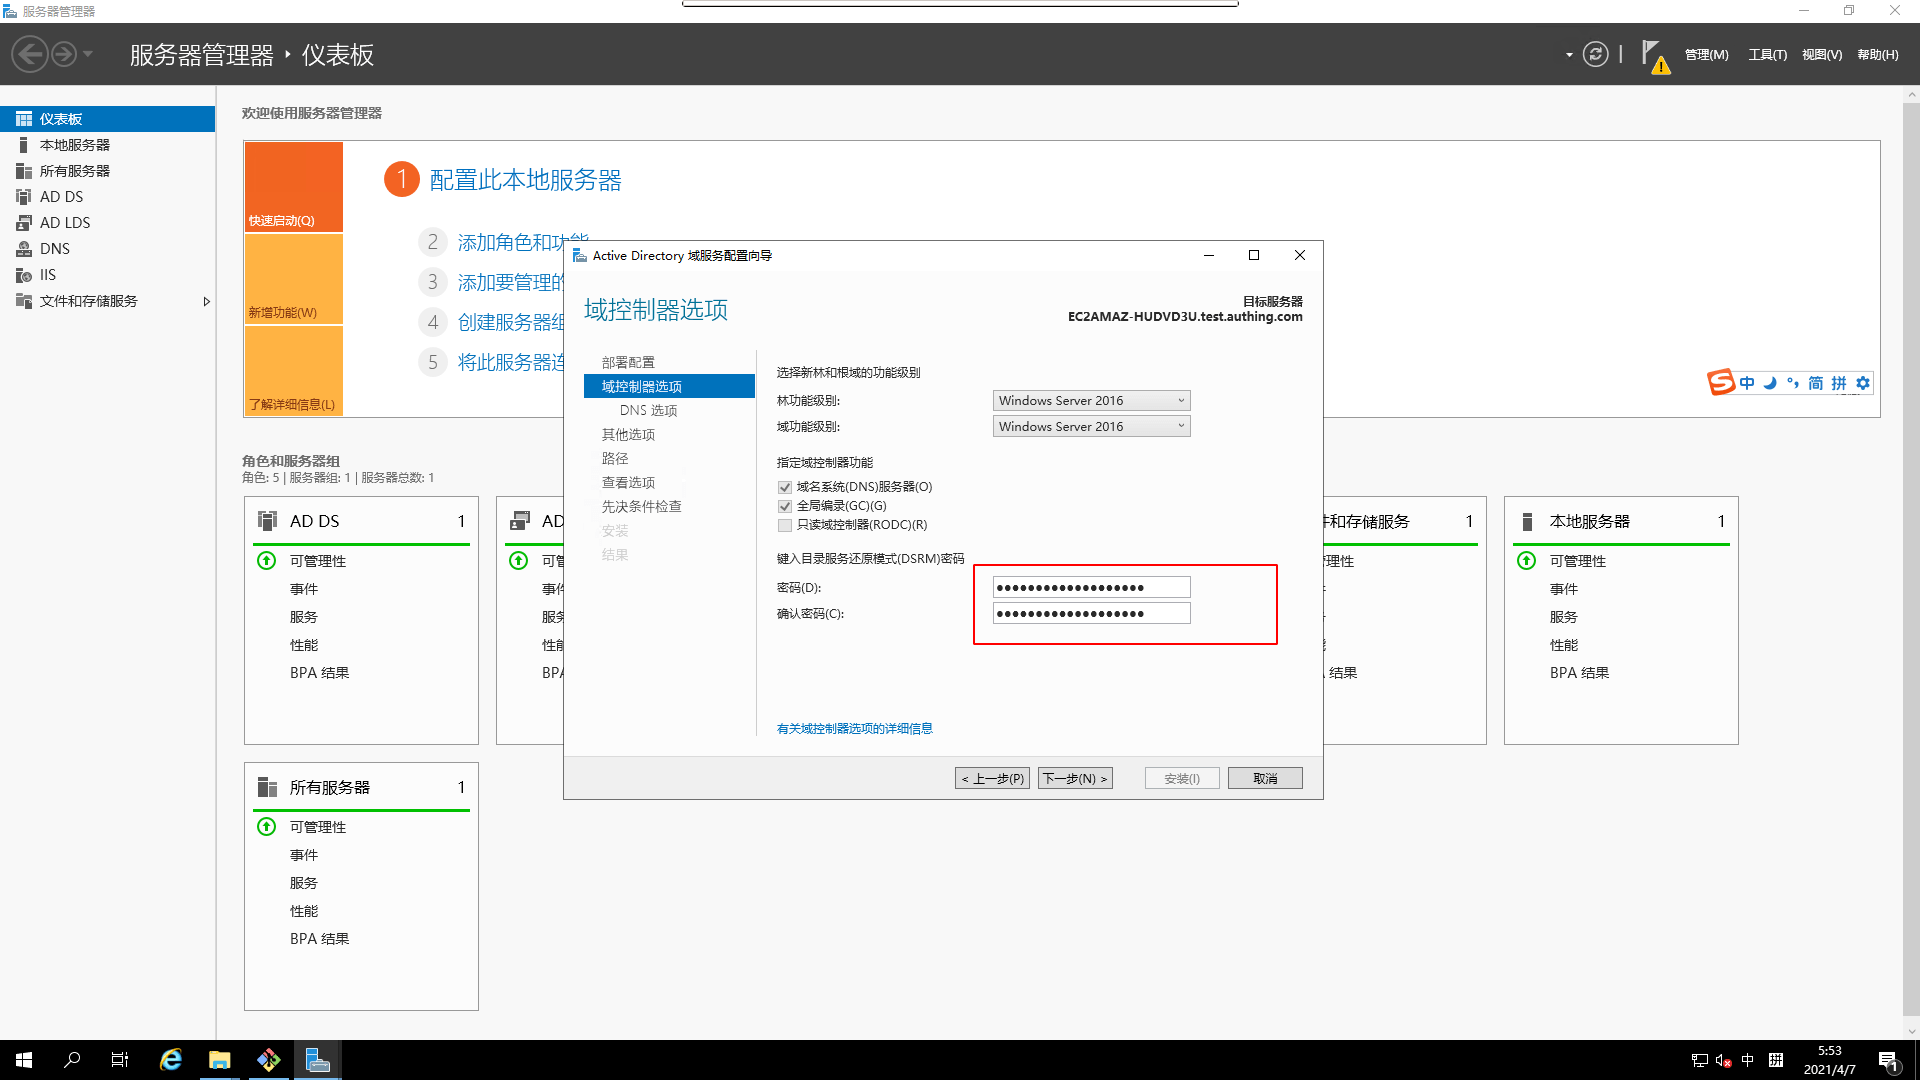
DNSOptions

- Other options
- Paths
- View options

- prerequisites check
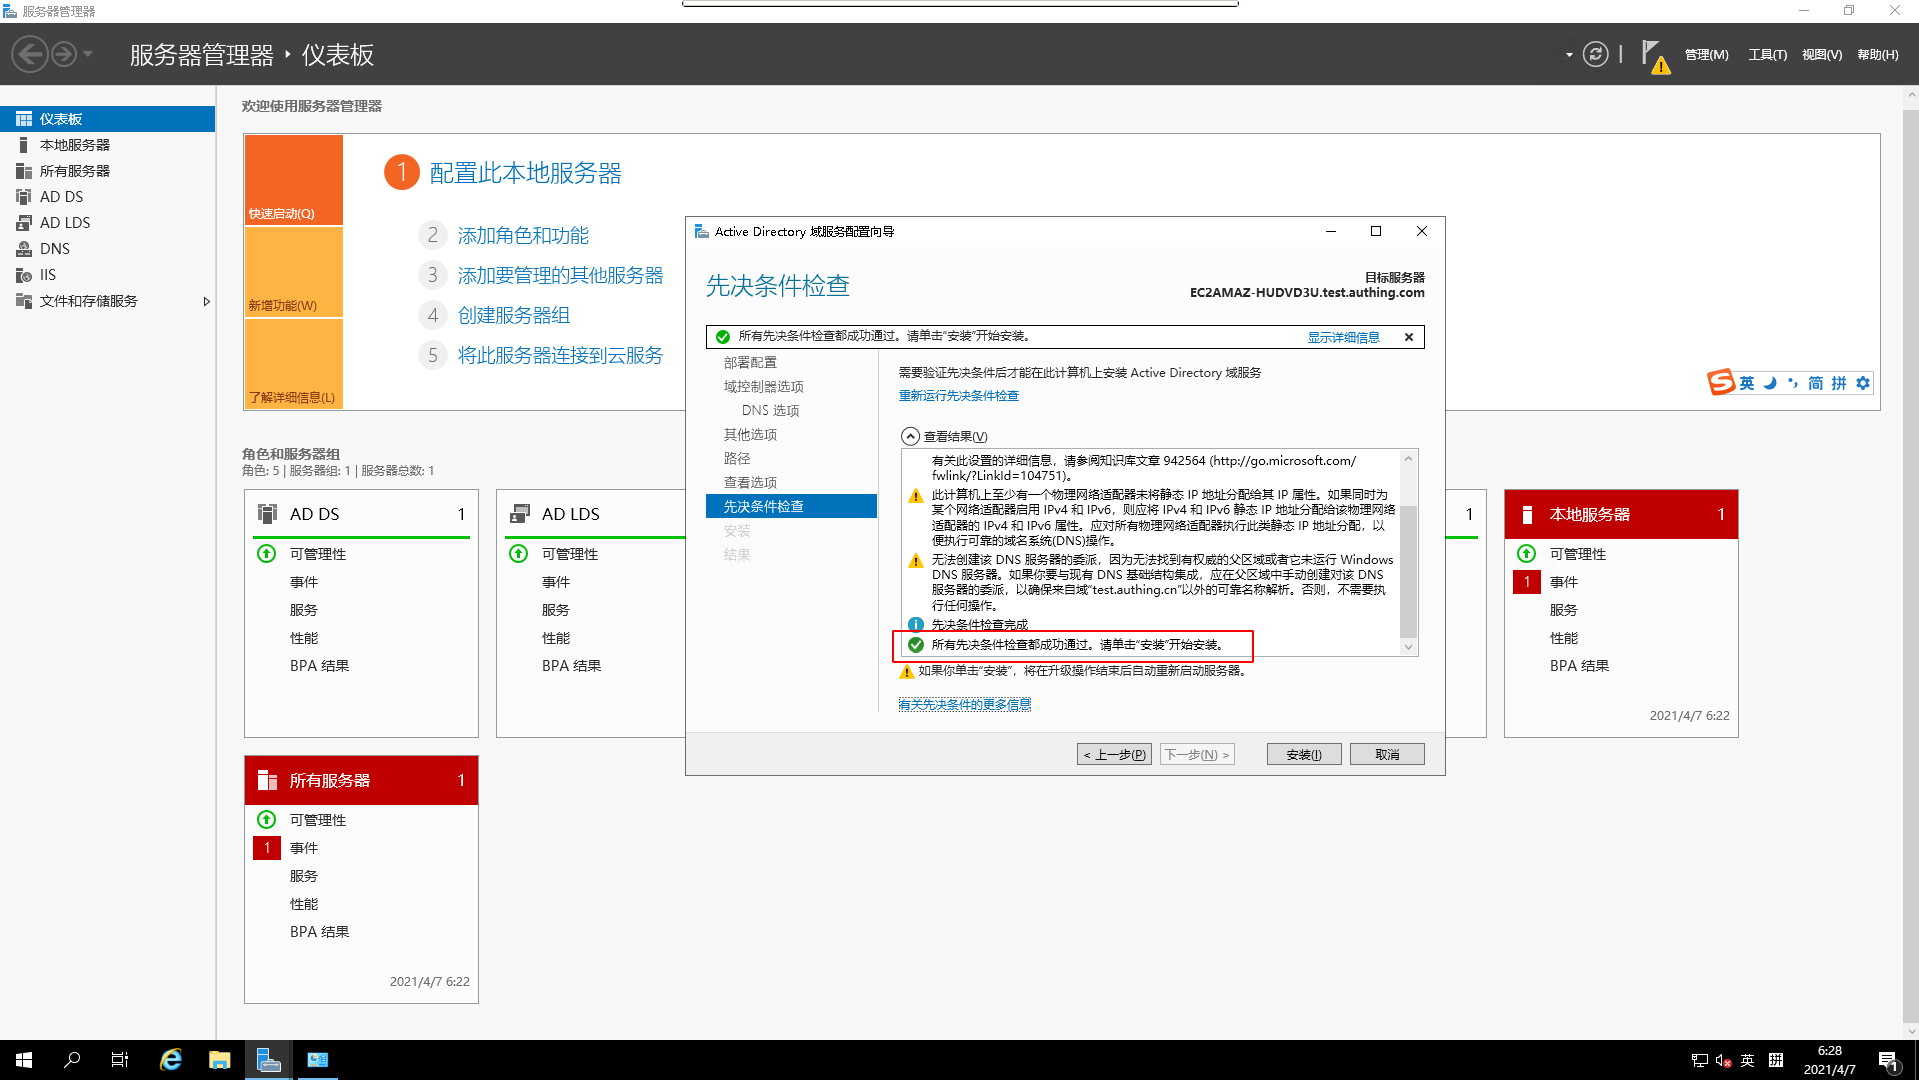
- Just execute the installation
¶ Checking Active Directory service connections
Here you can use
ldpfor connection testing and get a response without entering more information about theldapconnection, or you can use some client (e.g. Apache Ldap Studio) for connection testing. Of course, the fact thatAD Admin Centeris open means thatcurrentlyyour connection test is OK.
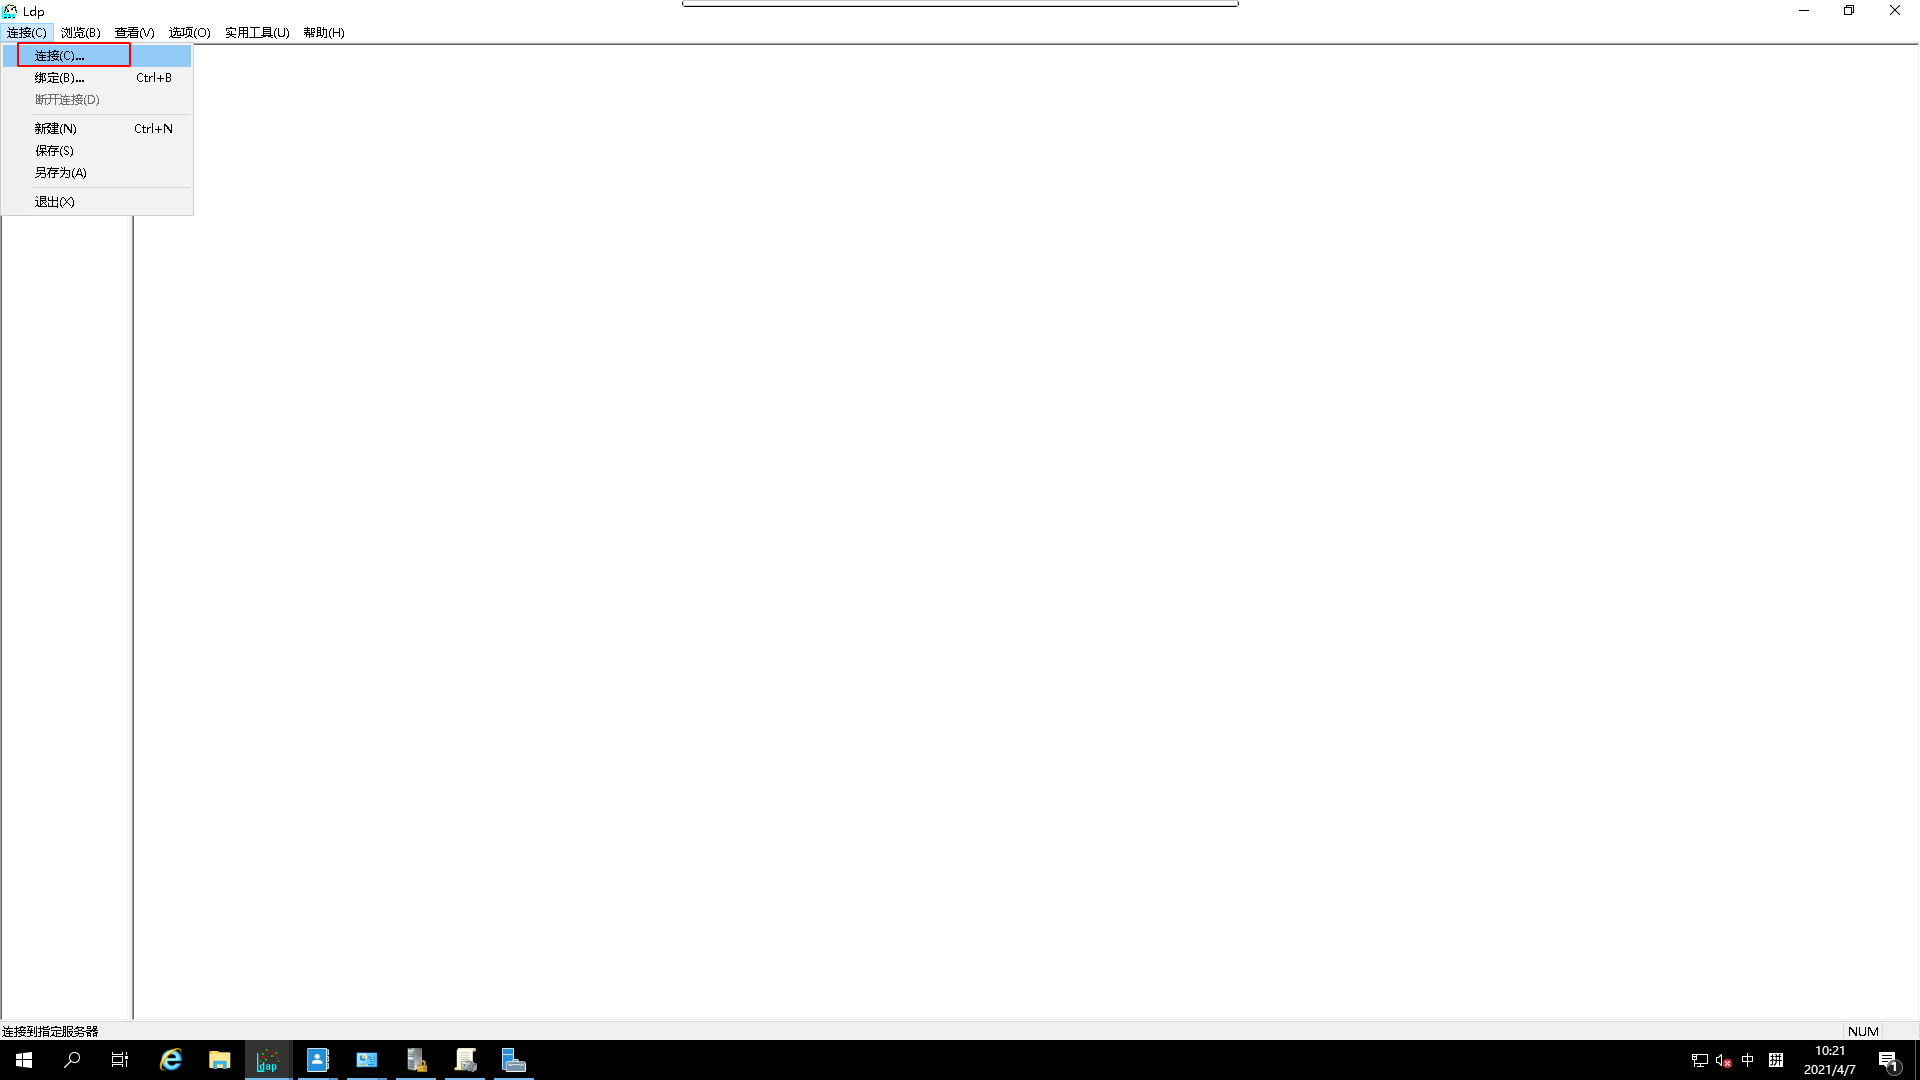
Win + ropens theCMD execution window, typeldp

- Select the link to open a link
¶ Connecting to Active Directory via ldap
Select the
ldapprotocol and test it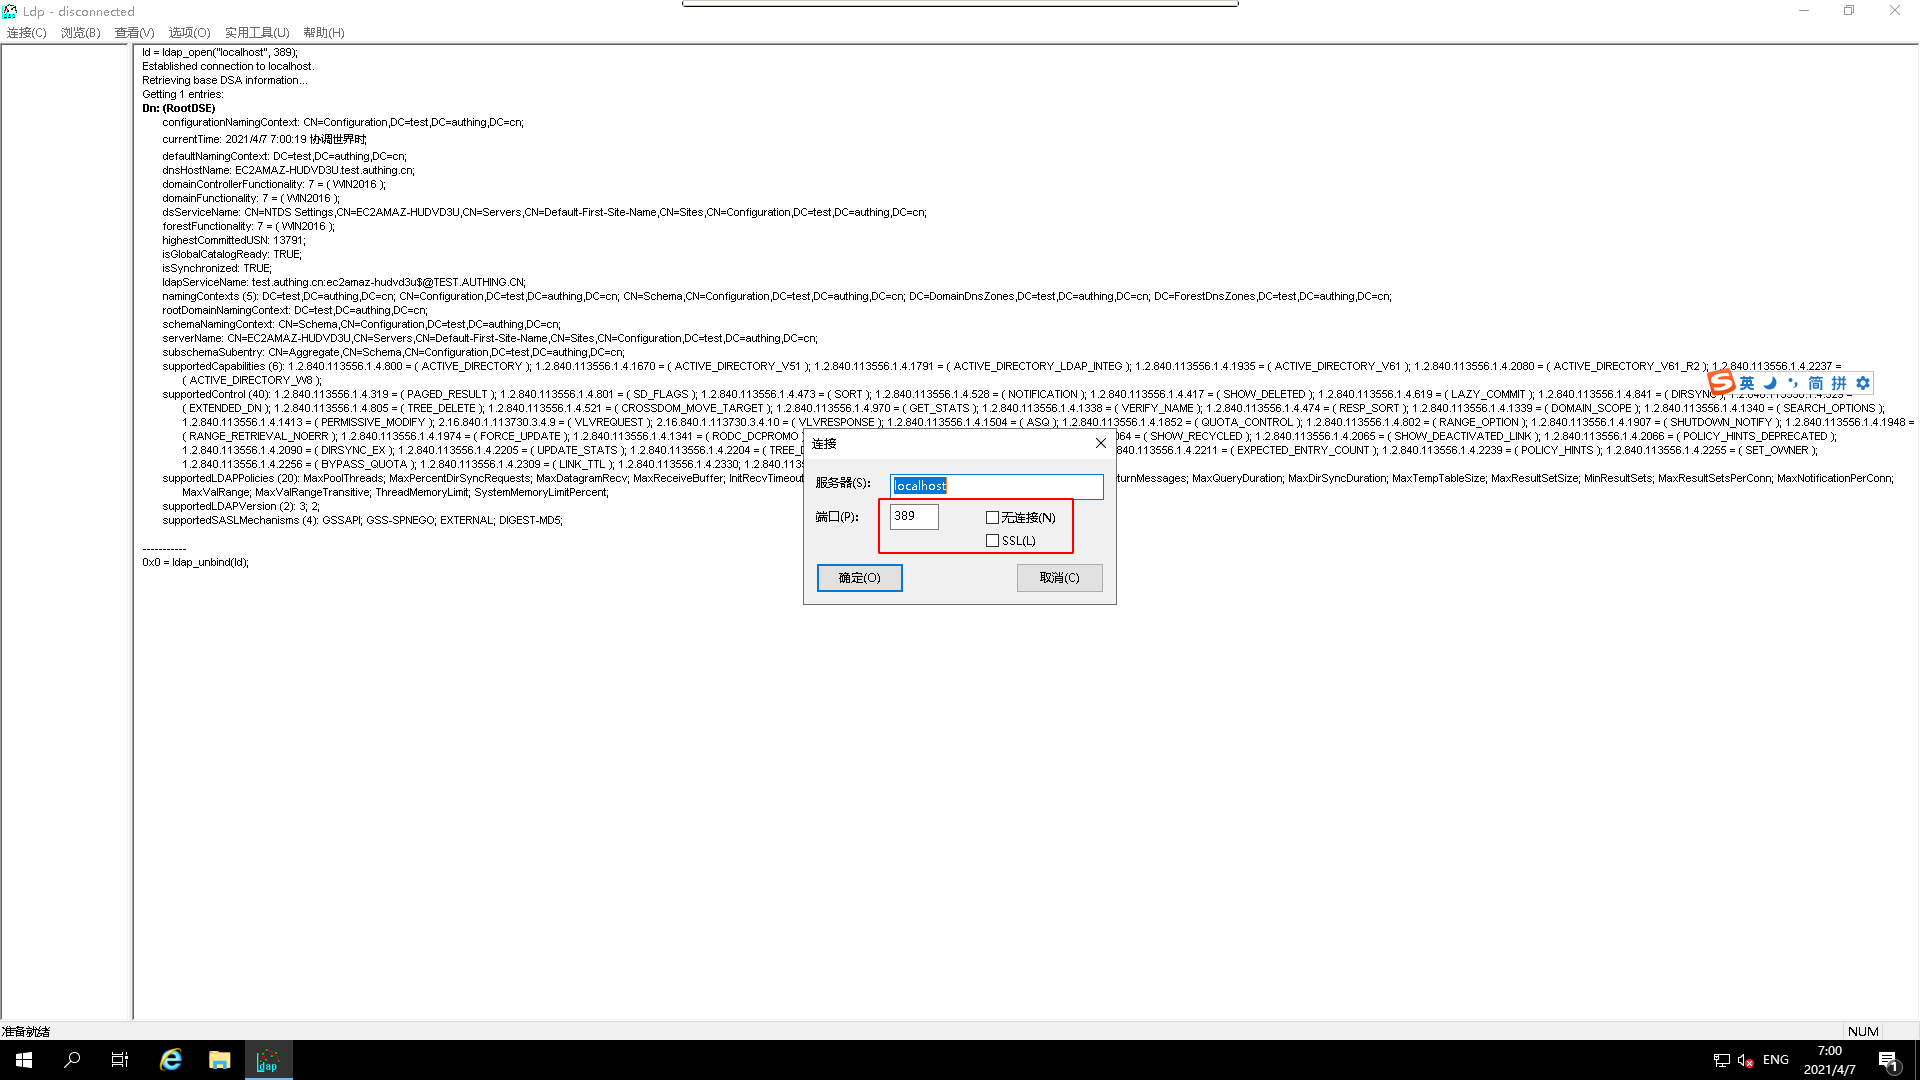
View
connection testresults


¶ Connecting to Active Directory via ldaps
For the
ldapsprotocol to work, you need toinstallandconfigureActive Directory Certificate Service, but there is no installation and configuration, theconnection resultshould befailed.
- Select the
ldapsprotocol and test

- View
connection testresults

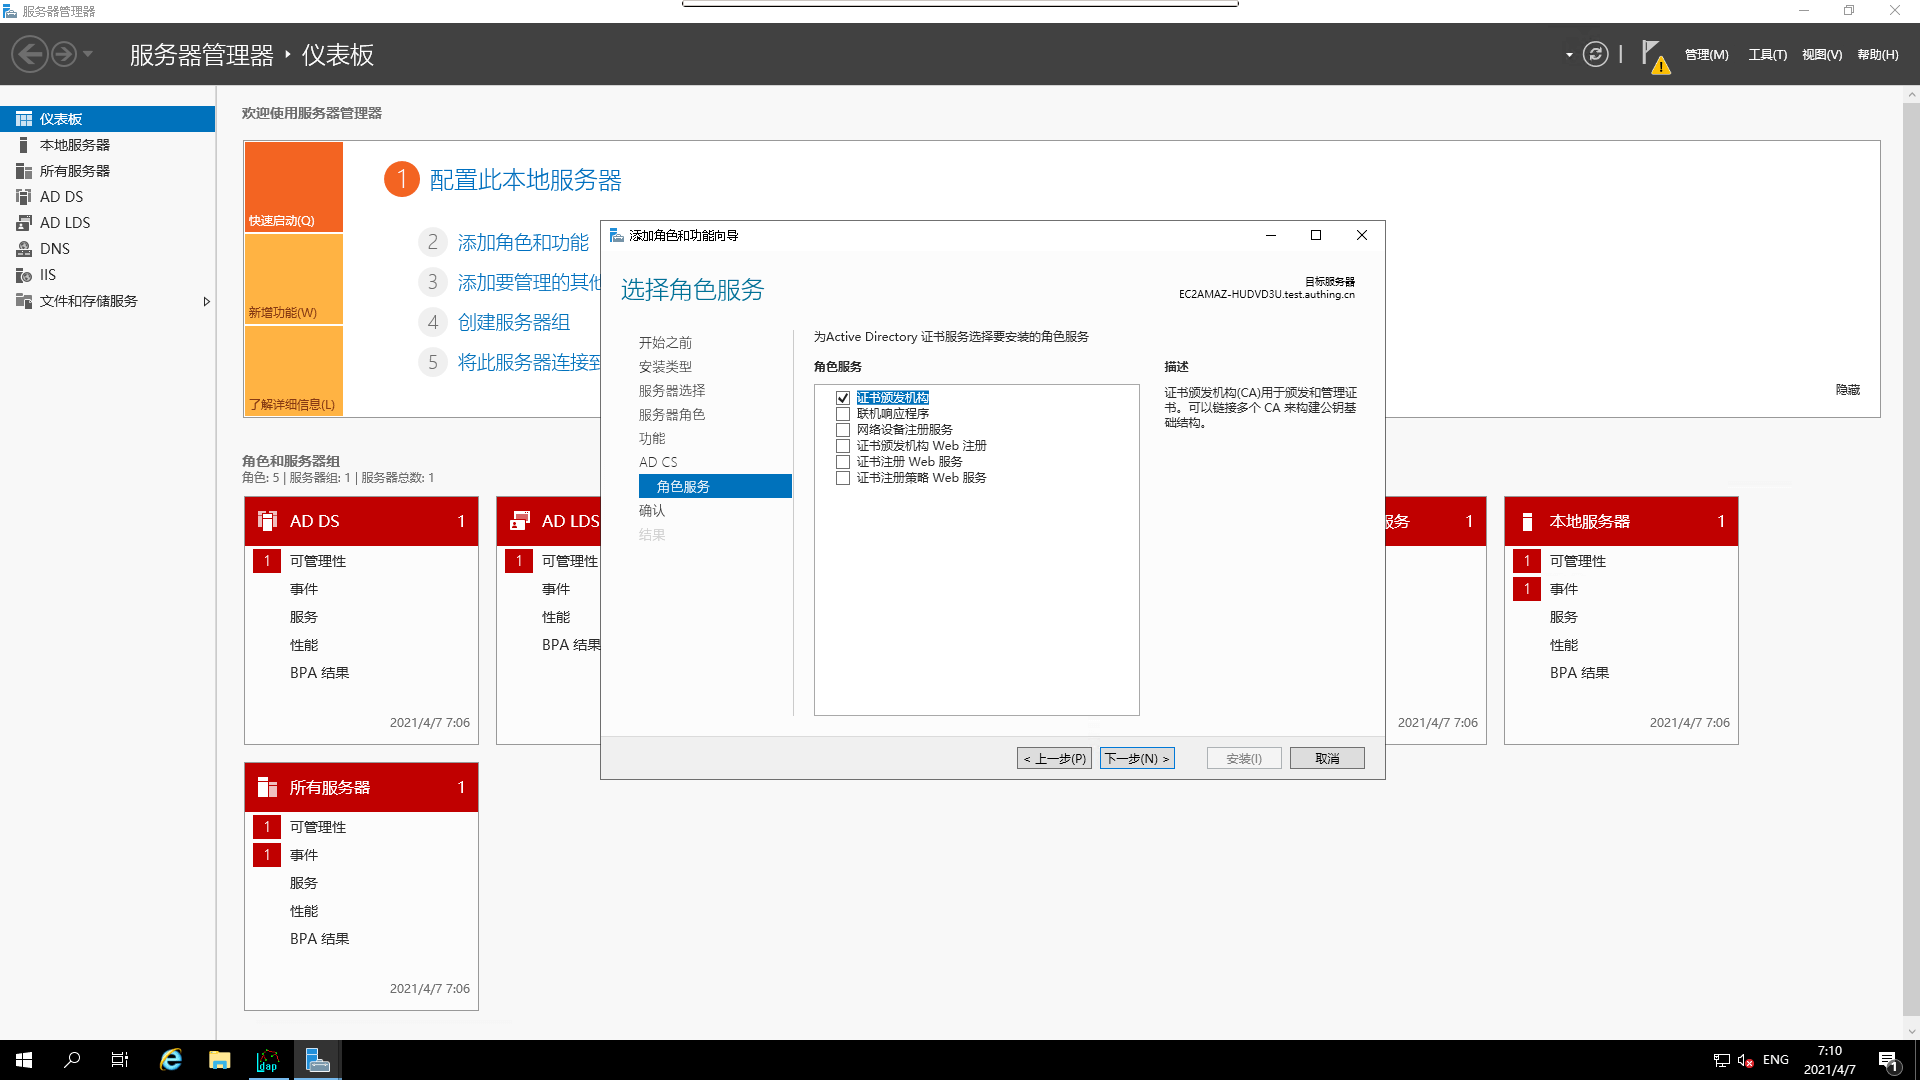
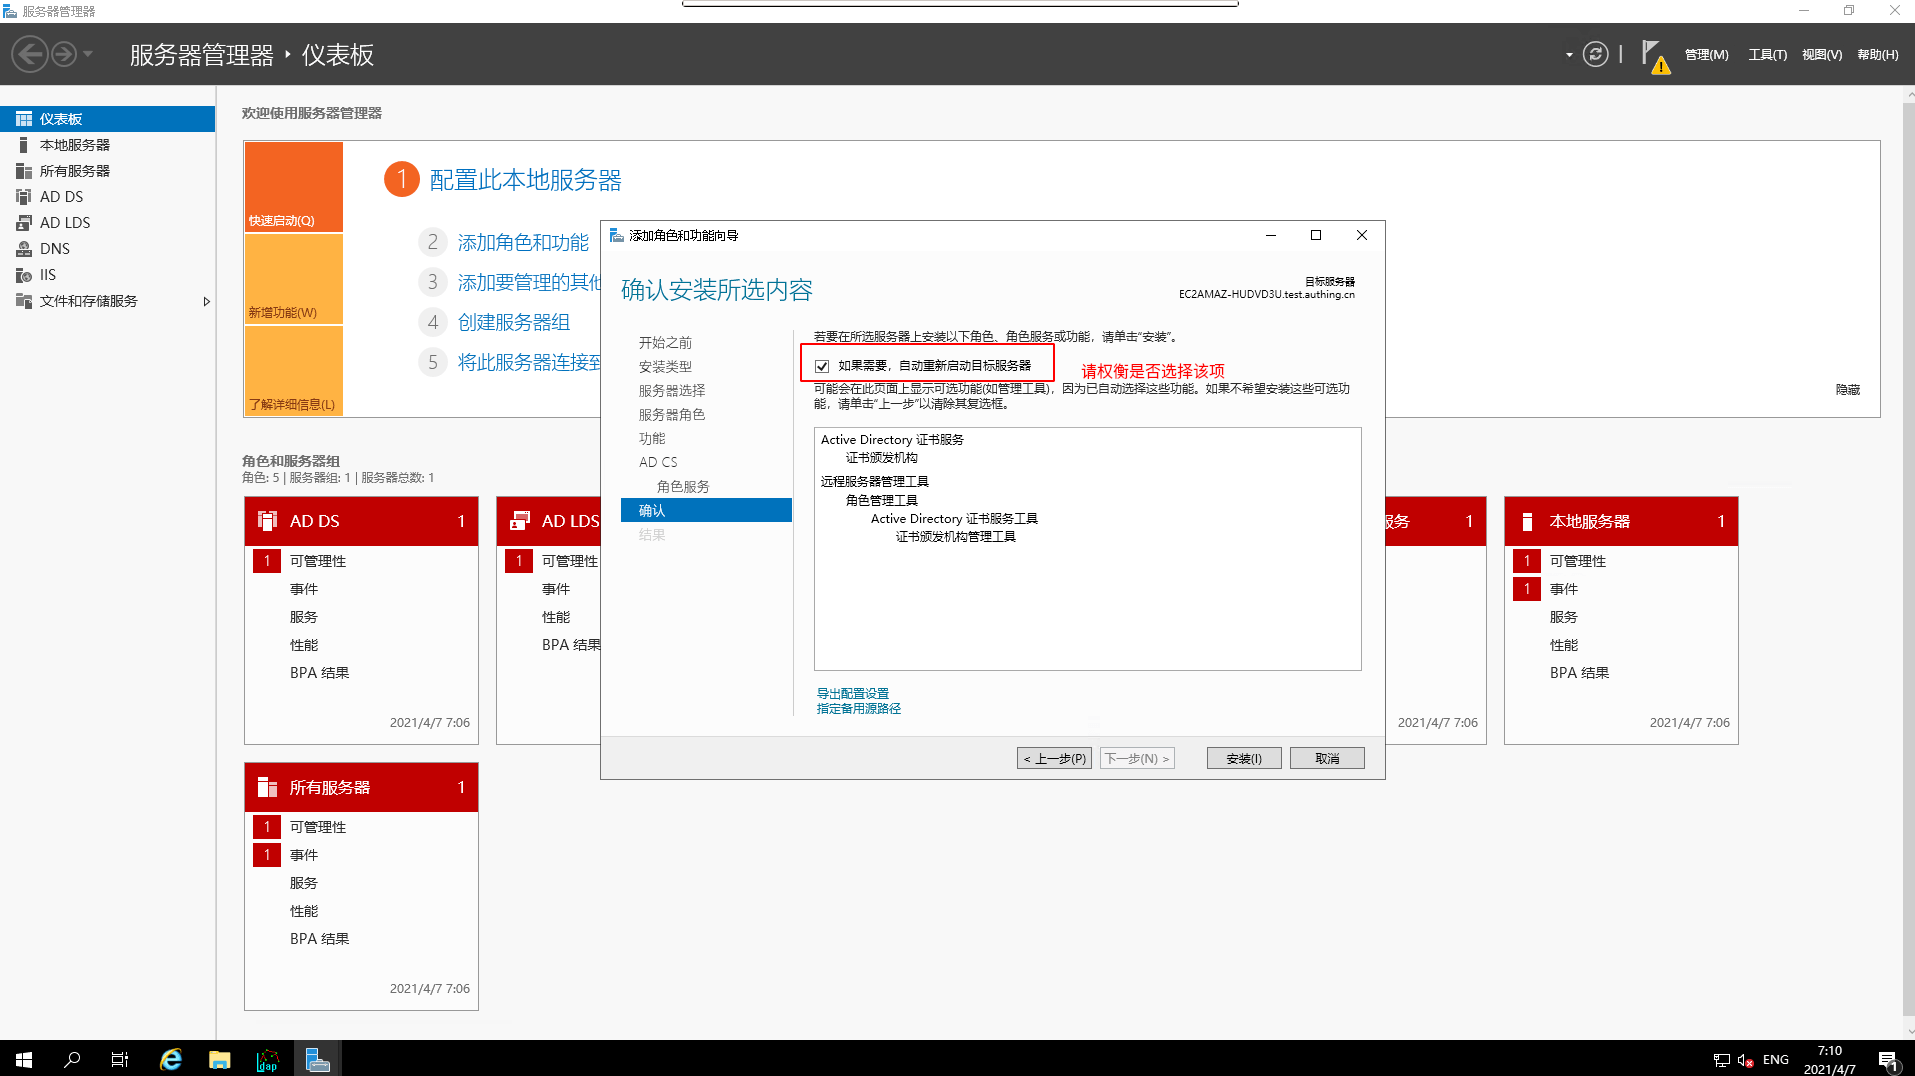
¶ Install AD CS
- still open
Server Manager
- Select
Add Roles and Features
- Select
installation type
- Make `server selection
- Add the corresponding `server role

- Select
Add Functionality
 7. Select the corresponding function
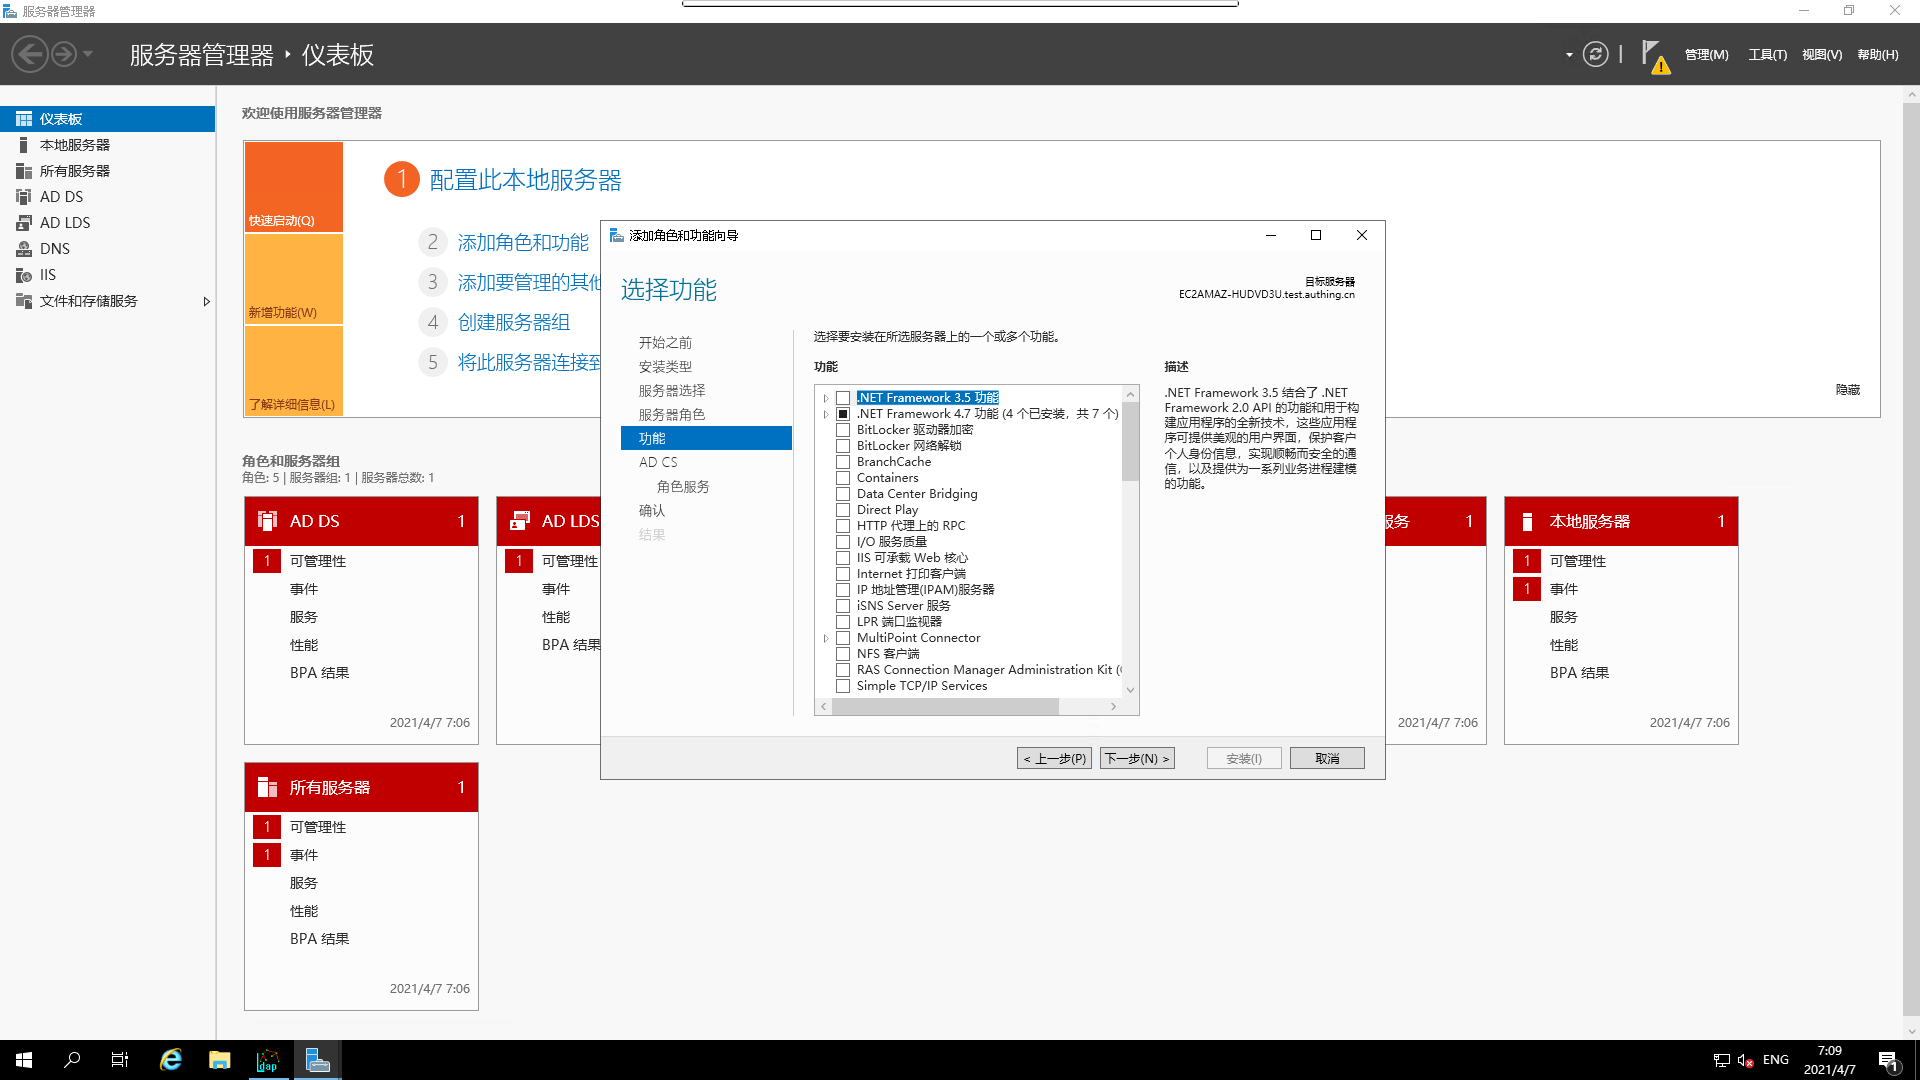
AD CS
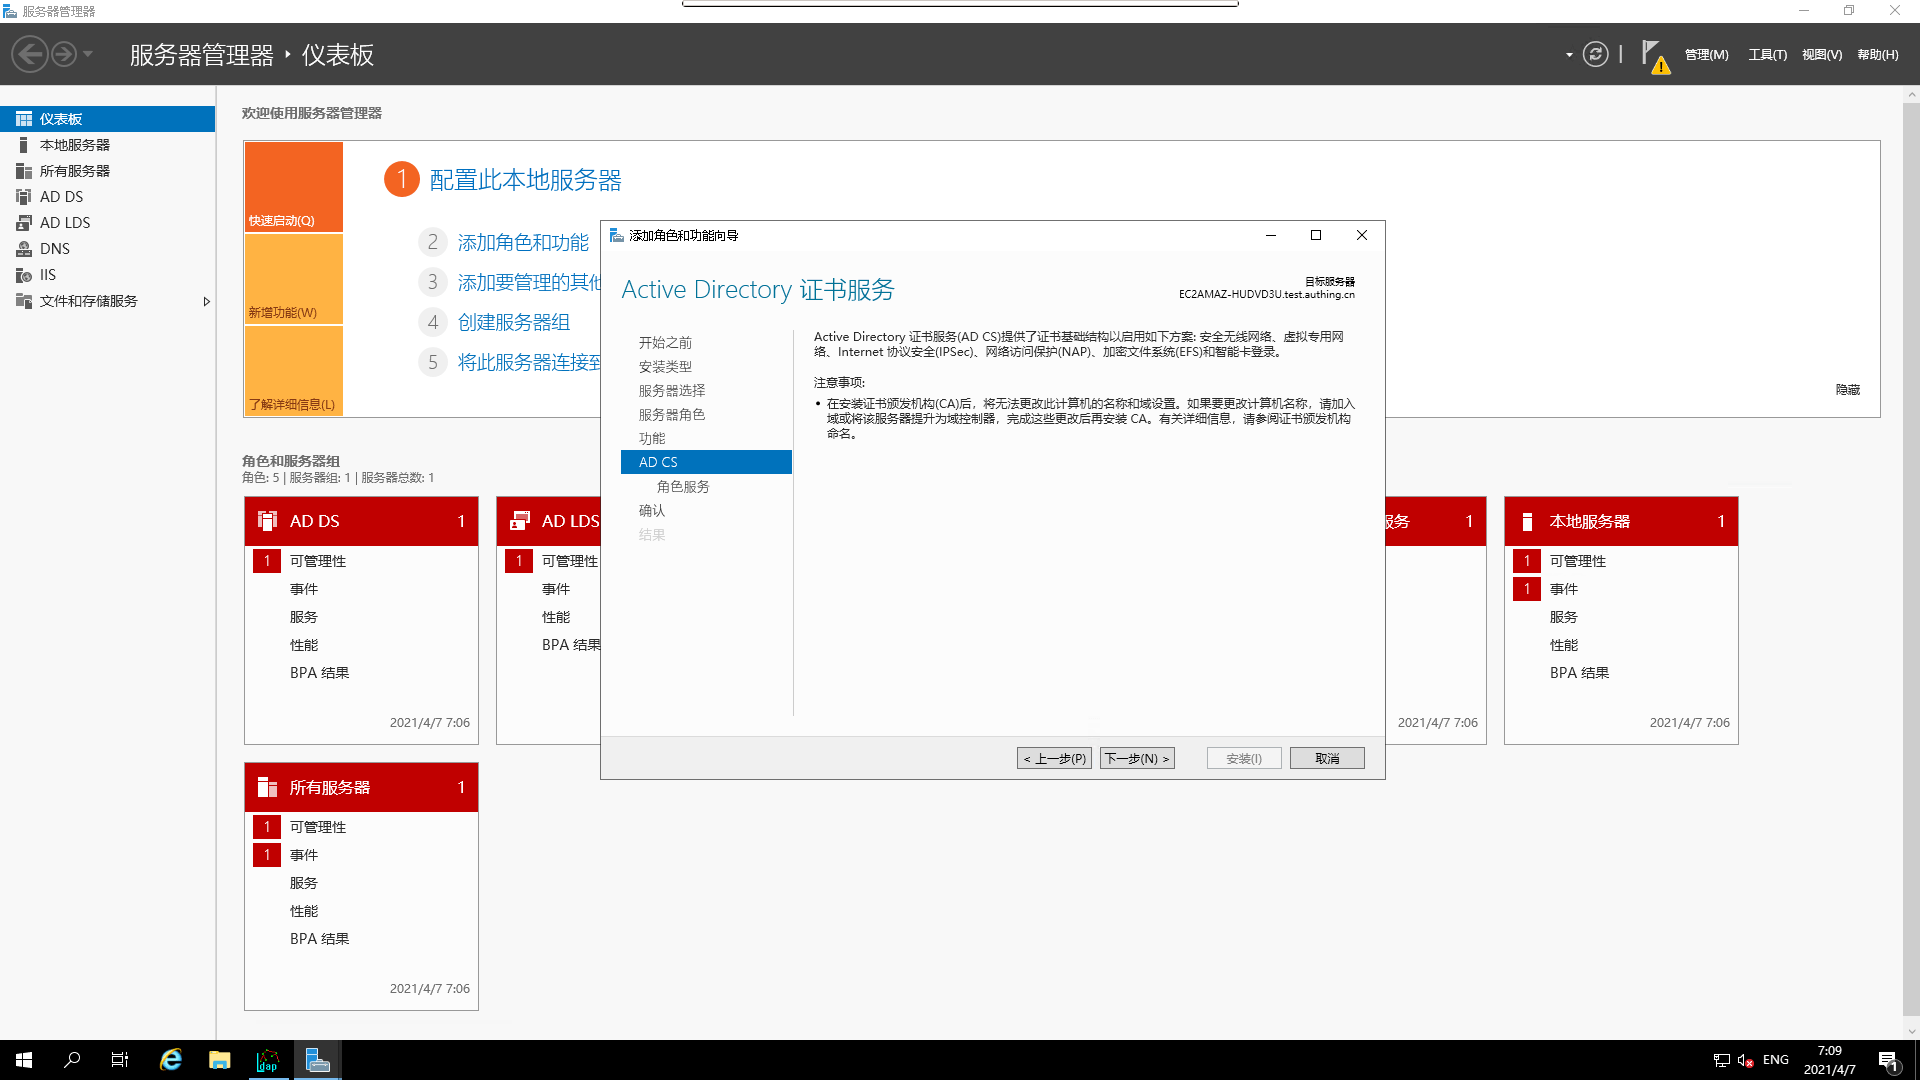
Select the corresponding `Role Service

- Confirm the installation
- Installation in progress
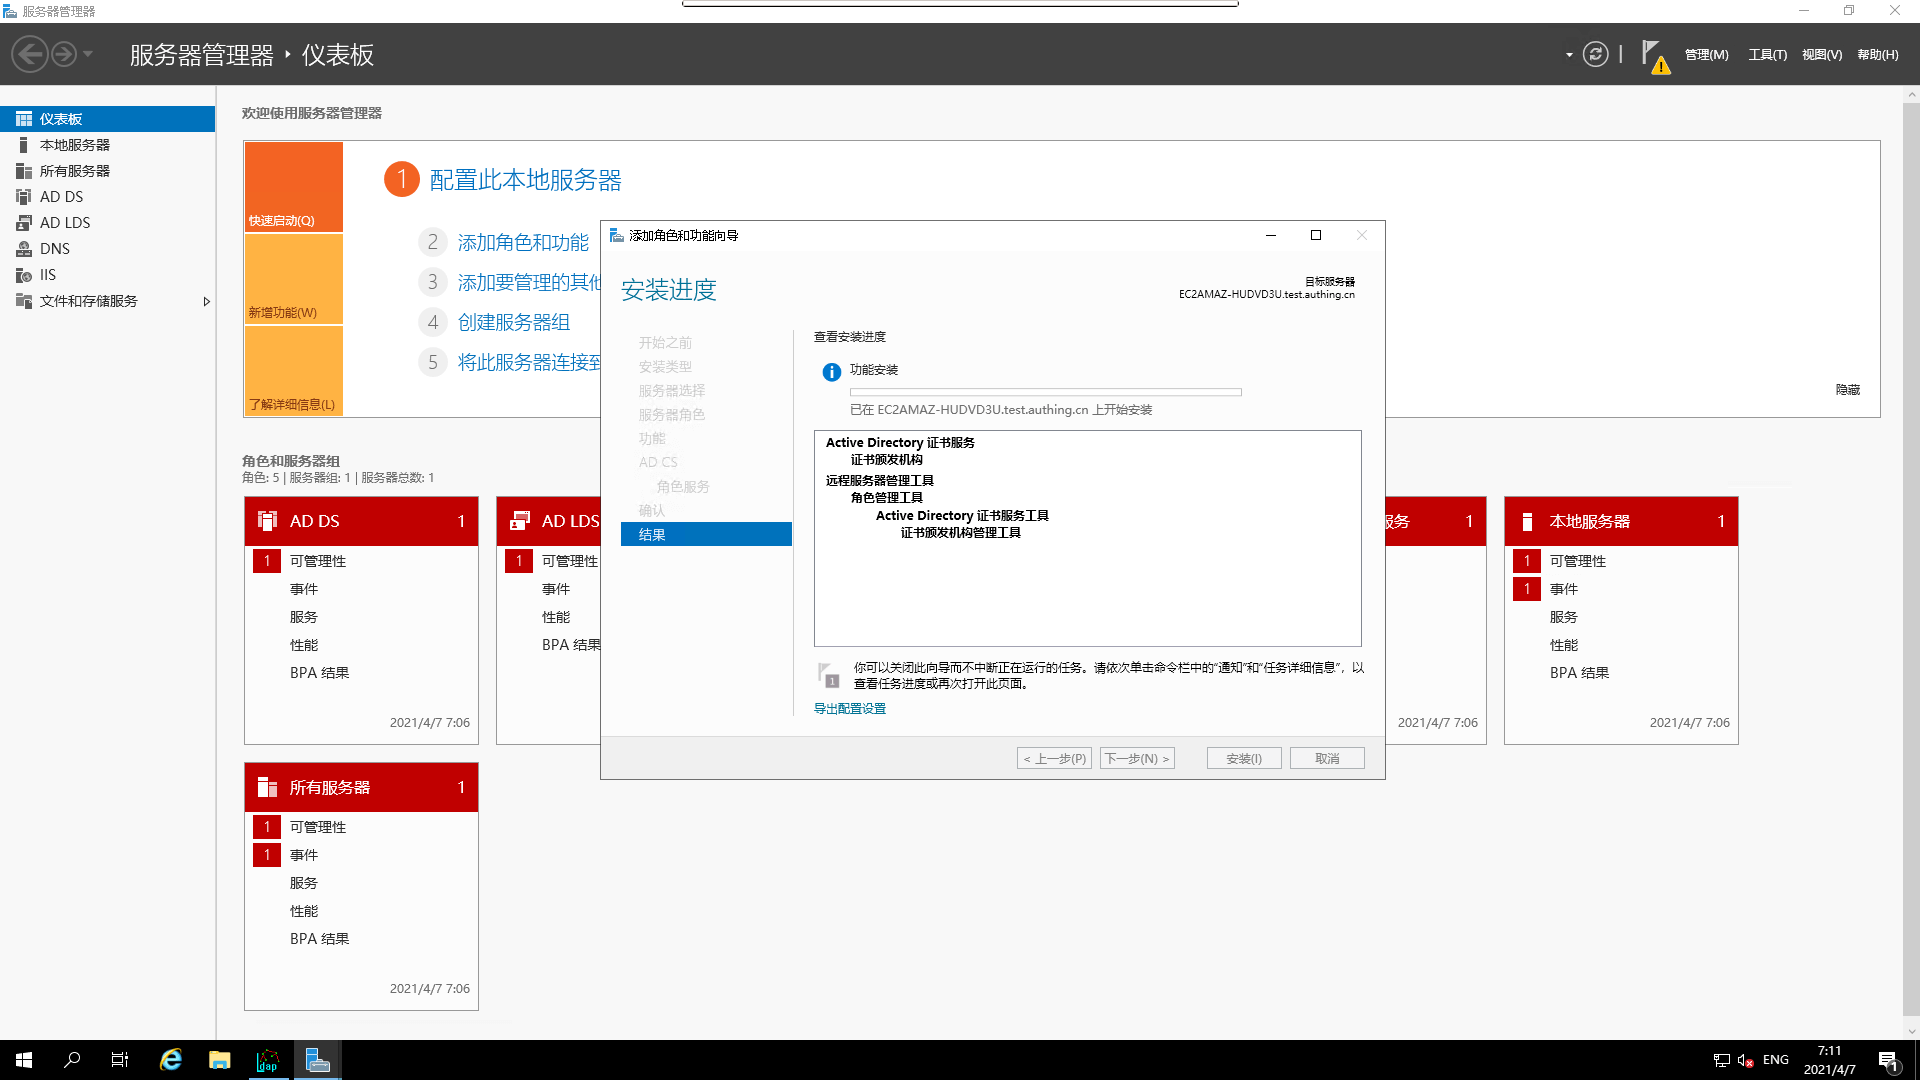
- Installation complete
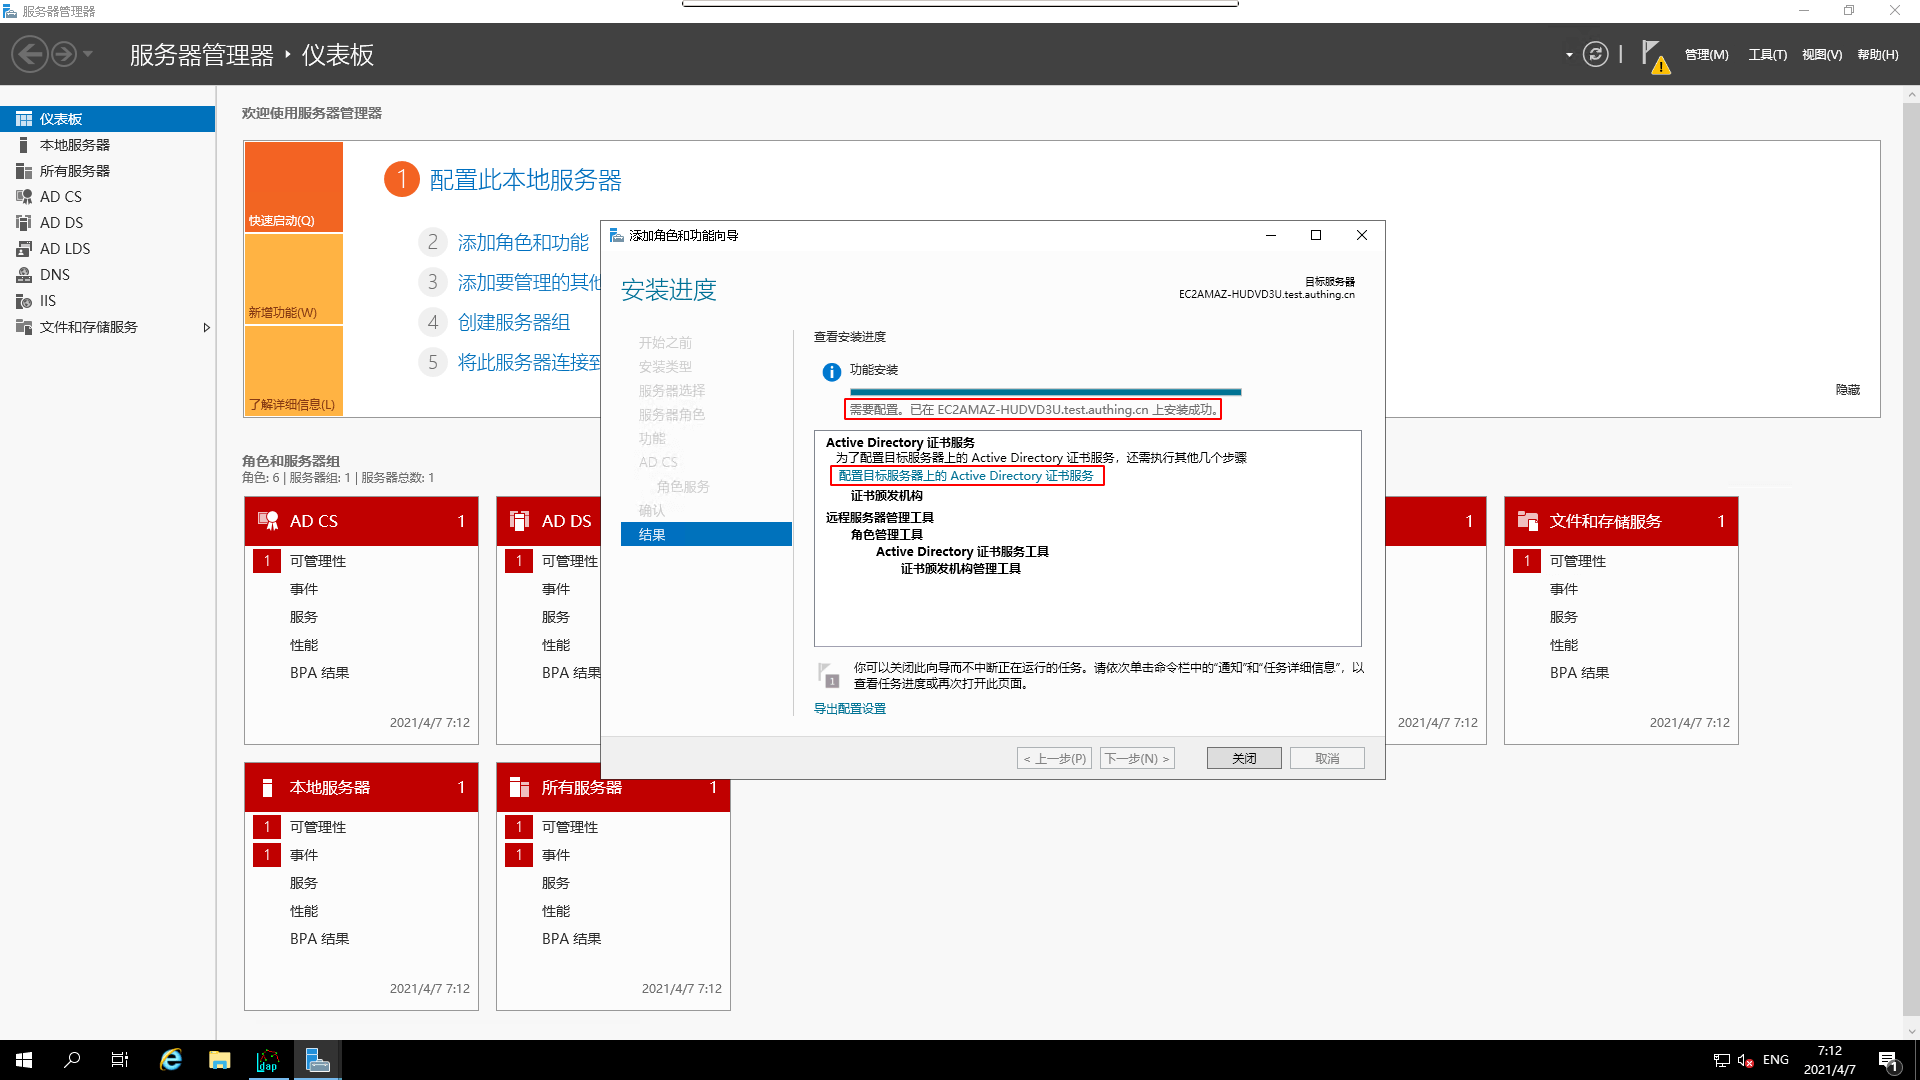
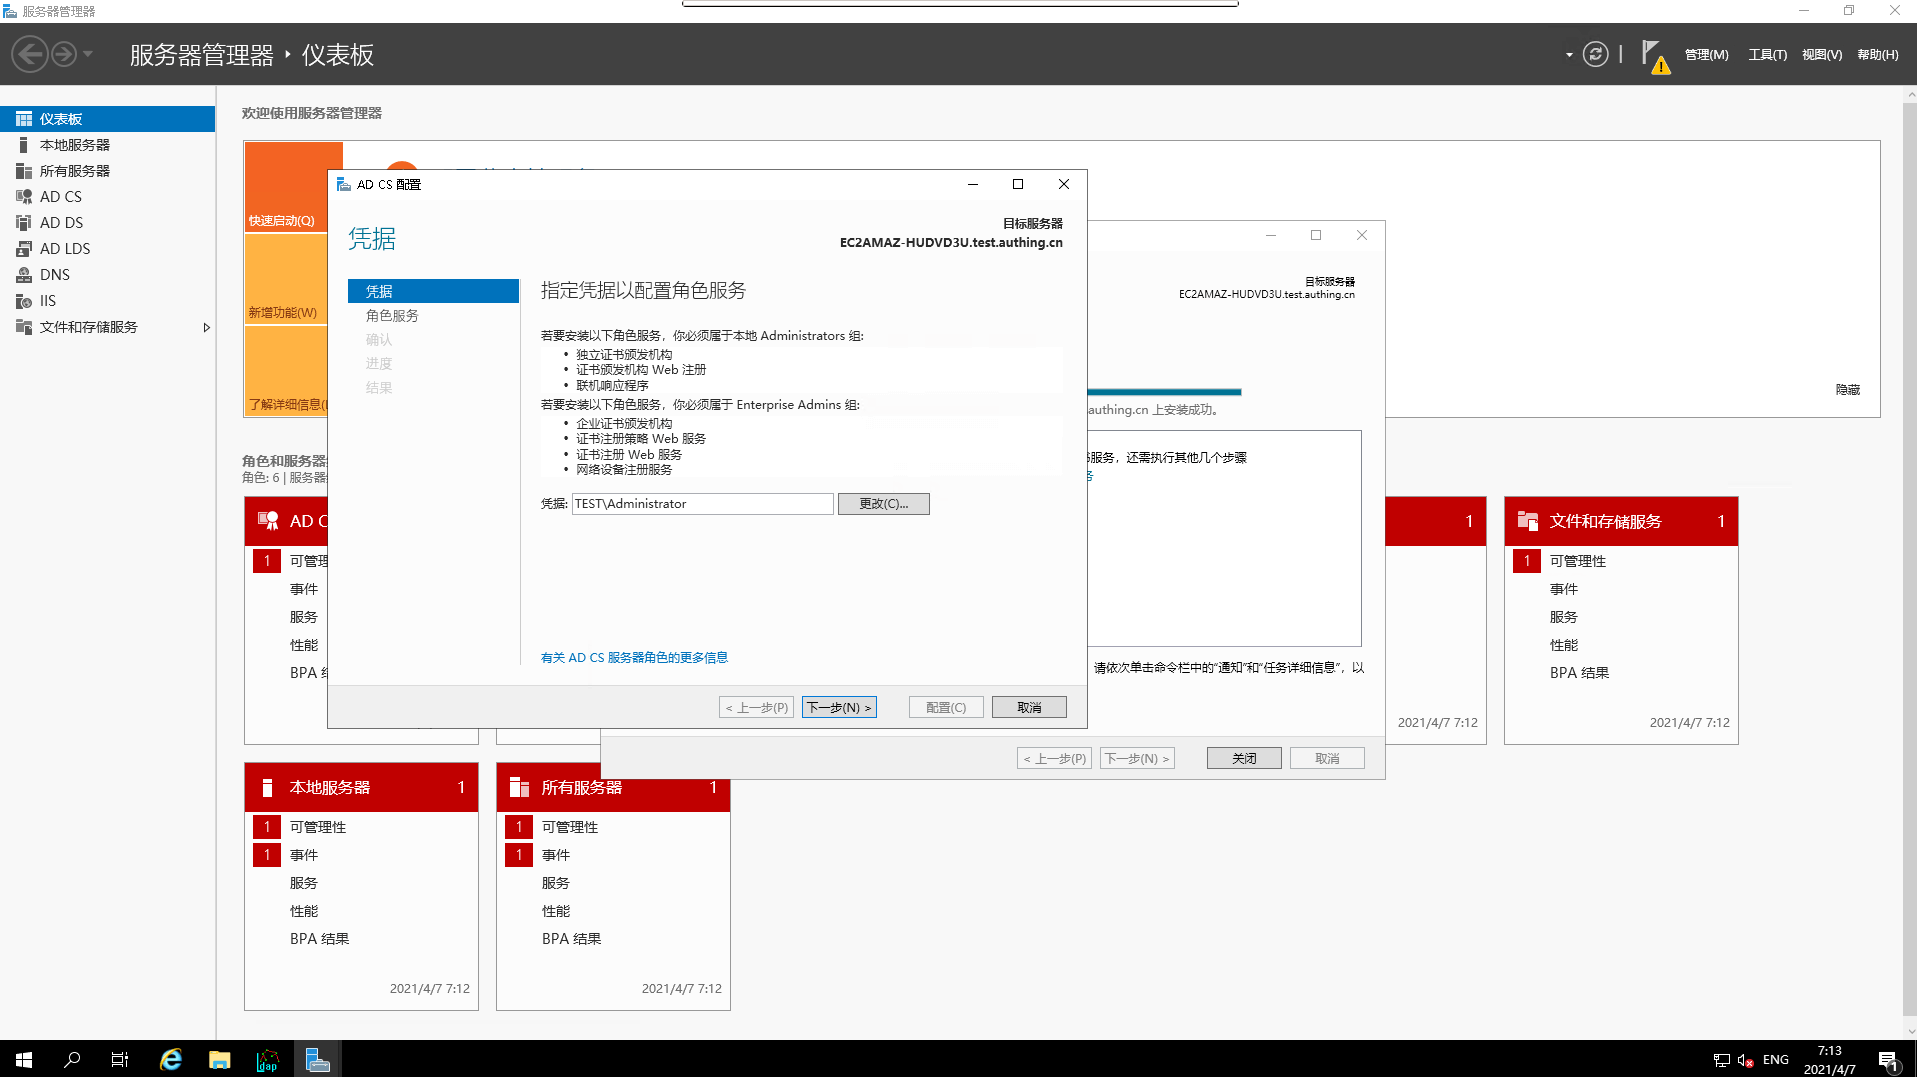
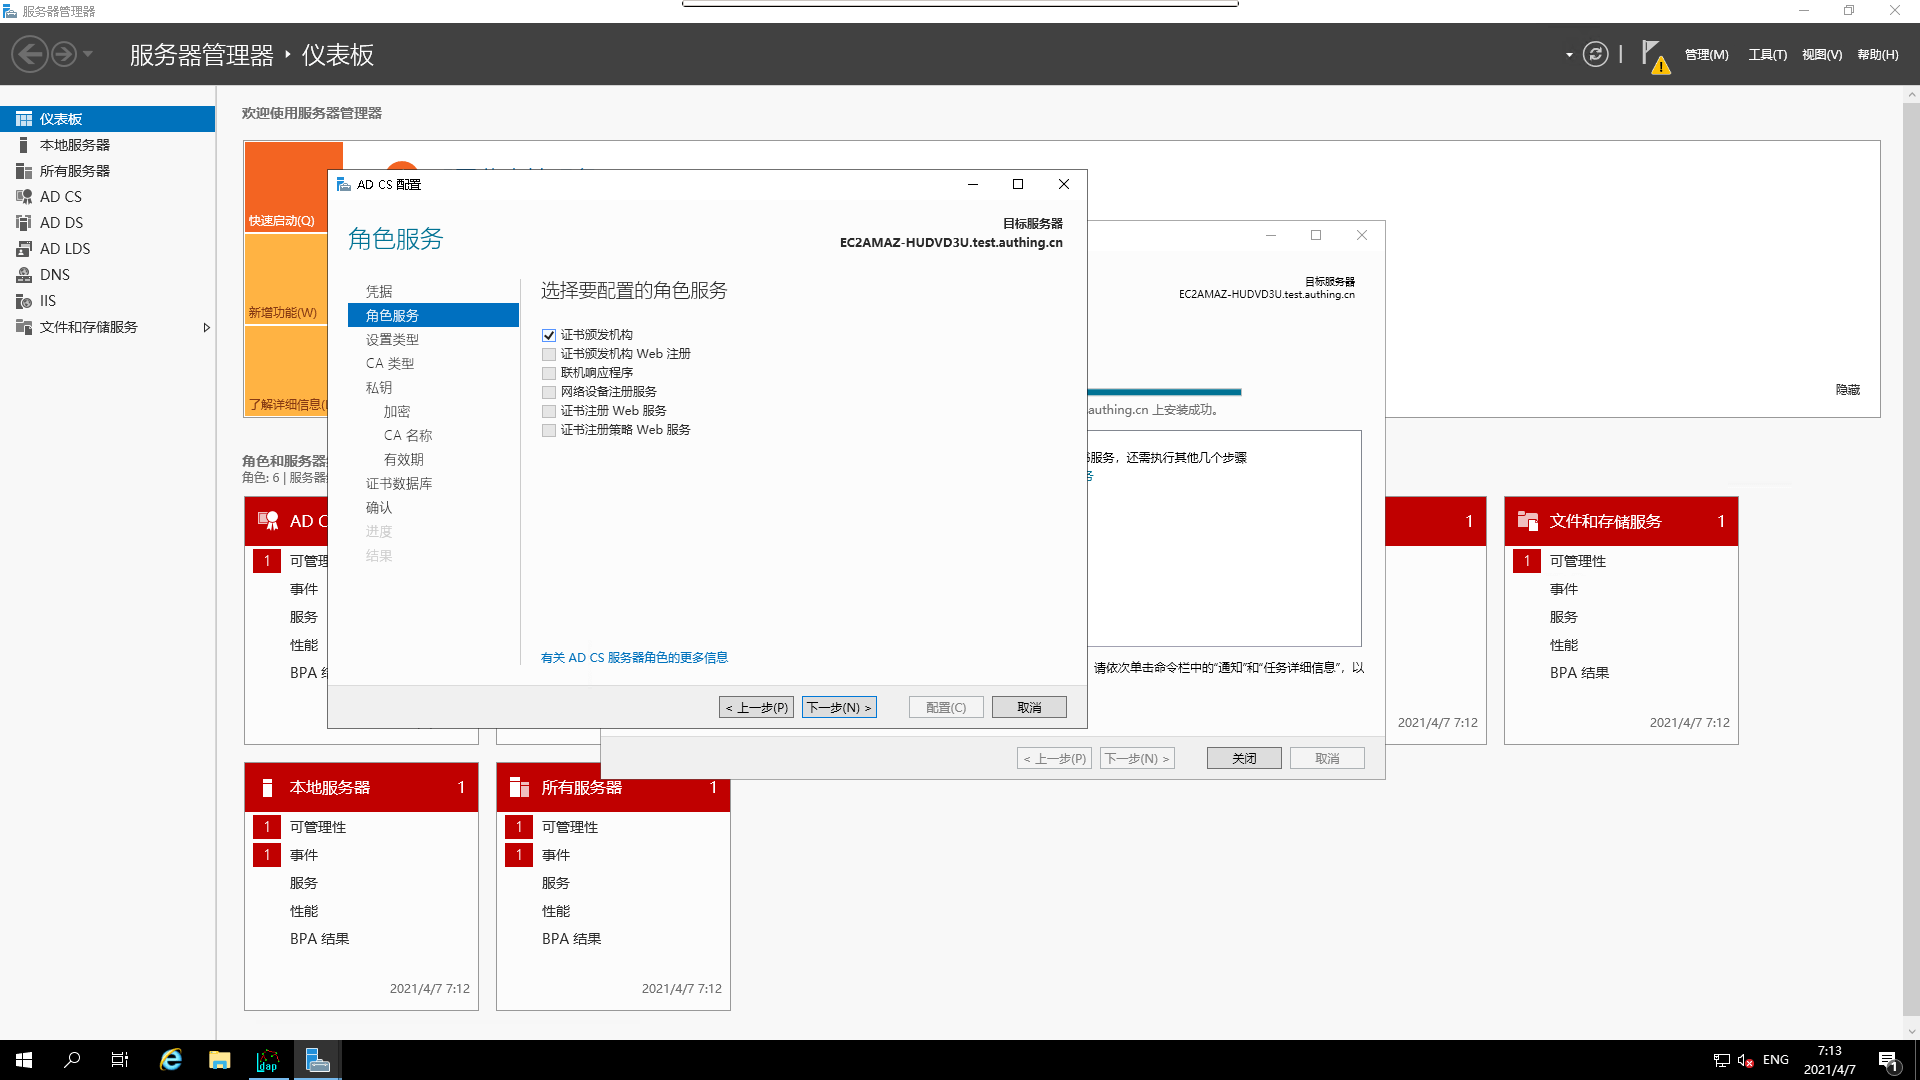
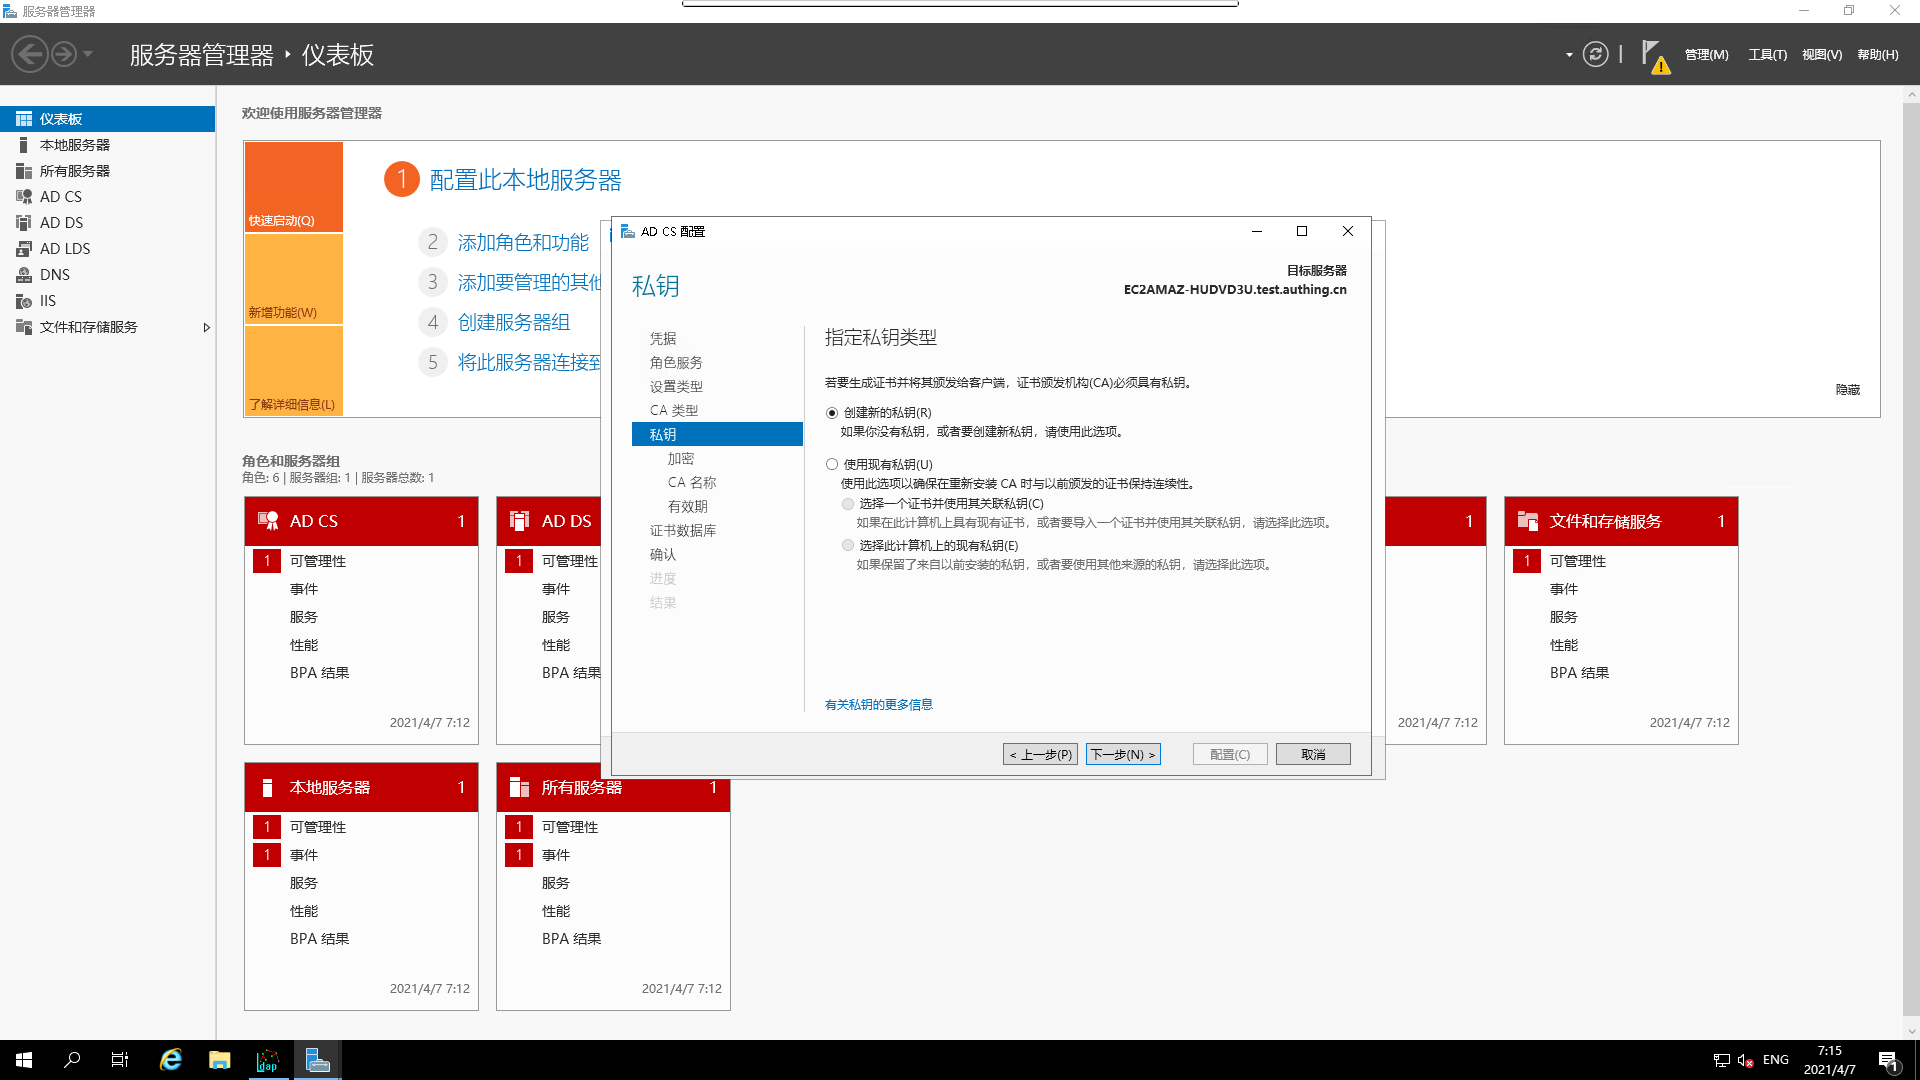
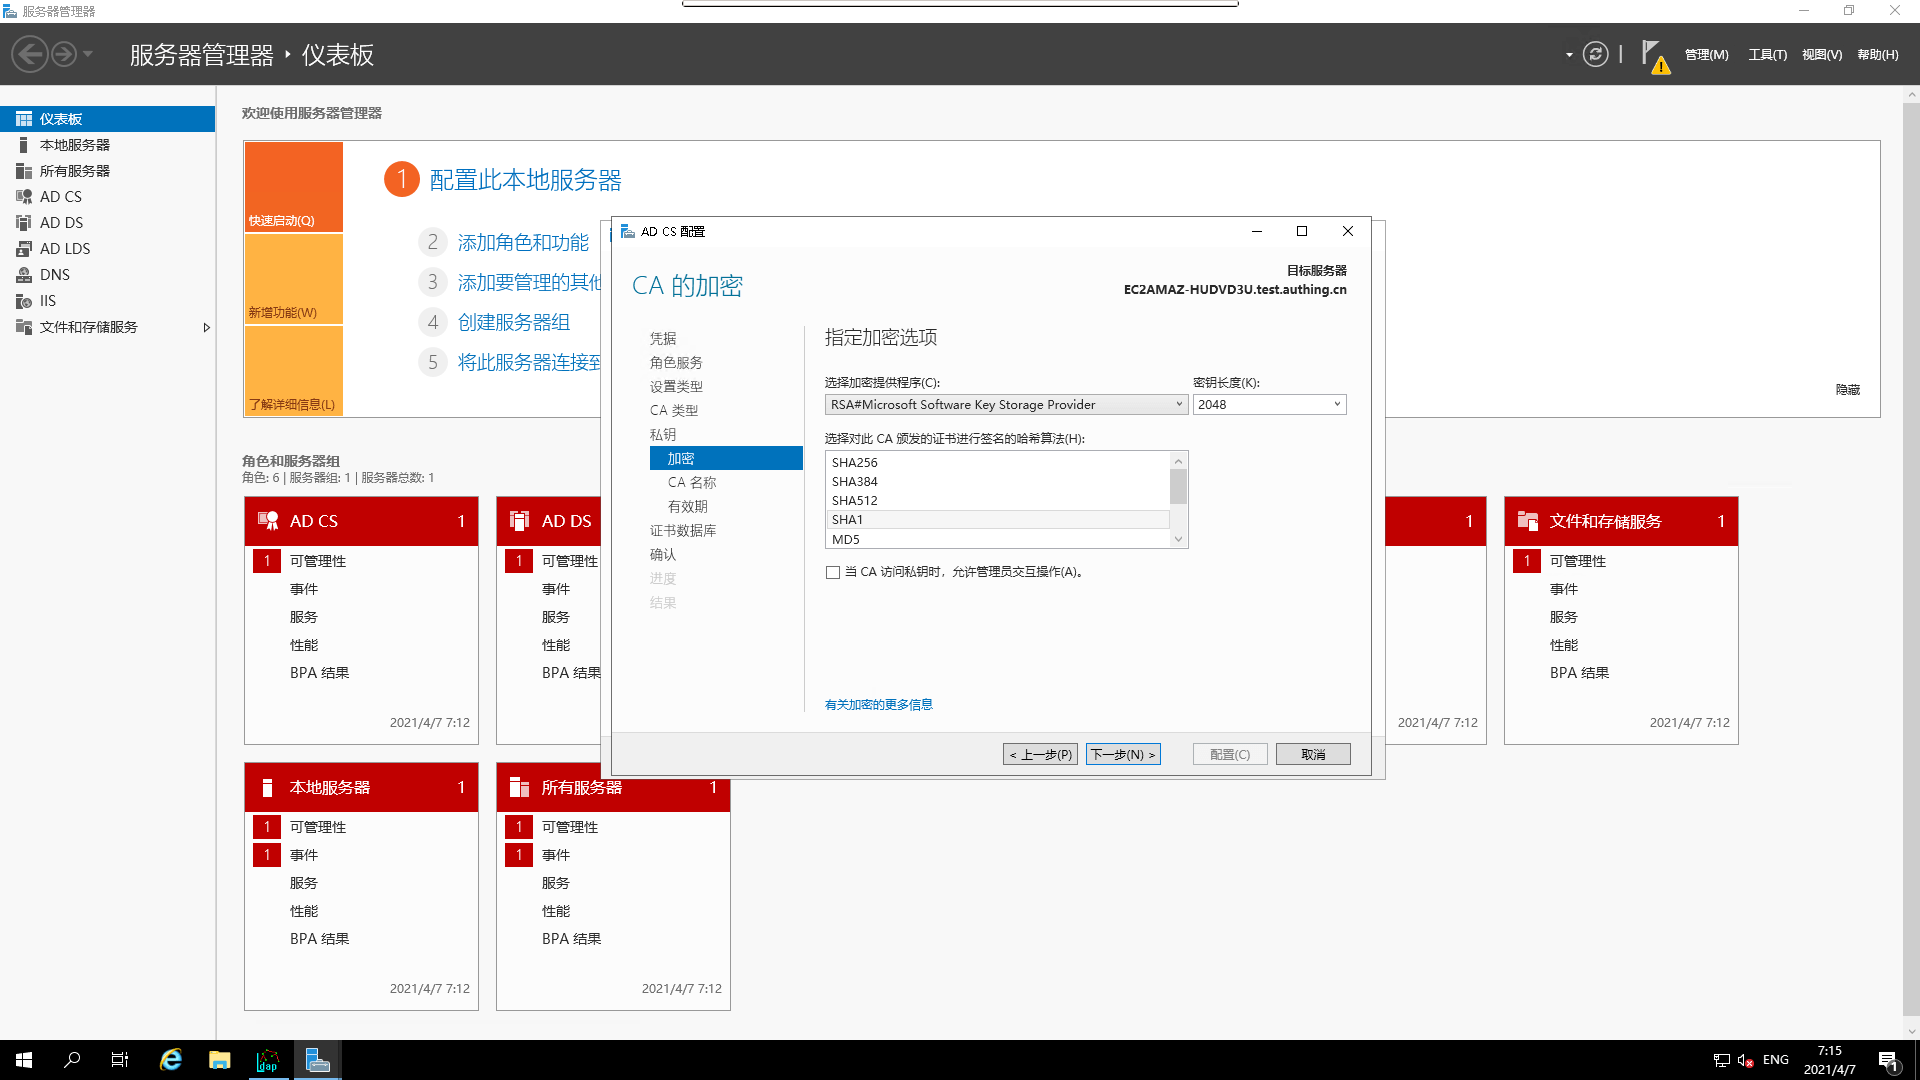
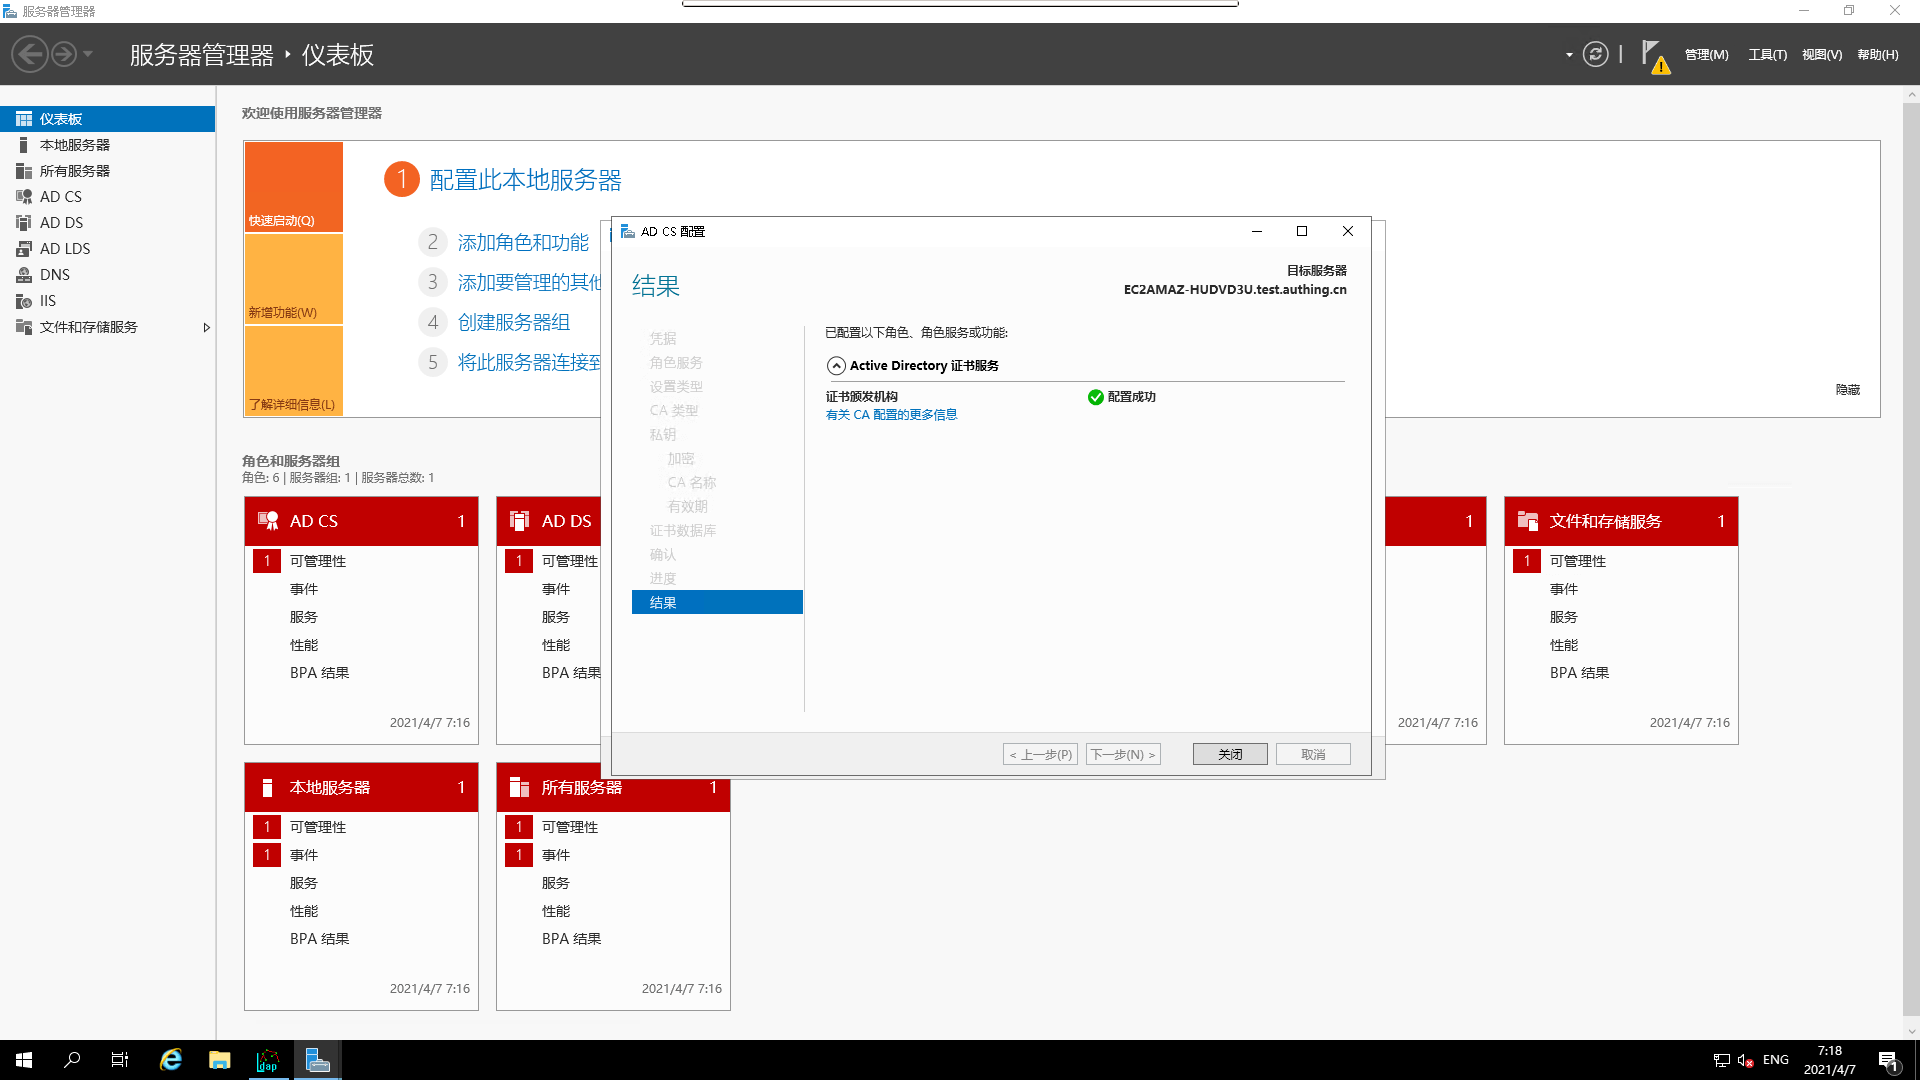
¶ Configure AD CS
- Go to the interface for configuring the target server
AD CS
- Specify the
credentials
- Select
Role Service
- Specify the
CA setting type

- specify
CA's type

- Configure the `private key
- Specify `encryption options
- specify
CA name

- Specify the `CA expiration date

- specify
CA database

- Confirm the current options

- View configuration results
¶ Test ldaps connection to Active Directory
Win + ropenCMD execution window, typeldp
- Select the link to open a link
- Open the test application

- View the test results

¶ AD related policies modification and testing
- open
AD Admin Center

or 
- Add a new user via
AD Admin Center

Adda user

- View
Added results

- open
AD Policy Modifier

- Edit the `AD Policy

- Go to `Computer Configuration
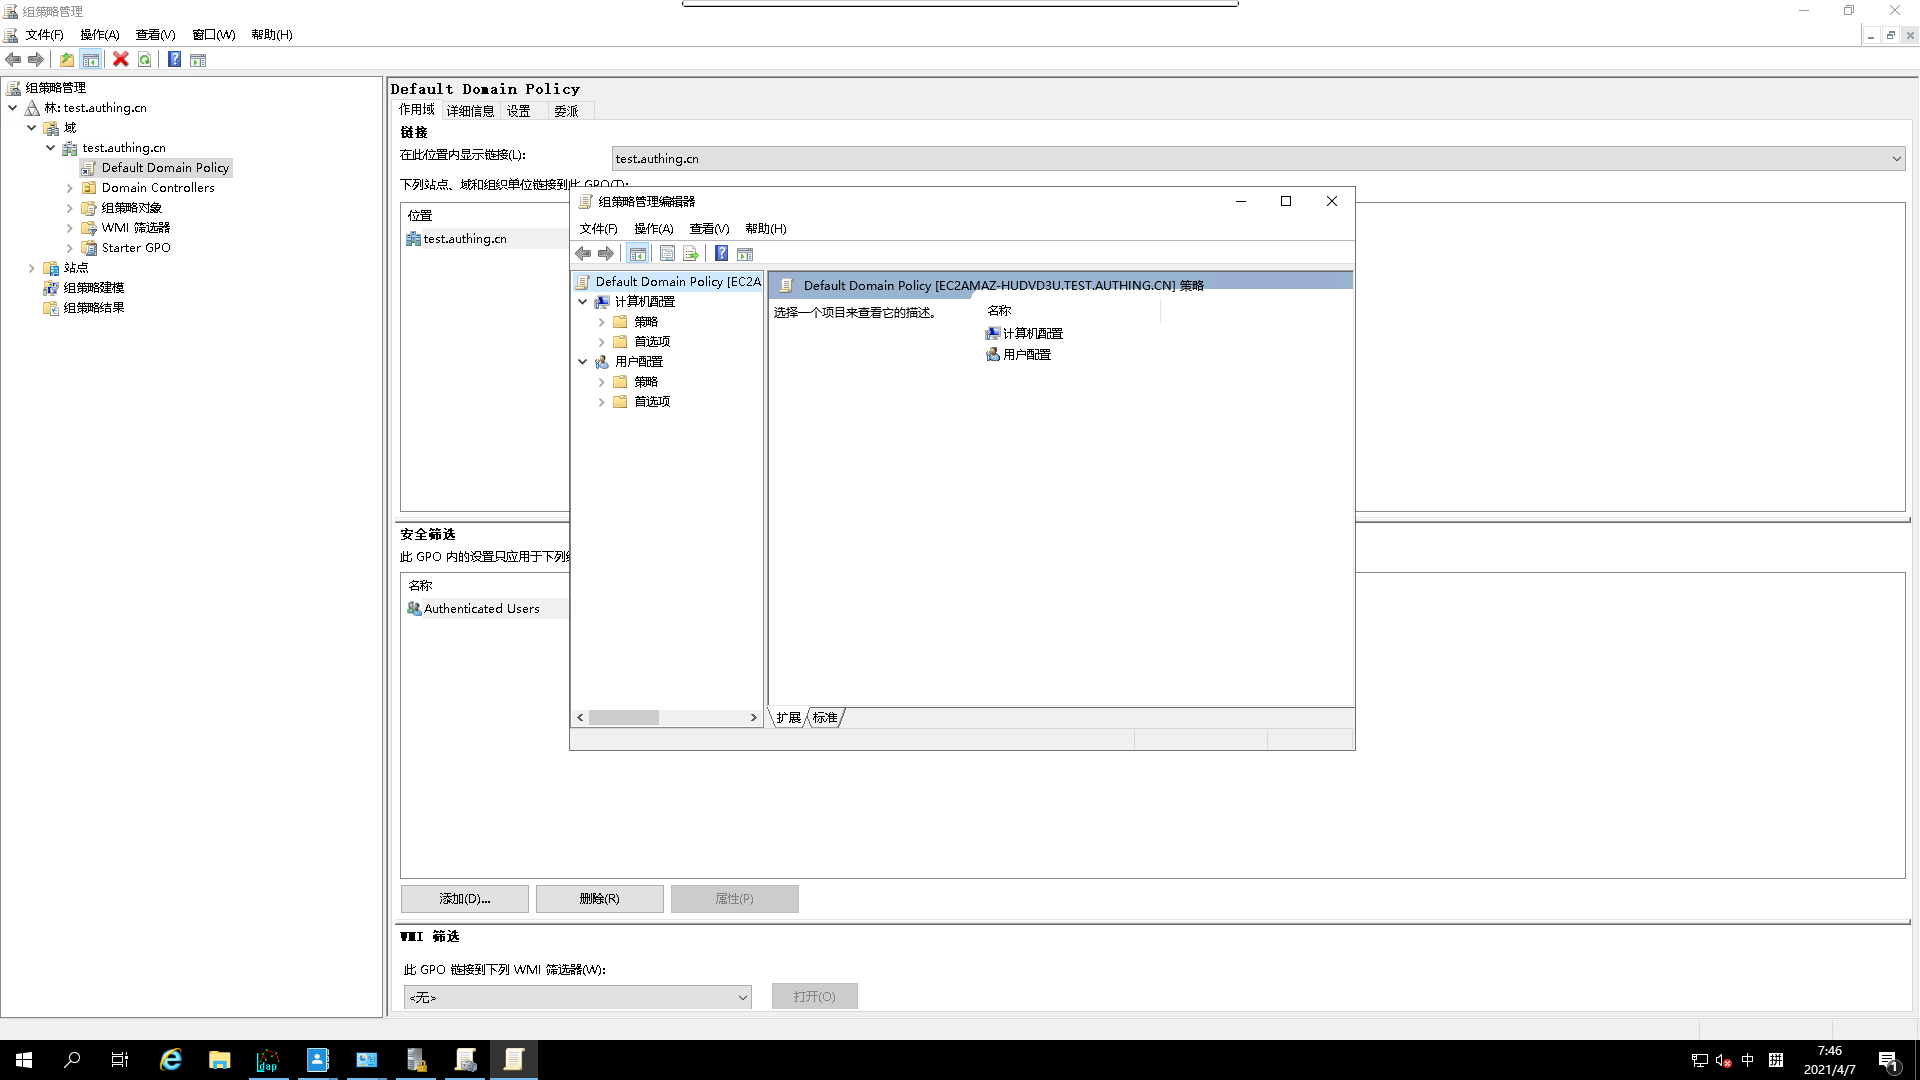
- Go to
Policy

- go to
windows settings

- go to
security settings
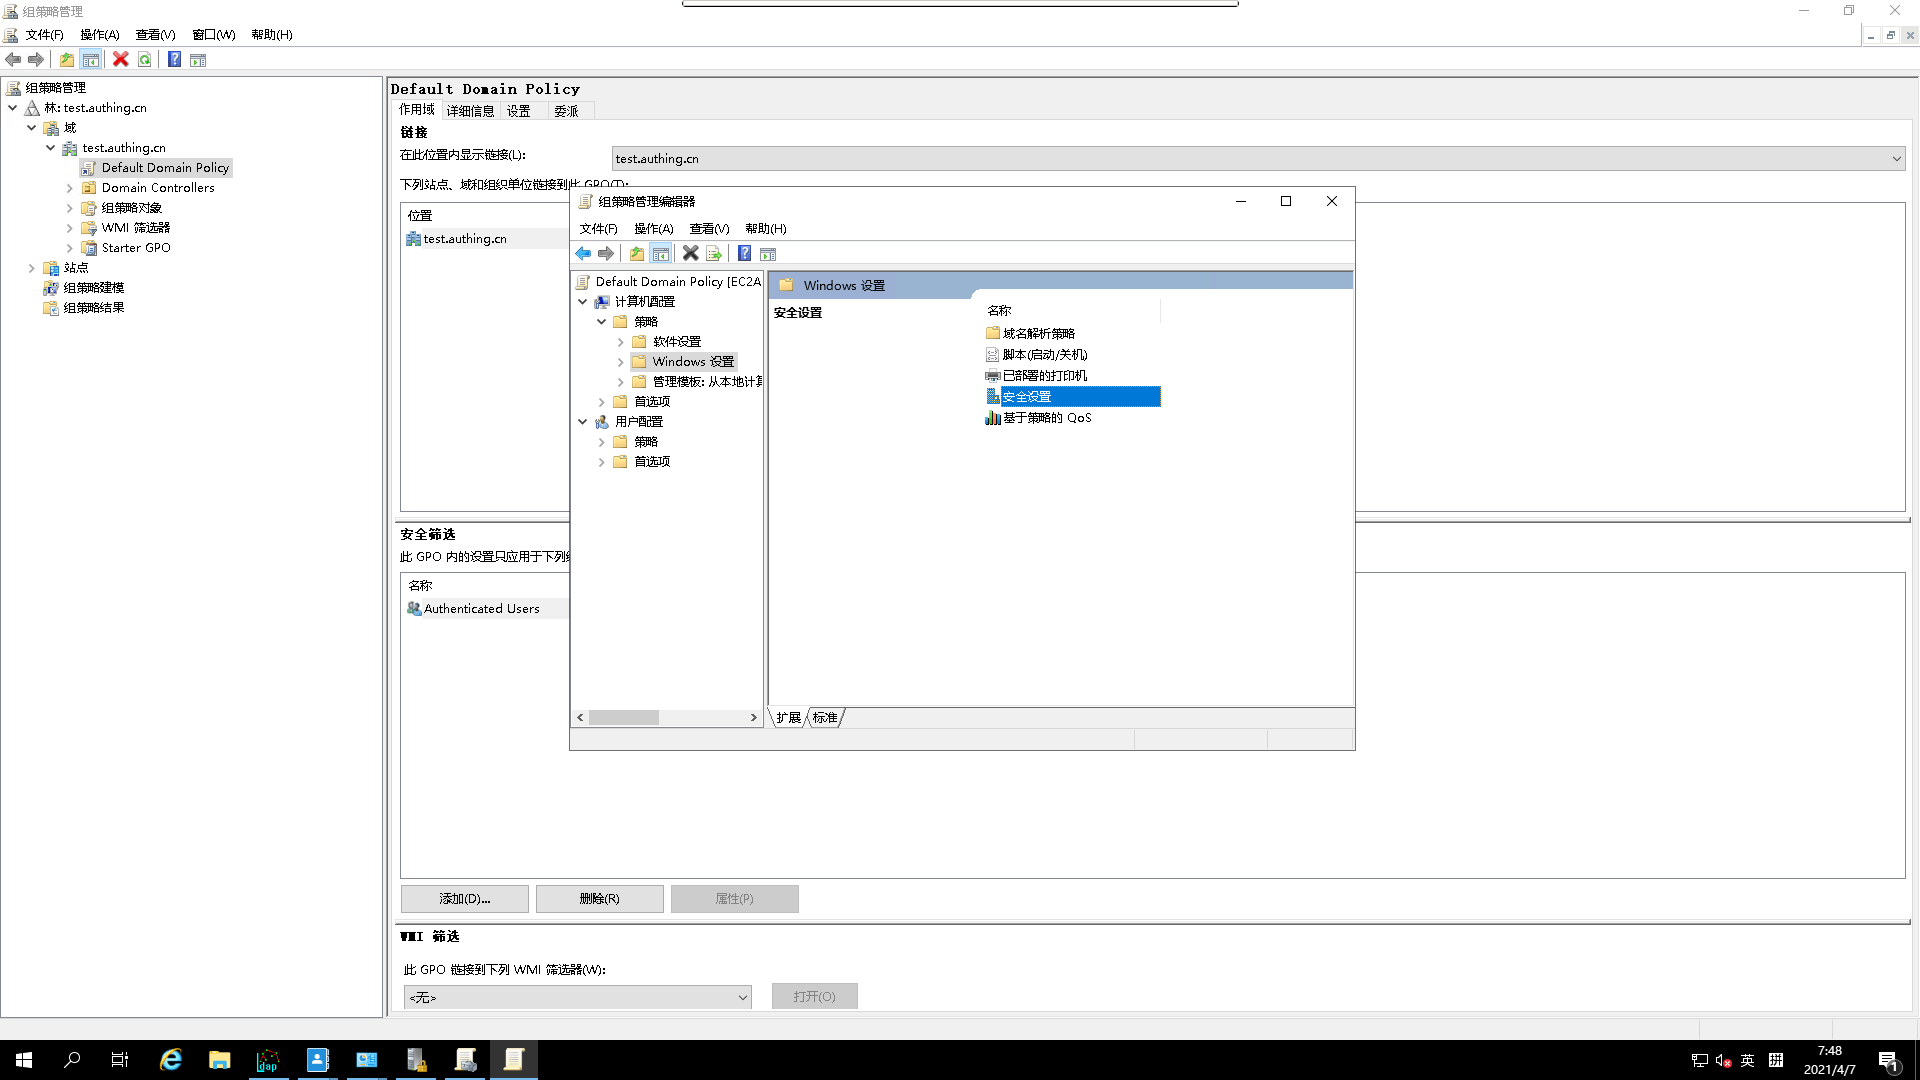
- Go to
Account Policies

- Go to
Password Policy

- modify `password-length-minimum
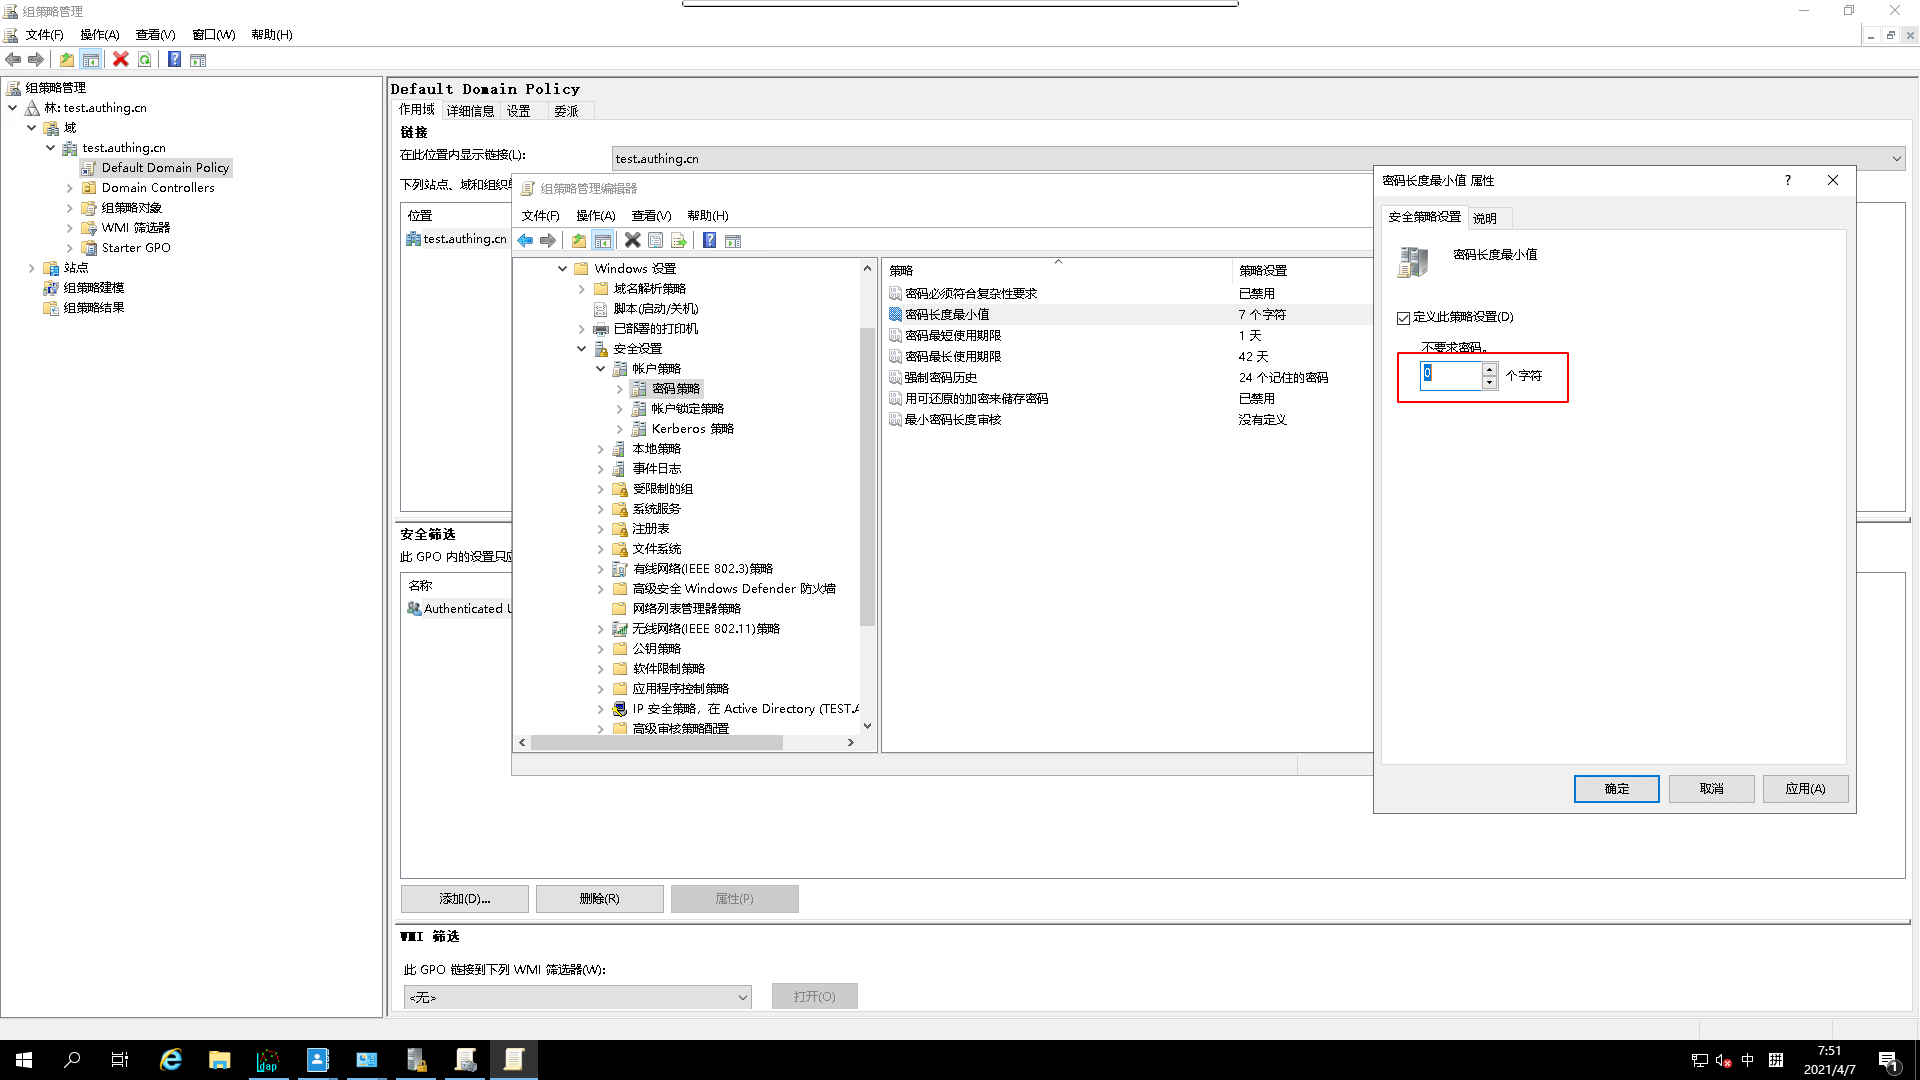
Click
Apply, clickConfirm15.Try again to add a user with
not strong enoughpassword
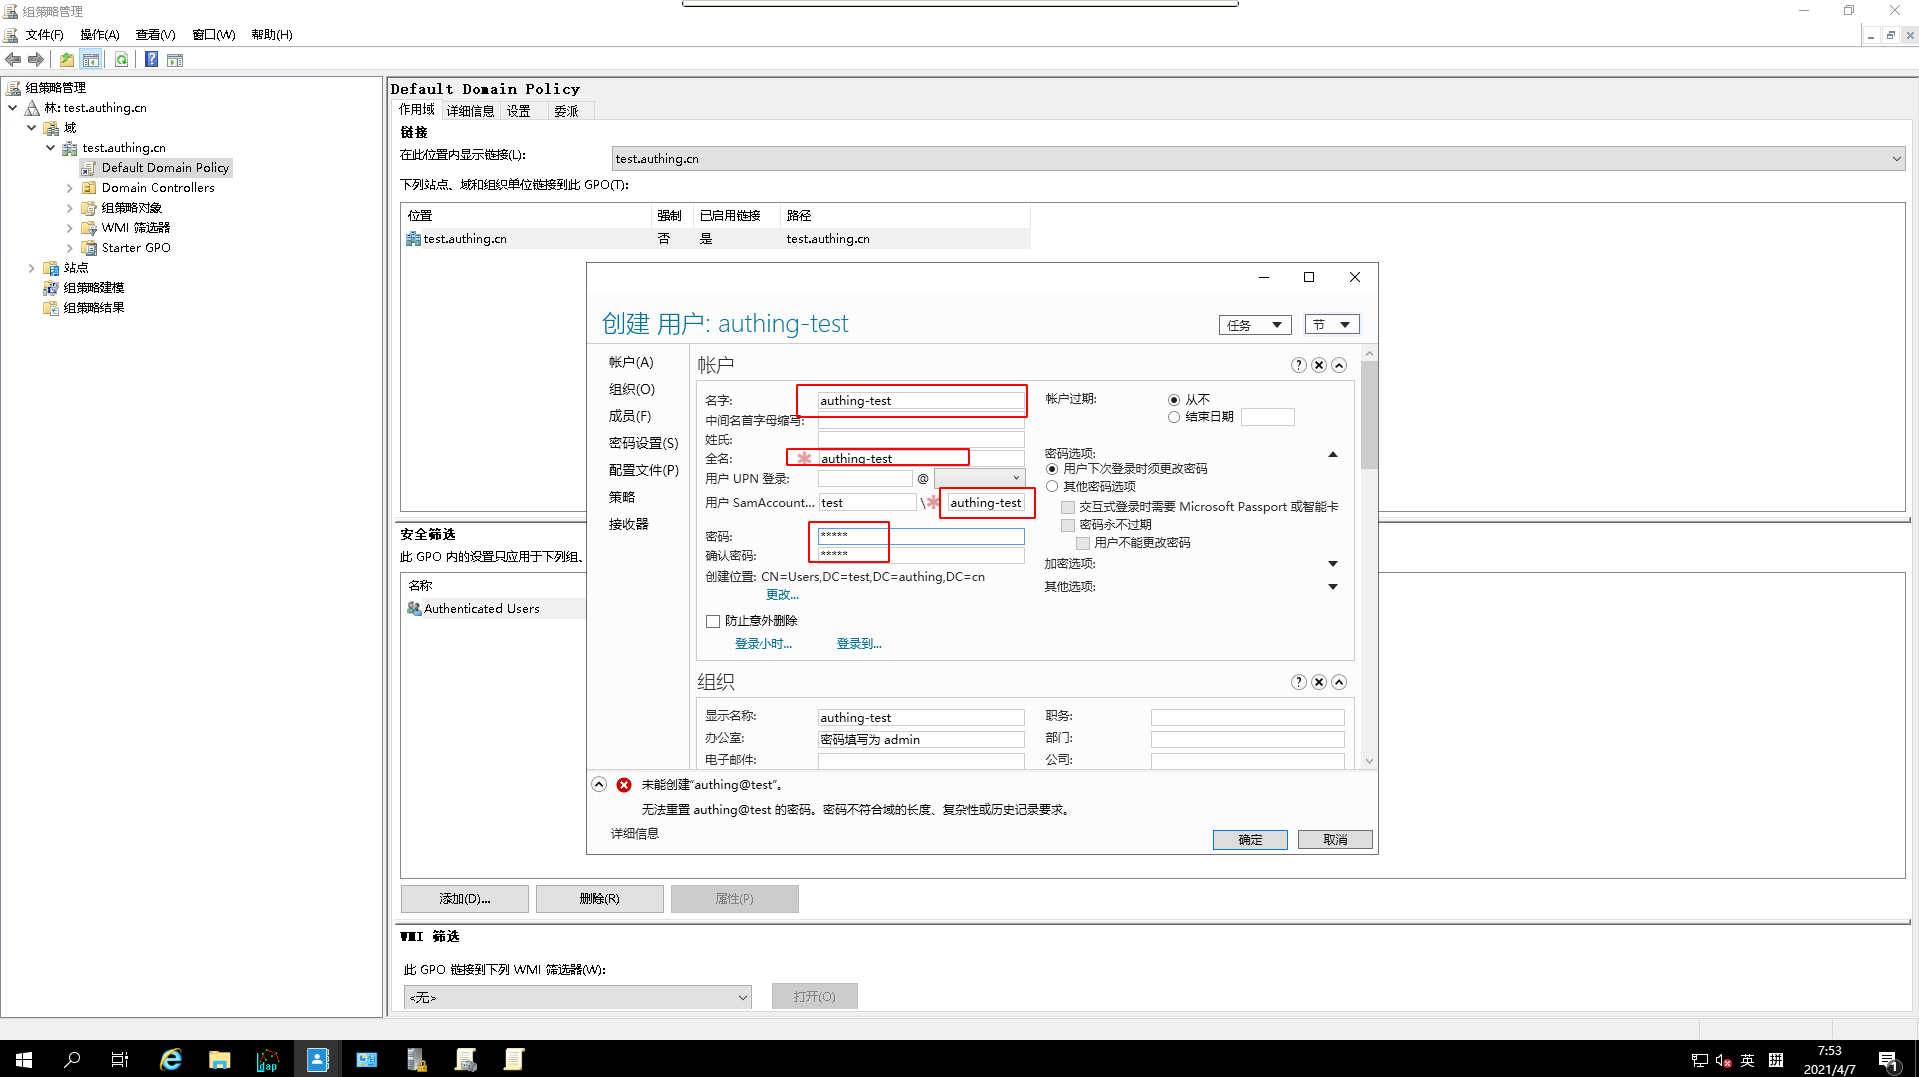
- View added results
¶ Purpose of related services and configuration
This section focuses on the installation of the above services and the related configuration for the following purposes.
Windows Active Directory installation under Windows Server
For AD related operations, the prerequisite is to build an AD service, and the installation of AD domain services is building an AD service.
Installing AD LDS
AD LDS installation is not required
As described in the documentation: AD LDS provides storage for application-specific data as well as for directory-enabled applications (which do not require an AD Domain Services infrastructure). Multiple instances of AD LDS can exist on a single server, each of which can have its own architecture
Configuring AD Domain Services
The AD Domain Services are configured to initialize the AD Domain Services for subsequent core functionality building
Checking Active Directory service connectivity
Check if the Active Directory service is available and can be connected via ldap, which means that AD administration can be mapped to ldap-related operations
Install AD CS
AD CS provides a secure encryption suite for AD transmissions, supporting the ldaps protocol, both for secure transmissions and for non-tampering, etc. Some operations that are extremely sensitive to information data need to be done under ldsps, such as adding a new user and setting a password, adjusting a user's status to enabled, etc. The absence of this feature will result in the status of the Authing data synchronization of the user information is not available
Configure AD CS
Configure AD CS to complete the initialization of AD CS to build the subsequent functionality.
Test connecting to Active Directory via
ldapsTest if the configuration of AD CS is faulty and available.
AD-related policymodificationandtestingThis action is intended to direct the user's attention to the password-related policies in the AD service, as it may cause problems with users added in Authing during synchronization to AD.
The scenario is as follows.
- The current password strength level in Authing is low, the user adds a new weak password account, and the current password setting state in AD requires a certain complexity, when the user syncs over, the sync state will be abnormal due to these issues (the user can sync, but the state is always disabled because the password This will not match the AD policy and will cause the user to be unsuccessful in enabling it).
- The username in Authing does not now have special rules for authentication filtering, i.e. by default the username in Authing can be any string. However, the username in AD is not, and the sAMAccountName property in AD has certain restrictions, so that the data from Authing to AD needs to deal with these differences, and it is reasonably common for these differences to come from different systems. Authing user username as
authing@gmail.com, when synchronizing,usernameandsAMAccountNamehave the same meaning in the normal sense, and these two fields should be used as mapping sides, butauthing@ gmail.comis illegal to assign tosAMAccountNameand will cause an error.
¶ Install AD Connector on Windows server
¶ Configure Windows AD in Authing console
On the "Enterprise Identity Source" page of AuthingConsole, click the "Create Enterprise Identity Source" button to enter the "Select Enterprise Identity Source" page, then click "Windows AD" to enter the "Windows AD Login Mode" page.

Please configure the relevant field information in the AuthingConsole console on the "Enterprise Identity Source" - "Windows AD" page.

| Field | Description |
|---|---|
| unique identifier | a. The unique identifier consists of lowercase letters, numbers, and -, and the length is less than 32 digits. b. This is the unique identifier of this connection and cannot be modified after setting. |
| display name | This name will be displayed on the button on the end user's login screen. |
| Synchronize AD domain password | If set, when AD authentication succeeds, the user's password in the AD domain will be synchronized to their password in Authing |
| Synchronize the user's password in Authing to AD after the user's password is changed | If set, when a user's password in Authing is changed (both when the administrator changes the password and when the user resets the password manually), the user's password in AD will be changed as well. |
| Login Mode | When "Login Only Mode" is enabled, only existing accounts can be logged in, and no new accounts can be created, please choose carefully. |
| Account identity association | When 「Account Identity Association」is not enabled, a new user is created by default when a user logs in through an identity source. After enabling 「Account Identity Association」, you can allow users to log in to existing accounts directly through 「Field Matching」 or 「Asking for Binding」. |
After the configuration is completed, click the "Create" button to complete the creation.
After successful creation, you will be automatically redirected to the application details page, and you will get a Provisioning Ticket Url, which will be used in the following steps.
!
After that you need to enable this AD connection for your application: !
!
¶ Running Authing AD Connector on Windows
Before installing the Authing AD Connector, make sure the following conditions are met.
- A Windows server.
- The server has Active Directory installed.
- The machine running Authing AD Connector is able to connect to Active Directory.
- A user account with read access to Active Directory.
First you need to download (opens new window) the Authing AD Connector, which is an exe file that needs to run on Your Windows AD server, which is responsible for communicating with Authing. The Authing AD Connector needs to be installed in the LAN AD domain environment, but not necessarily on the server running the AD service, as long as the Authing AD Connector has access to the AD user directory .
¶ Install Authing AD Connector
Click here (opens new window) to download the latest Authing AD Connector.
Upload the downloaded file to the AD domain environment machine, double click on the application and install it.
The system may raise a warning, click "Still running".
Select the language and click "OK".
Click on "Next".
Accept the license agreement and click on "Next".
Select the software installation directory and click "Install".
Wait for the installation to complete.
Click "Finish", a command line window will pop up and wait for the installation to complete.
There may be an error message about missing optional dependencies, you can ignore it. When you see the following screen, the installation is successful and you can exit by pressing any key.
Afterwards you can see the AuthingADConnector service in the Windows service management page: !
Next, open your browser and go to http://127.0.0.1:9743 and you will see the following screen.
! !
Fill in your Provisioning Ticket Url, AD Server Link Address, Base DN, Domain Username, Password, and click the "Save" button.
!
If you encounter a problem with the Connector linking to Authing and the test fails, please wait for a while as the Connector handshake with Authing has not yet completed due to network latency.
If you encounter AD-related errors, please check if the AD server link and hint information are correct.
¶ Optional Action: Windows Active Directory User Directory Bi-directional Synchronization"
This section contains the following sections.
AD Two-Way Synchronizationfor the on time- Function points for
AD Two-Way Synchronization AD Synchronization to AuthingAuthing sync to ADUser authentication related syncA complete two-way sync process
¶ AD two-way sync for the on time
Once configured, you can select the corresponding import method to import the organization.
By default, after you import an organization using AD and you have completed the previous steps, AD's two-way synchronization is turned on
!
¶ Function point of AD two-way synchronization
- Sync from AD to Authing
- Add user information
- Change user information
- Delete user information
- Add organization node
- Change organization node information
- Add organization members
- Delete organization members
- Deleting organization nodes
- Sync from Authing to AD
- User add (add organization member)
- User change
- User Deletion
- Add organization member
- Deleting organization members
- Organization node deletion
- Organization node information change
- Organization node addition
- User Authentication
- AD user import
- Authing user synchronization to AD
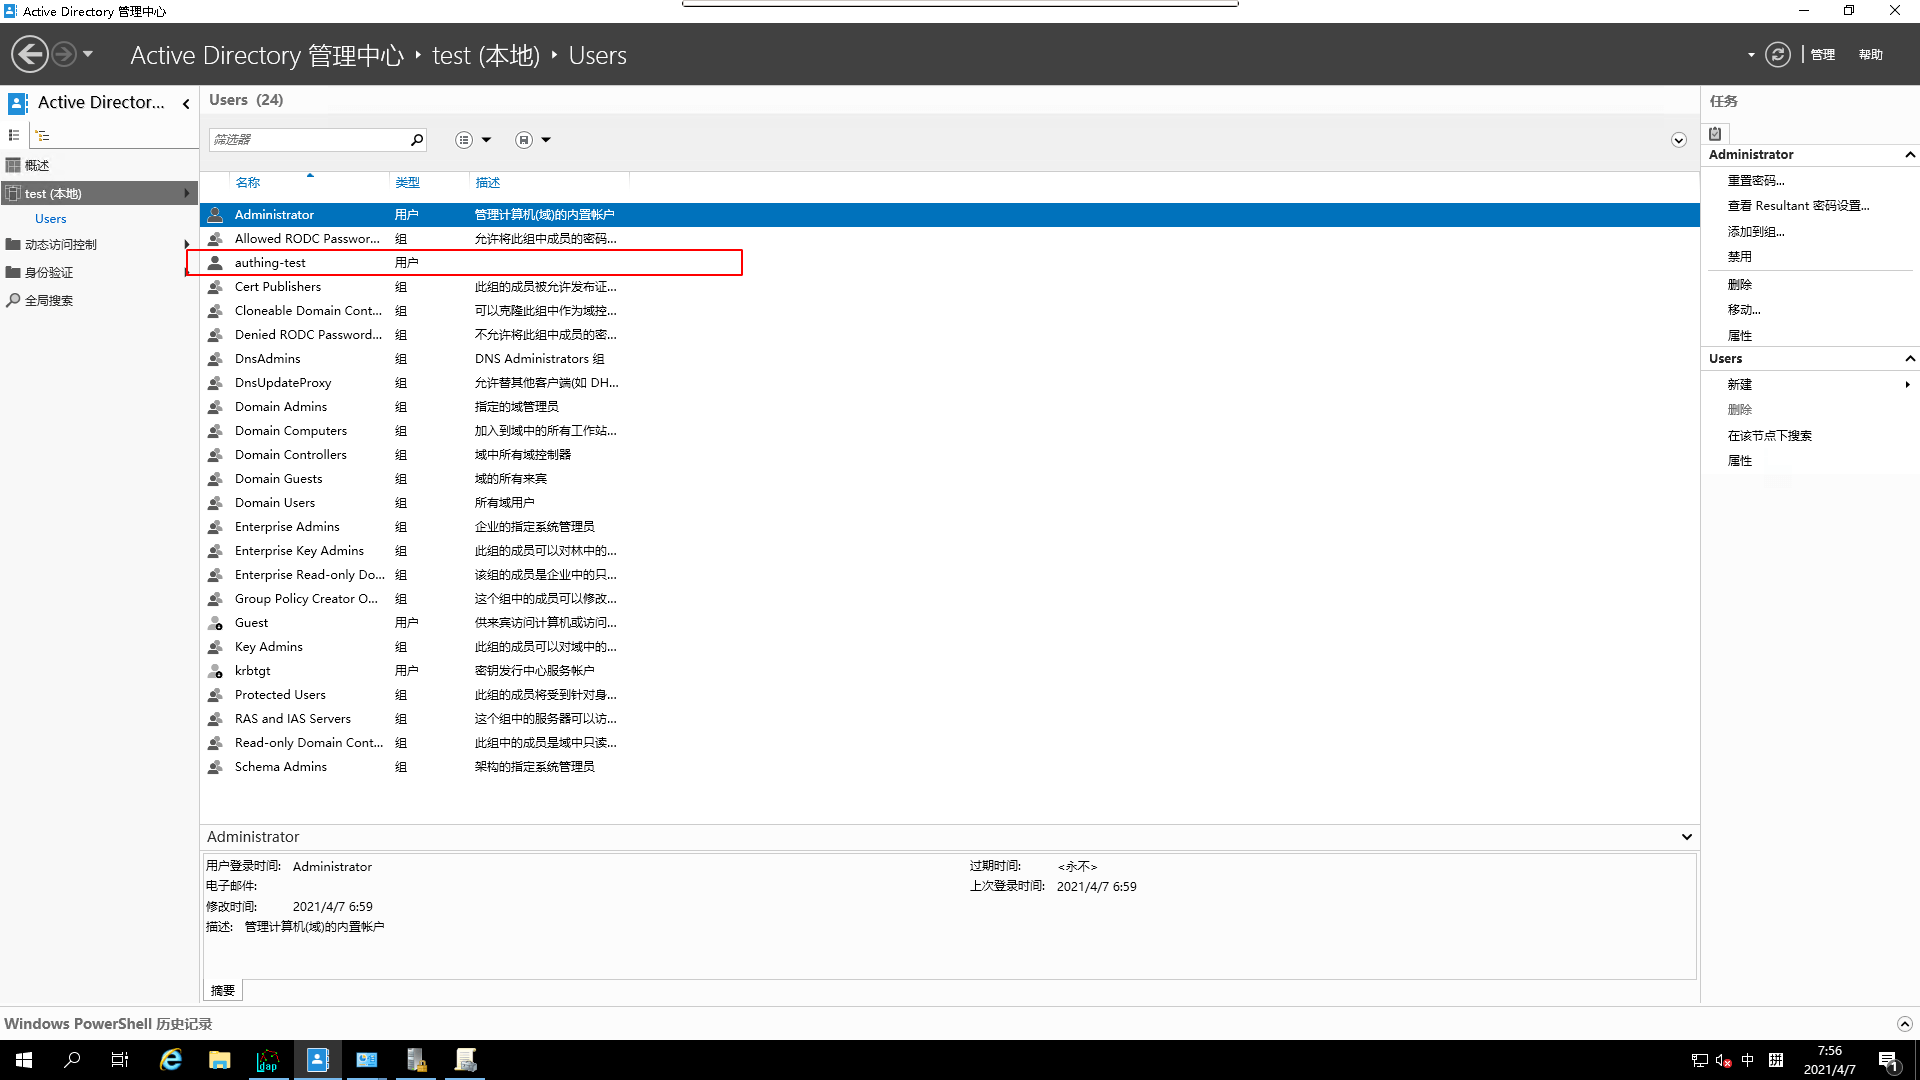
¶ Initialize the test environment
- Go to the
AD root nodeand create a new organizational unit

- create
authing-testorganizational unit

- View the
propertiesof thisorganizational unit

- Go to the
attribute editor

- Copy the
DNofthis organizational unit

- In the Authing console, go to Sync Center, create a sync task, select Create Windows AD Sync Task, fill in the unique identifier and save.
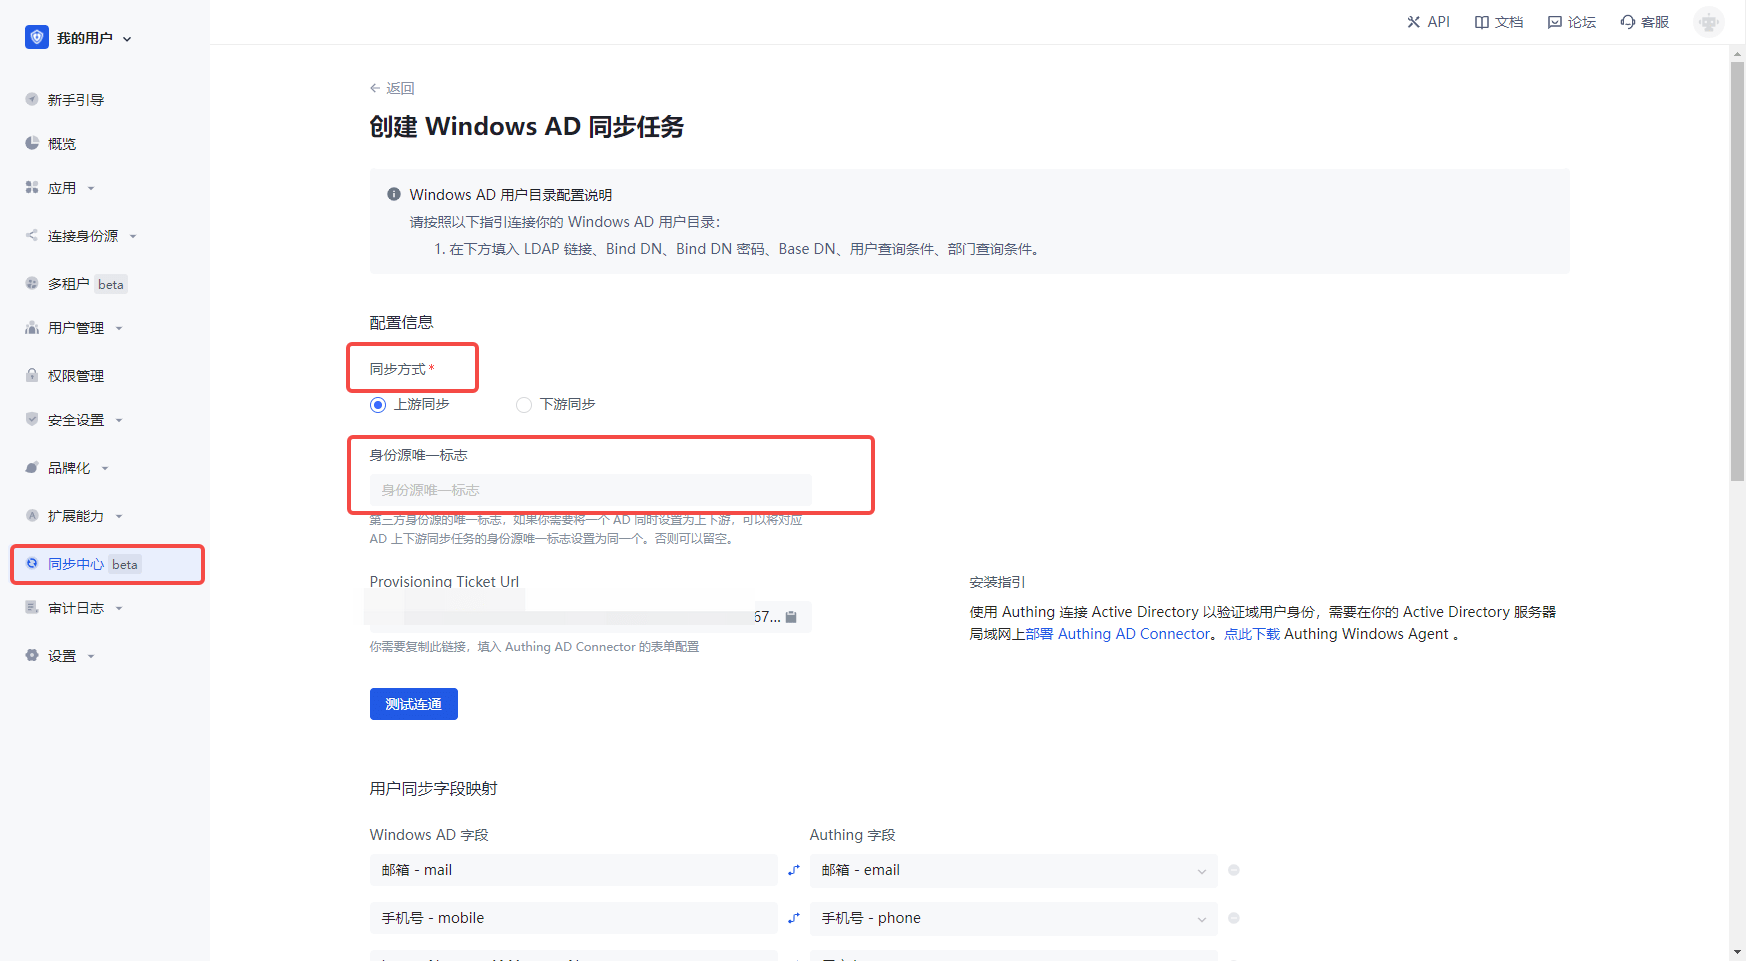

Fill in the AD-Connector related configuration and save it. Note: Only after AD-Connector and Authing console are saved, the test connection for the console's sync task is available

¶ AD Sync to Authing
¶ Add user information
¶ Change user information
¶ Delete user information
¶ Add organization node
¶ Change organization node information
¶ Add organization members
¶ Delete organization members
¶ Delete organization node
¶ Authing sync to AD
¶ User addition (add organization members)
- Add a new
userin Authing

- add
user information

- Ensure the existence of
Organizationimported fromAD

- Import the new
userto the correspondingorganization

AD data statebeforeuser import

AD data stateafteruser import

¶ User Changes
Modifythe user's information
Modifythe previousAD data state
AD data stateaftermodification
¶ User Deletion
Deletethe user's information
Deletethe previousAD data state
AD data stateafterdeletion
¶ Add organization members
Equivalent toUser add (add organization member)
¶ Deleting organization members
Removean member of anorganization nodeDelete theAD data statebefore theDelete Organization Member`AD data stateafterdeleting organization members
¶ Organization Node Additions
Addan organization nodeAD data statebeforeAdded organization node3.AD Data StatusafterAdded Organization Node
¶ Organization node information change
Changeorganization nodeinformation2.AD data statusbeforeChange3.AD data stateafterchange
¶ Organization node deletion
Deleteorganization nodeDeletethe previousAD data state3.AD data stateafterdeletion